
In the last installment of building the table we were mostly done. If you recall the table was assembled other than the supports to hold the playing surface. We made the decision to disassemble the table, sand and stain the boards and reassemble it. Sanding the boards is not difficult it is just time consuming. I threw on the headphones, queued up a random playlist of punk and hardcore and got to work. I recommend using a random orbital sander and 220 grit sandpaper. If you don’t have one you can pick up a cheap but good sander for about $30 at most hardware stores.

Sanding the boards
Make sure you sand with the grain of the wood and get all sides. Sanding against the grain will make your stain look terrible.
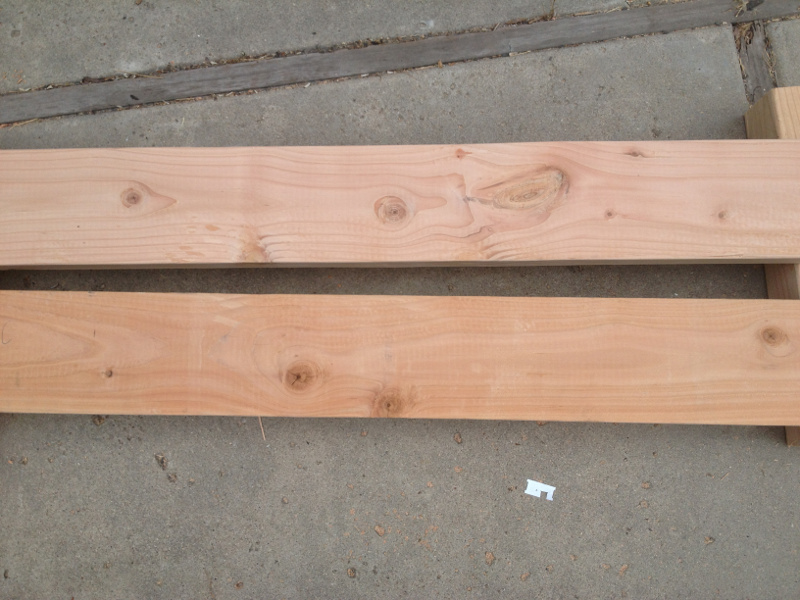
Sanded board on top for comparison
Why all the sanding? Because when you stain soft wood such as pine you wont get an even finish unless you sand and condition the wood. After sanding you’ll want to remove all the dust and paint on a coat of wood conditioner. Be sure to buy a water based conditioner if you are using a water based stain or oil based if you are using an oil based stain. I don’t have a compressed air blower to blow off the dust so I just used a soft bristled brush and very thoroughly went over all sides of all boards.
Make sure you wear gloves when conditioning and staining. The conditioner is easy to wash off but can be irritating to your skin. Stain is difficult to wash off and messy.
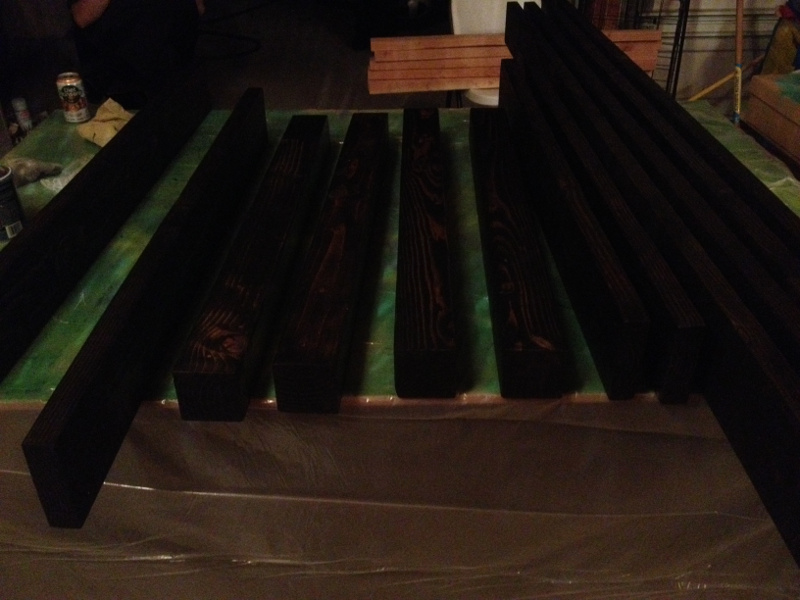
Ideally you want to start your staining shortly after the conditioner dries. I waited about an hour after drying to put on the first layer. I chose a dark ebony color for the stain.
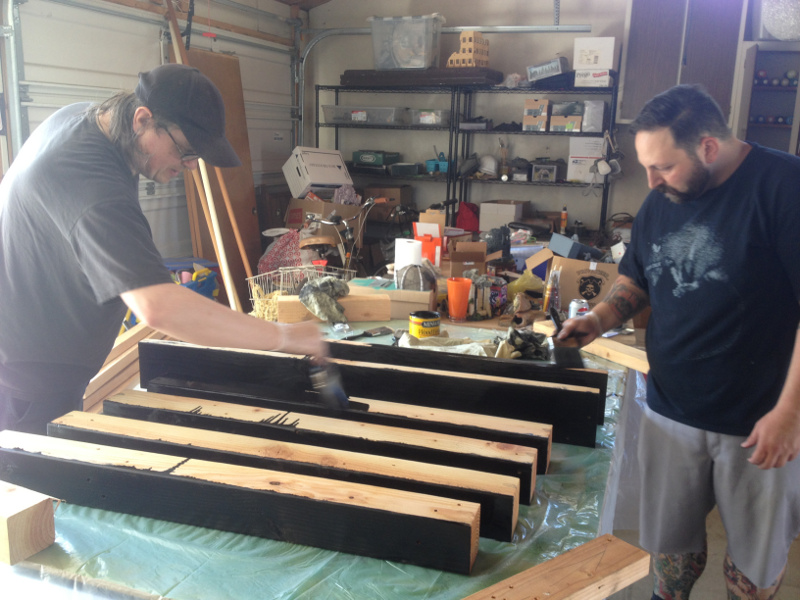
Hard at work staining
When staining, you apply your coat of stain with a brush or rag as evenly as possible then wipe it off with a rag five to fifteen minutes later. The longer you leave it on the darker the stain will be. We left the first coat on for fifteen minutes.
Ben staining boards
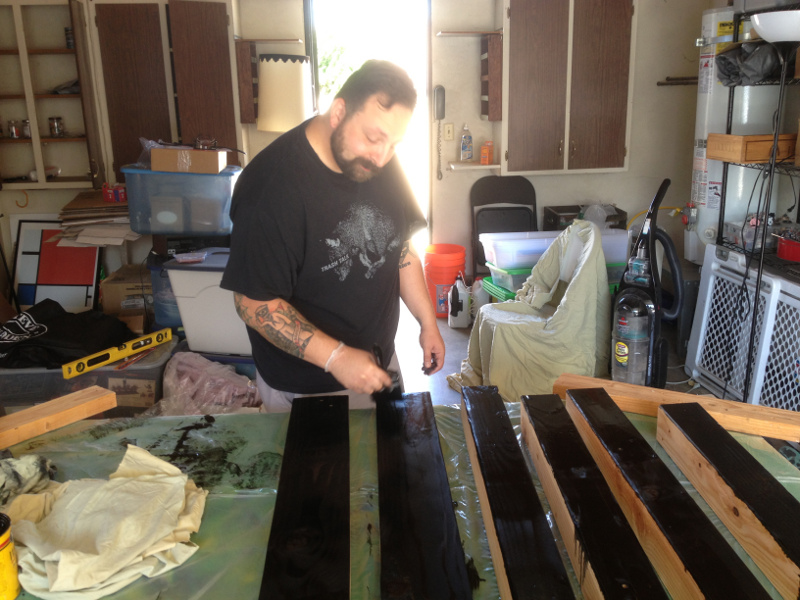
If you aren’t satisfied with the stain after wiping off your first coat you can let it dry for six to eight hours and apply another coat. Although it looks dark in this photo it will be a lighter color after wiping.

The first coat being applied
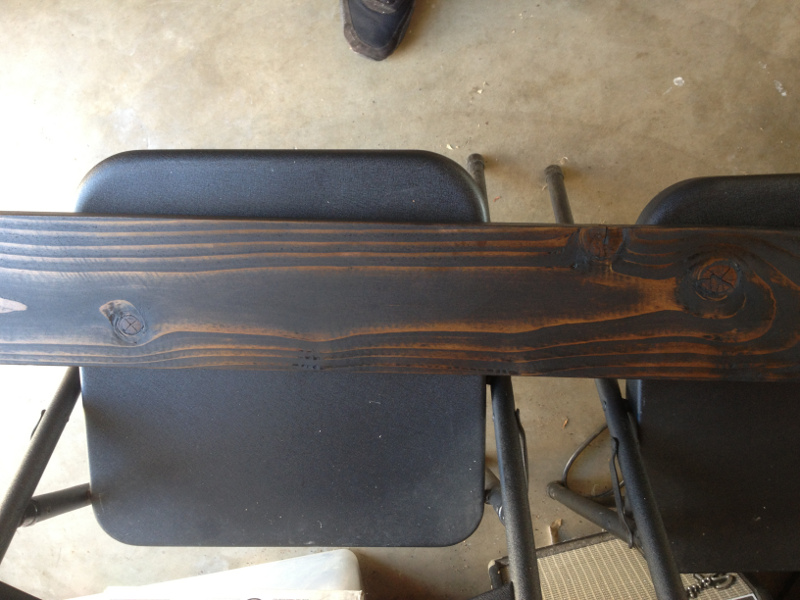
What it looks like after wiping
We were not satisfied with the color so we wiped the rest of the boards and set them aside to dry so a second coat could be added.
Boards drying waiting for a second coat
The second coat was perfect and after that dried we did a coat of satin varnish on all the boards. If I build another table like this I would use gloss varnish instead of satin. Although the satin looks better I’d prefer the protection of the gloss. We agreed to meet the next day to reassembled the table. It was just our luck that a heat wave that would extend for the next three weeks started the next day. I pretty sure we were all sitting in puddles of sweat after putting the table back together.
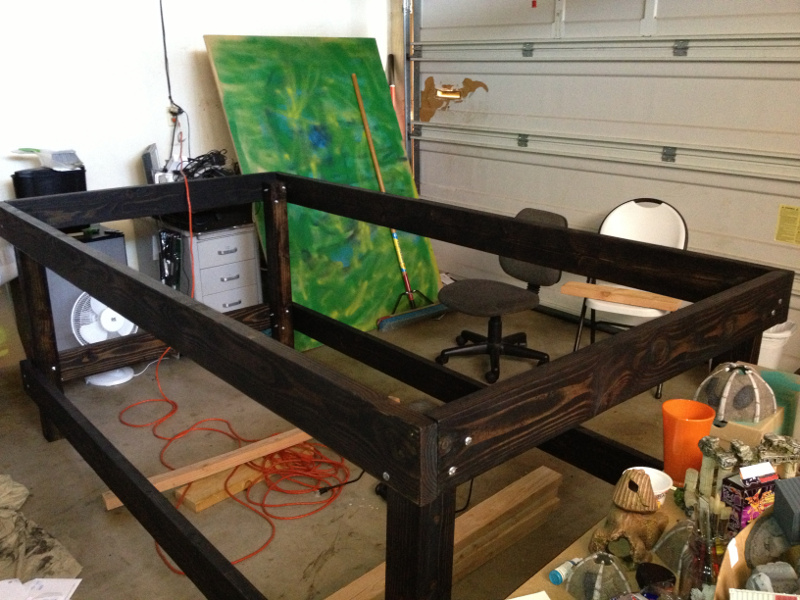
The reassembled table
We also made a fairly large mistake. We measured the support boards that would hold up the tabletop and storage area before sanding. After all the boards were sanded there was a 1/4″ gap between the edge of the support board and the table. This was only a minor set back and we went to the hardware store to grab a couple more 2 x 4s for the support boards. The too short boards will get a second chance as parts for a raised bed planter my wife asked me to build.
The new boards were cut to size and we didn’t bother sanding or staining them since they will not be visible after the tabletops are in place.
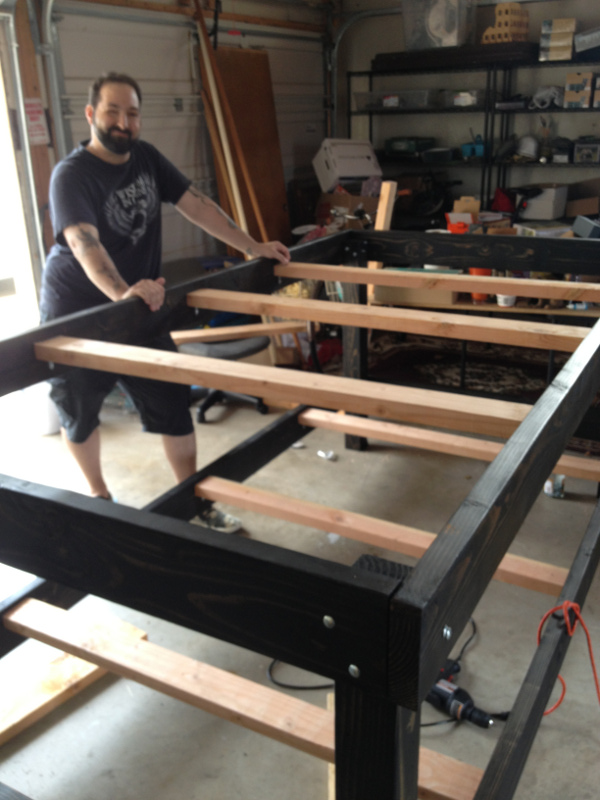
Dan poses with our hard work
The support boards are held in place with 90 degree angle brackets drilled into the support boards and sides of the table.
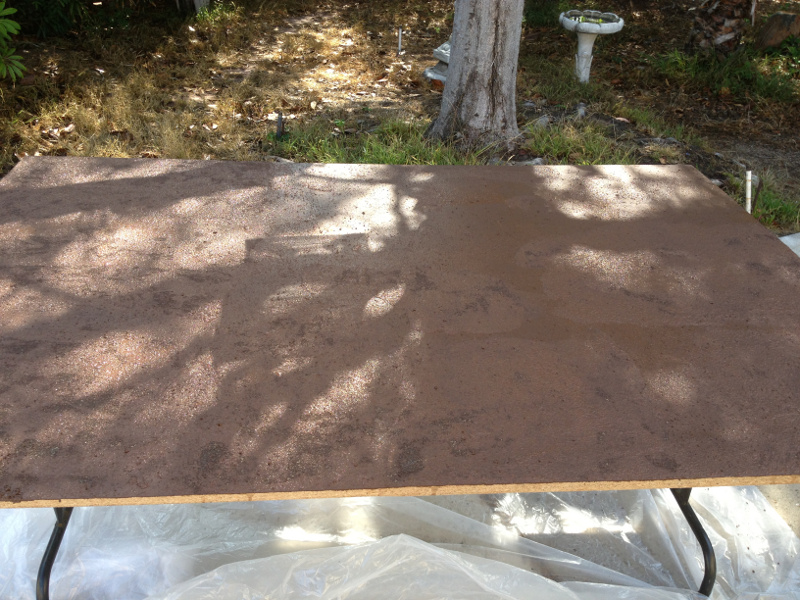
Since the tabletops are removable we plan to make a few different tabletops. First up was a brown wasteland. We mixed an equal amount white glue and water and spread that across the top in small sections then dumped a good amount of playground sand over the glue.
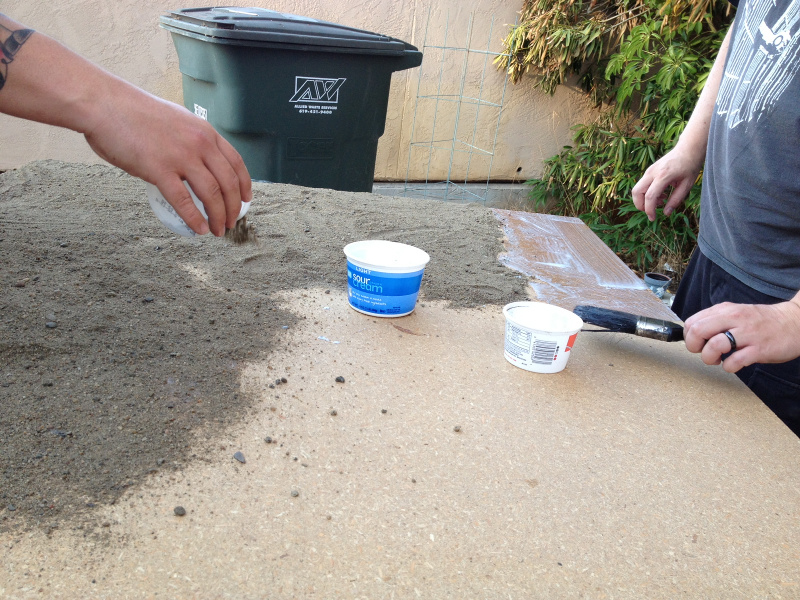
Spreading glue and sand
Repeat this is small sections until you’ve covered your whole board or the areas you want to cover. We left a few areas blank to vary the texture of the tabletop.

More glue and sand
Lets the glue dry for 24 hours then paint it with non gloss interior latex paint. We chose chocolate brown and khaki. I covered the entire table with chocolate brown with a paint roller.
Chocolate board. Not for eating.
After that coat had dried I touched up any missed spots with a brush. I did a fairly heavy dry brush of khaki over the brown and let that dry. At some point in the future I’ll probably put on patches of dead grass flocking with glue.
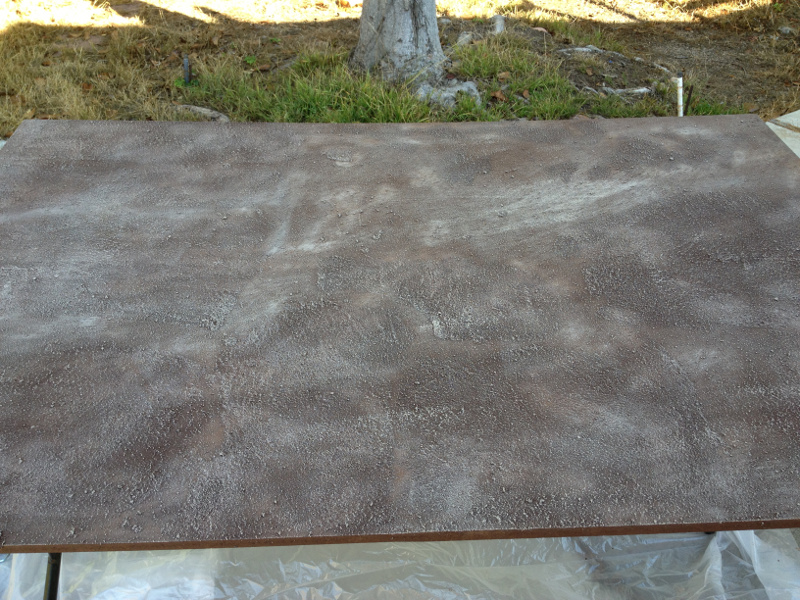
Mostly finished table top
All that was left was to put the table top on the table.
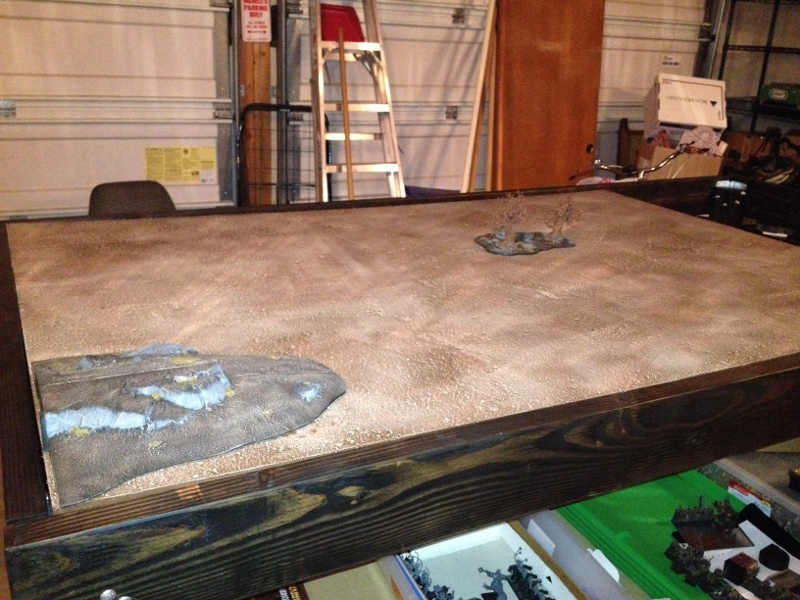
The finished product
Overall it was about 12 hours of work spread over two weeks and $100 in supplies. I had a great time building the table and we’ll all enjoy the results of the hard work for years to come. If you have an questions or comments I’d love to hear them and if you ever find yourself in the San Diego area stop in for a game.