The NMM Paint Sets from Scale 75. www.scale75.com
Like with hardcore shirts, it is important for todays miniature painter to keep abreast of the latest styles. Non-Metallic Metals (NMM), far from being the most modern and hip technique, is a string I’ve wanted to add to my bow for a long time. It definitely isn’t the Carhartt Beanie of the painting world, more likely, it is the floppy hair and Joy Division shirt of miniature painting. That being said, its technique is a definite door opener for other things, and a good understanding of how light reflects from metallic surfaces, and the ability to throw a tight, high contrast blend down on a smaller surface area are tricks that will provide no end of benefit to your paintjobs.
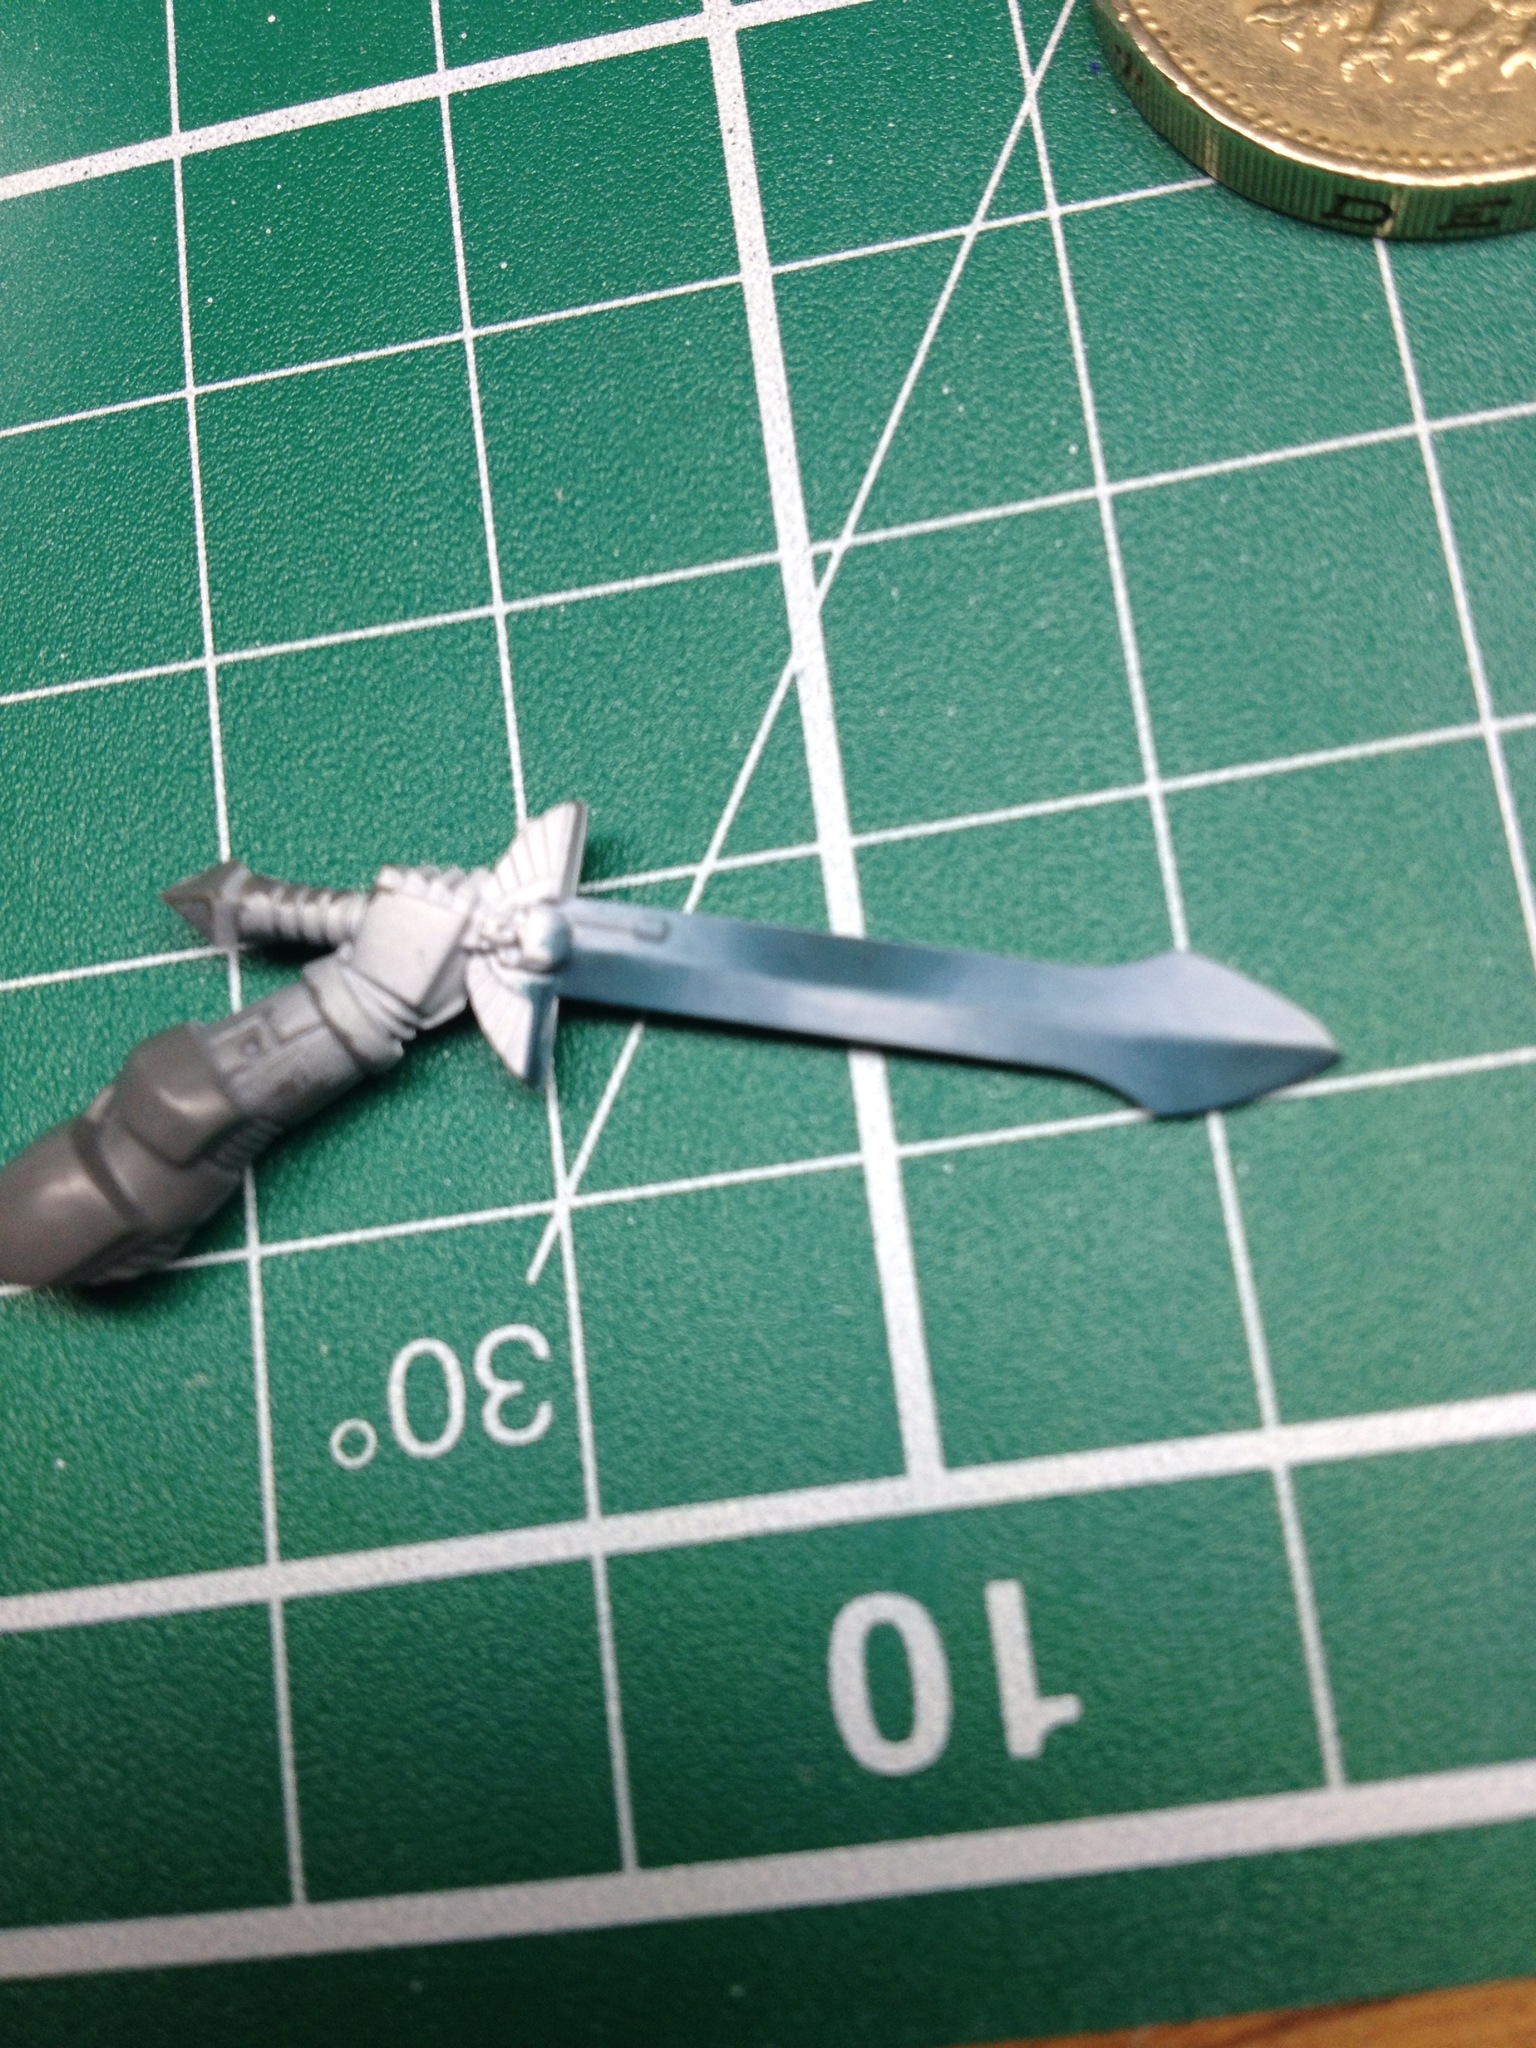
While I have always done fairly well with painting things like power weapons (see below), nailing an NMM look is something I’ve always struggled with. As such, this is not a guide on how to paint in a non-metallic style, but a review of some of the tools that make it possible for the painter who needs a little leg up with this particular technique.
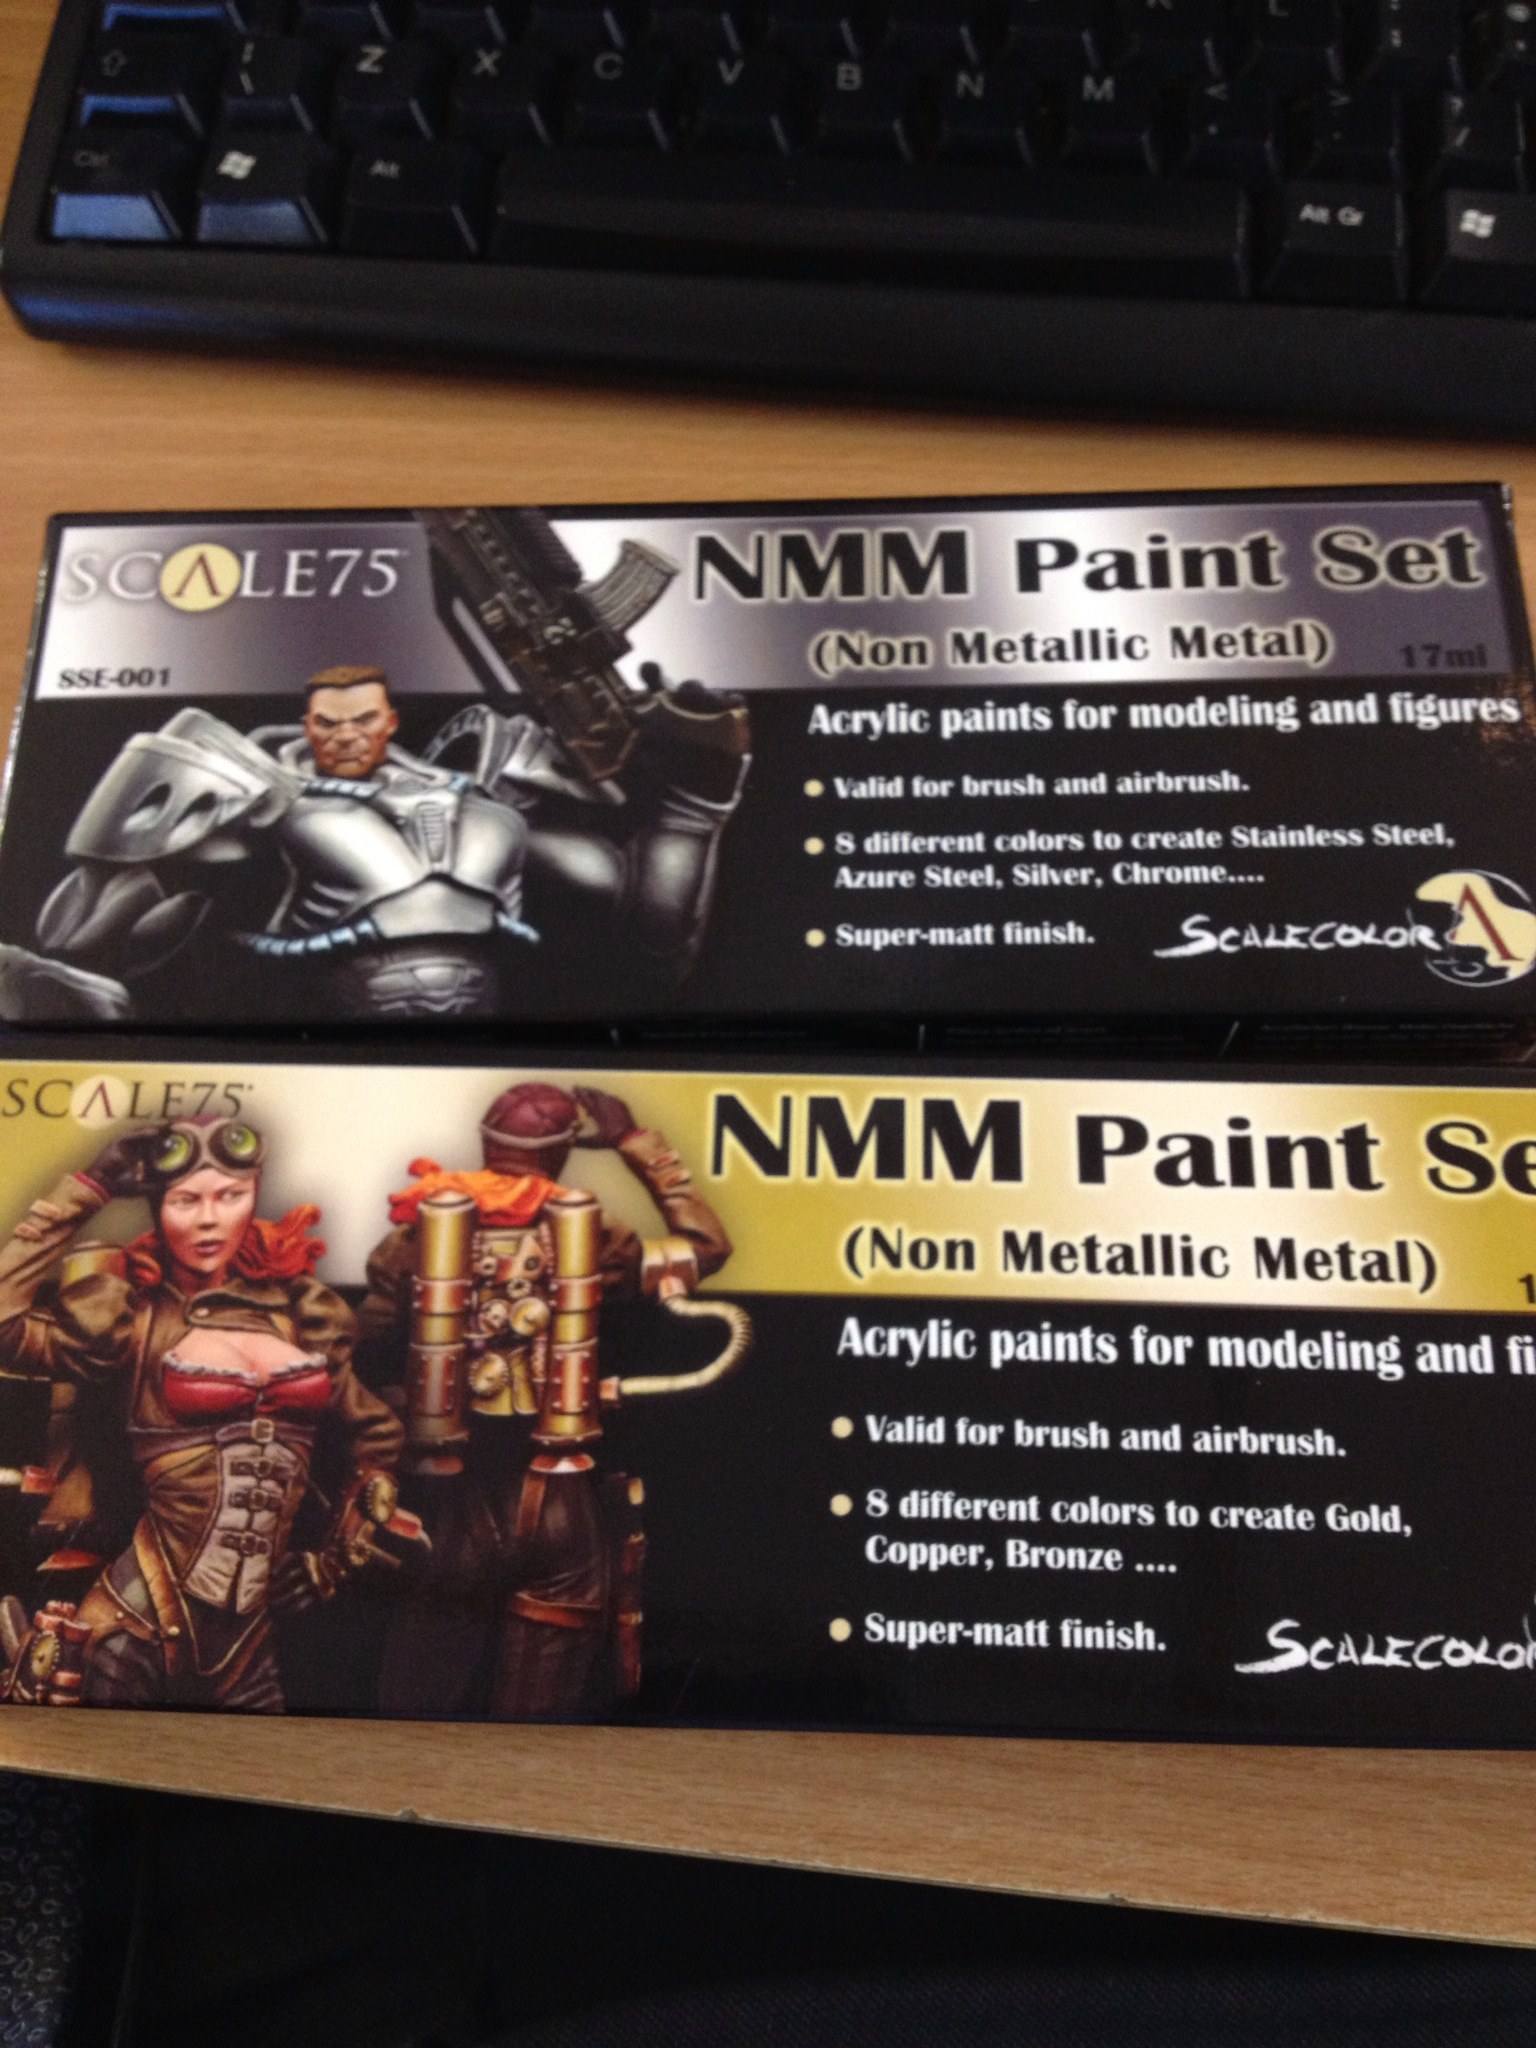
Scale 75 is a fairly new miniature company producing beautifully detailed, extremely high quality 75mm scale miniatures. Of particular note to me are The Executioner, and the Jack The Ripper miniatures. Rest assured, as soon as I can do justice to pieces such as this, I will be investing. Lately Scale 75 have gone down a similar road to Andrea Miniatures and have started producing sets of themed paints designed specifically for a single purpose. There are two NMM sets from Scale 75, one for steel/silver and another for copper/gold. They each come with 8 paints, and a handy little guide, each one containing two guides for achieving the techniques they’re intended for. So across the two sets, there are four guides. I ordered the guides from the same place me and a few mates ordered the incredible Beelphegor miniature from Andrea. The website is called Historex, and while being a little basic in its aesthetic, it is incredibly well stocked, and both orders we’ve placed from these guys have arrived the day after ordering. An excellent service that comes highly recommended.
This particular review will be focussed on the steel/silver set, and in particular the Azure steel guide, outlined below.
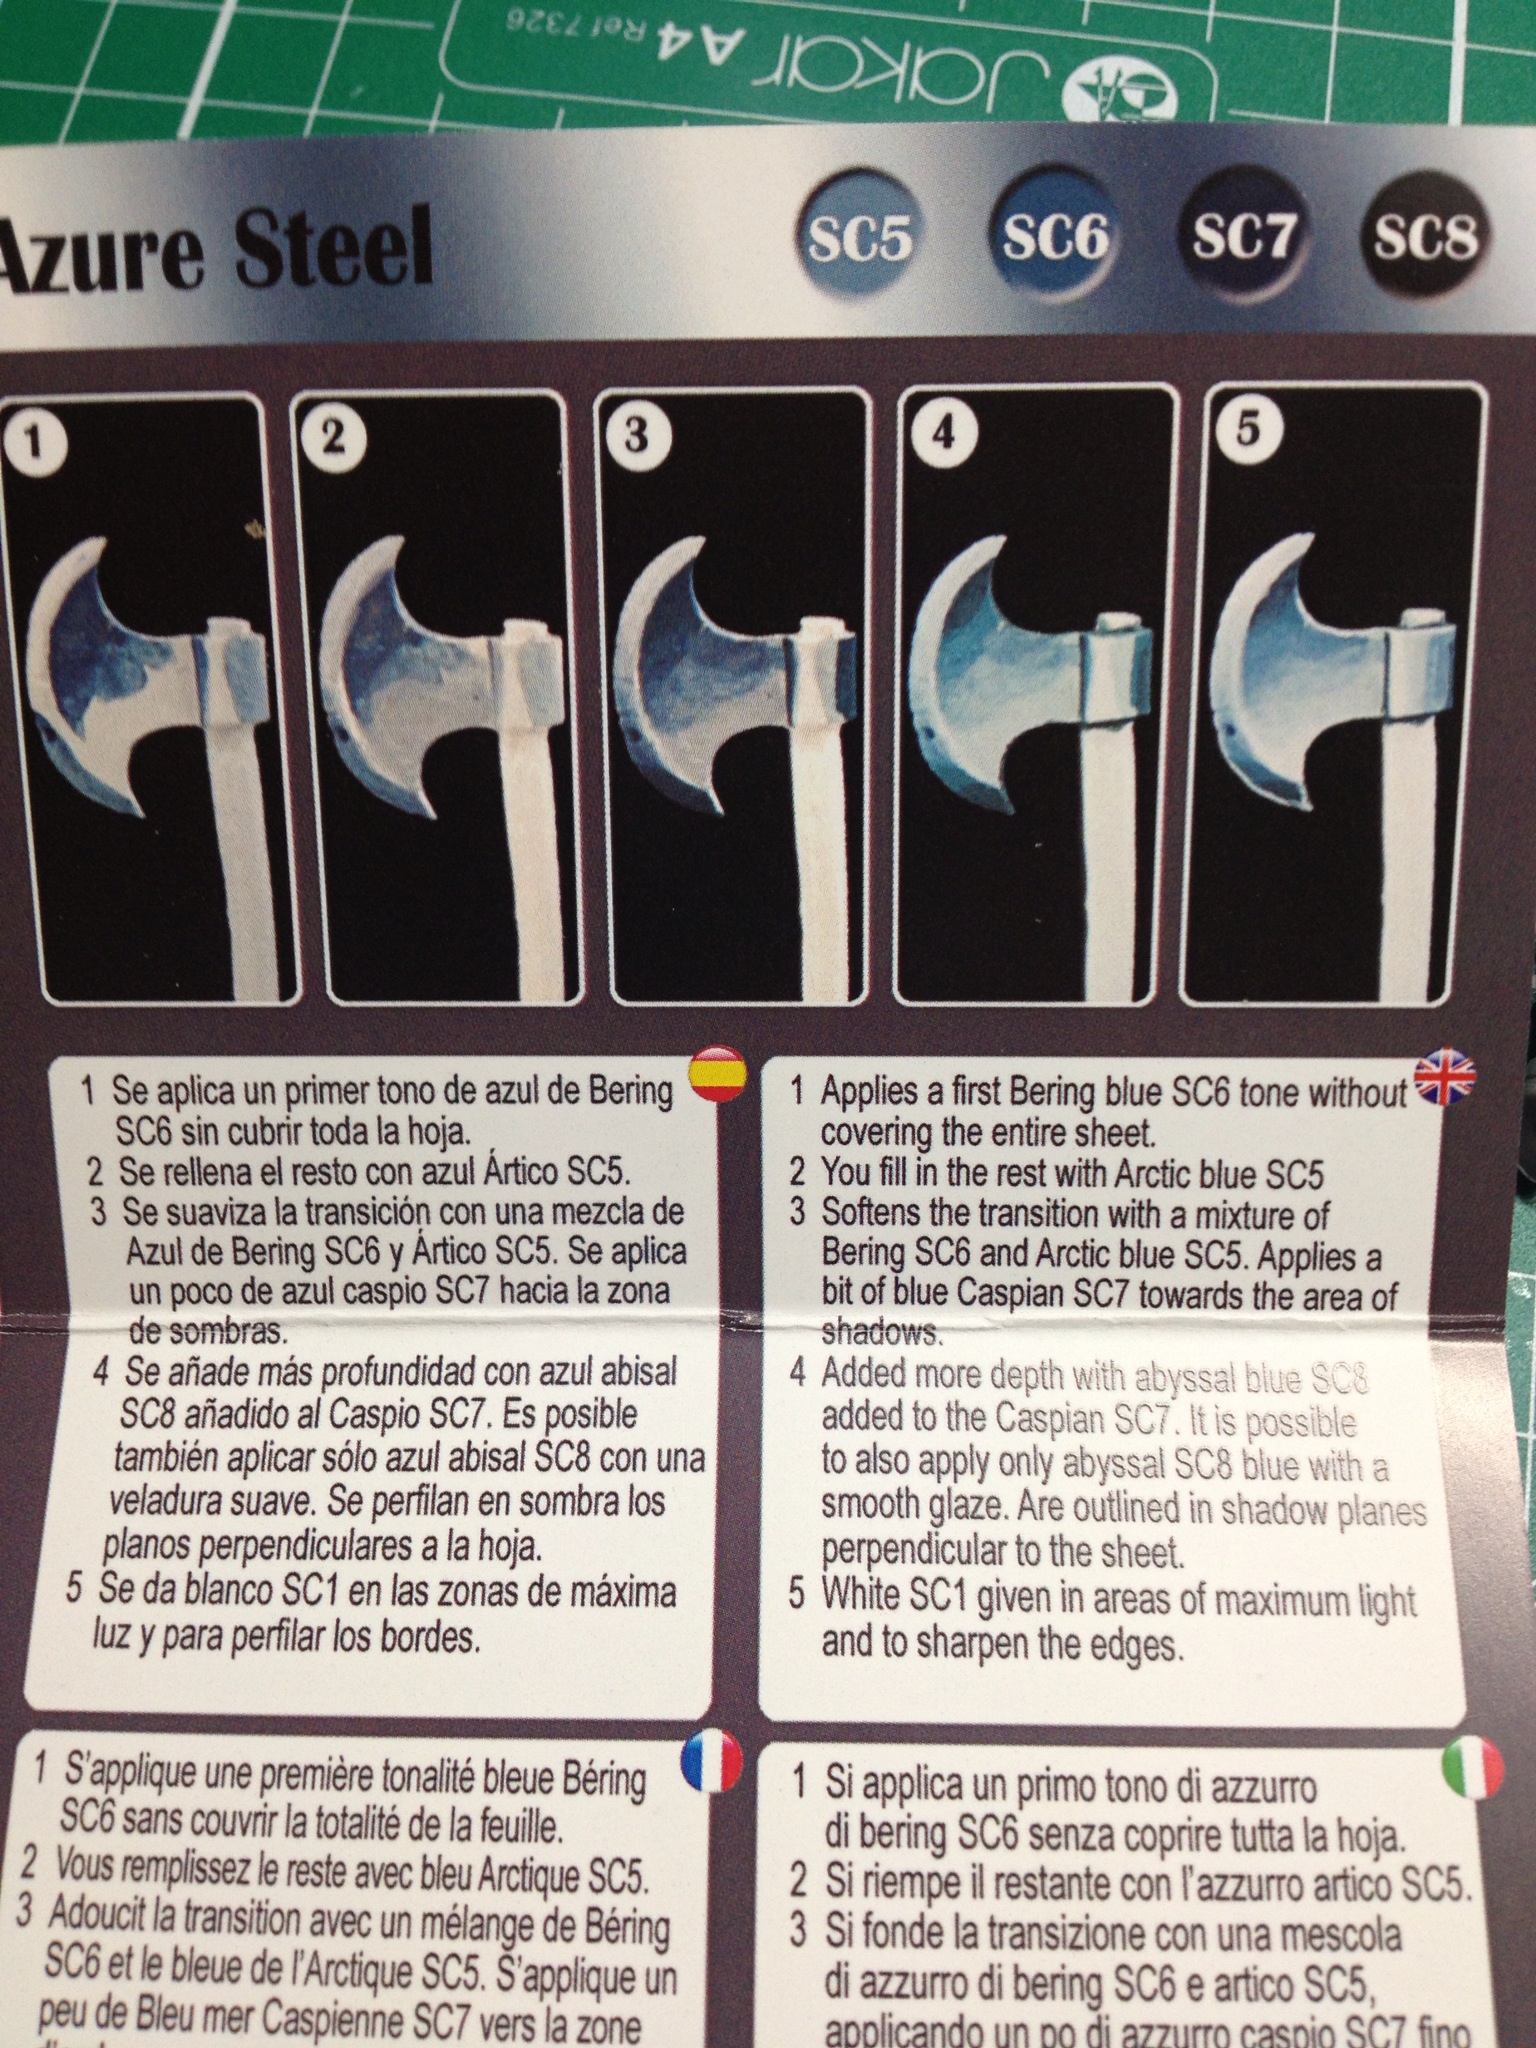
The Scale 75 guide to Azure Steel
The guide is broken down in to five really basic steps, and it mostly revolves around a combination of wet blending and layering to get the smooth effect they produce. I’m no Ben Komets, and my wet blending is no good whatsoever. So I interpreted the guide a little differently to use a more timely method that would bend itself easier to my style.
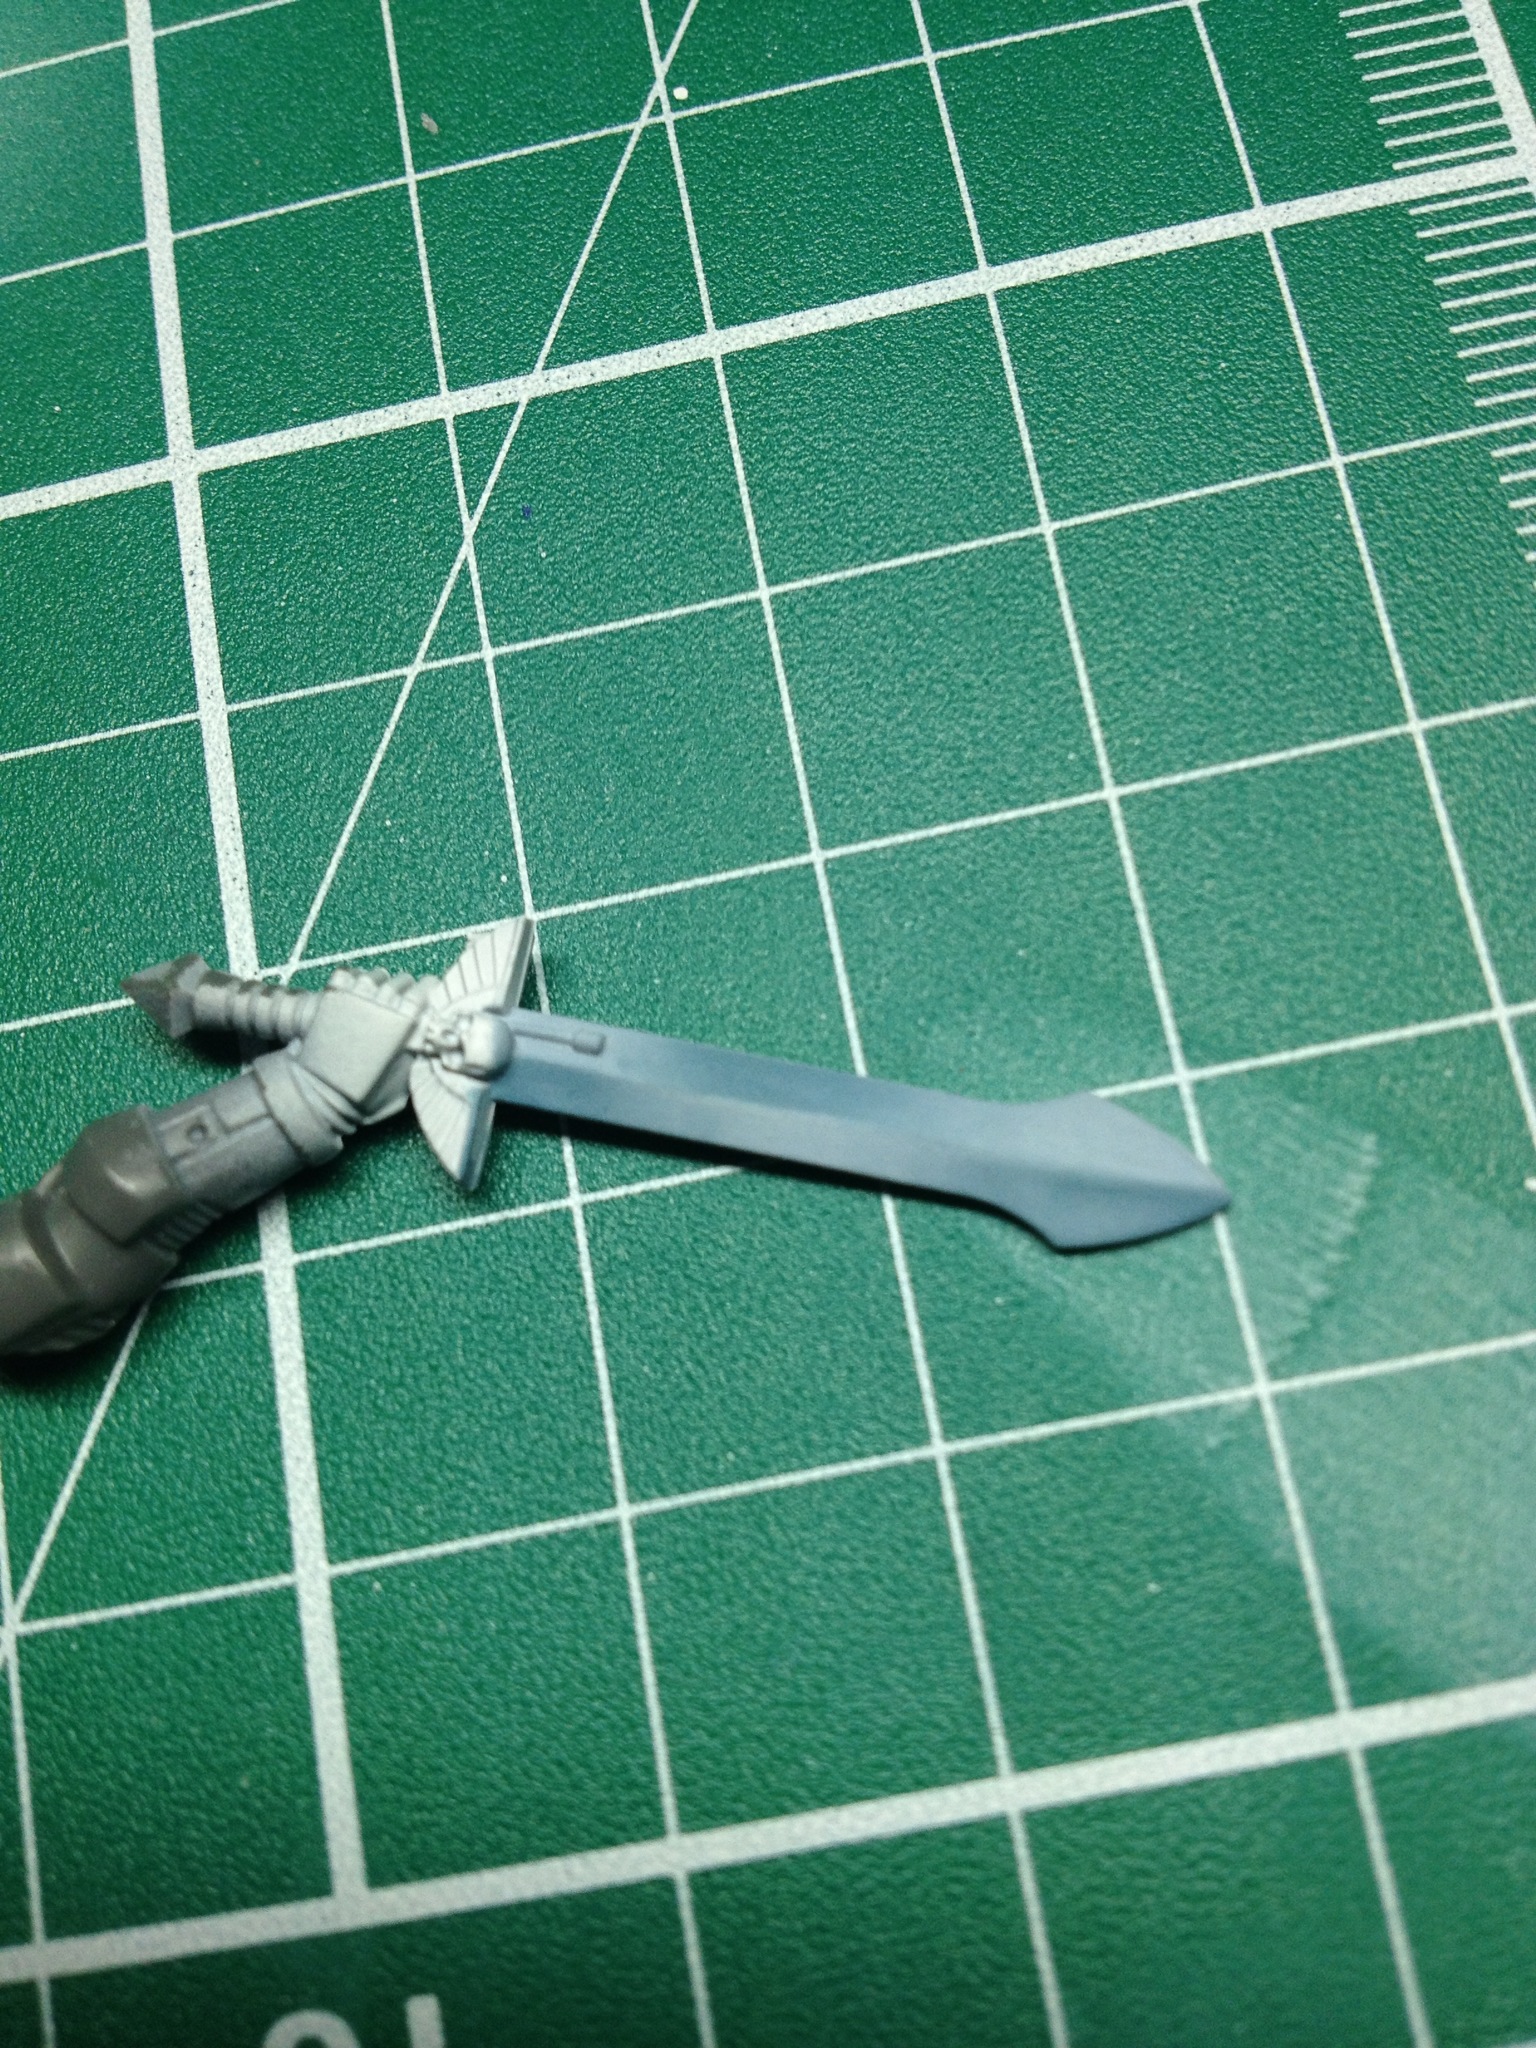
I began by using the Vallejo – white surface primer, straight through the aitbrush, on a couple of swords I had knocking about in my bits box.
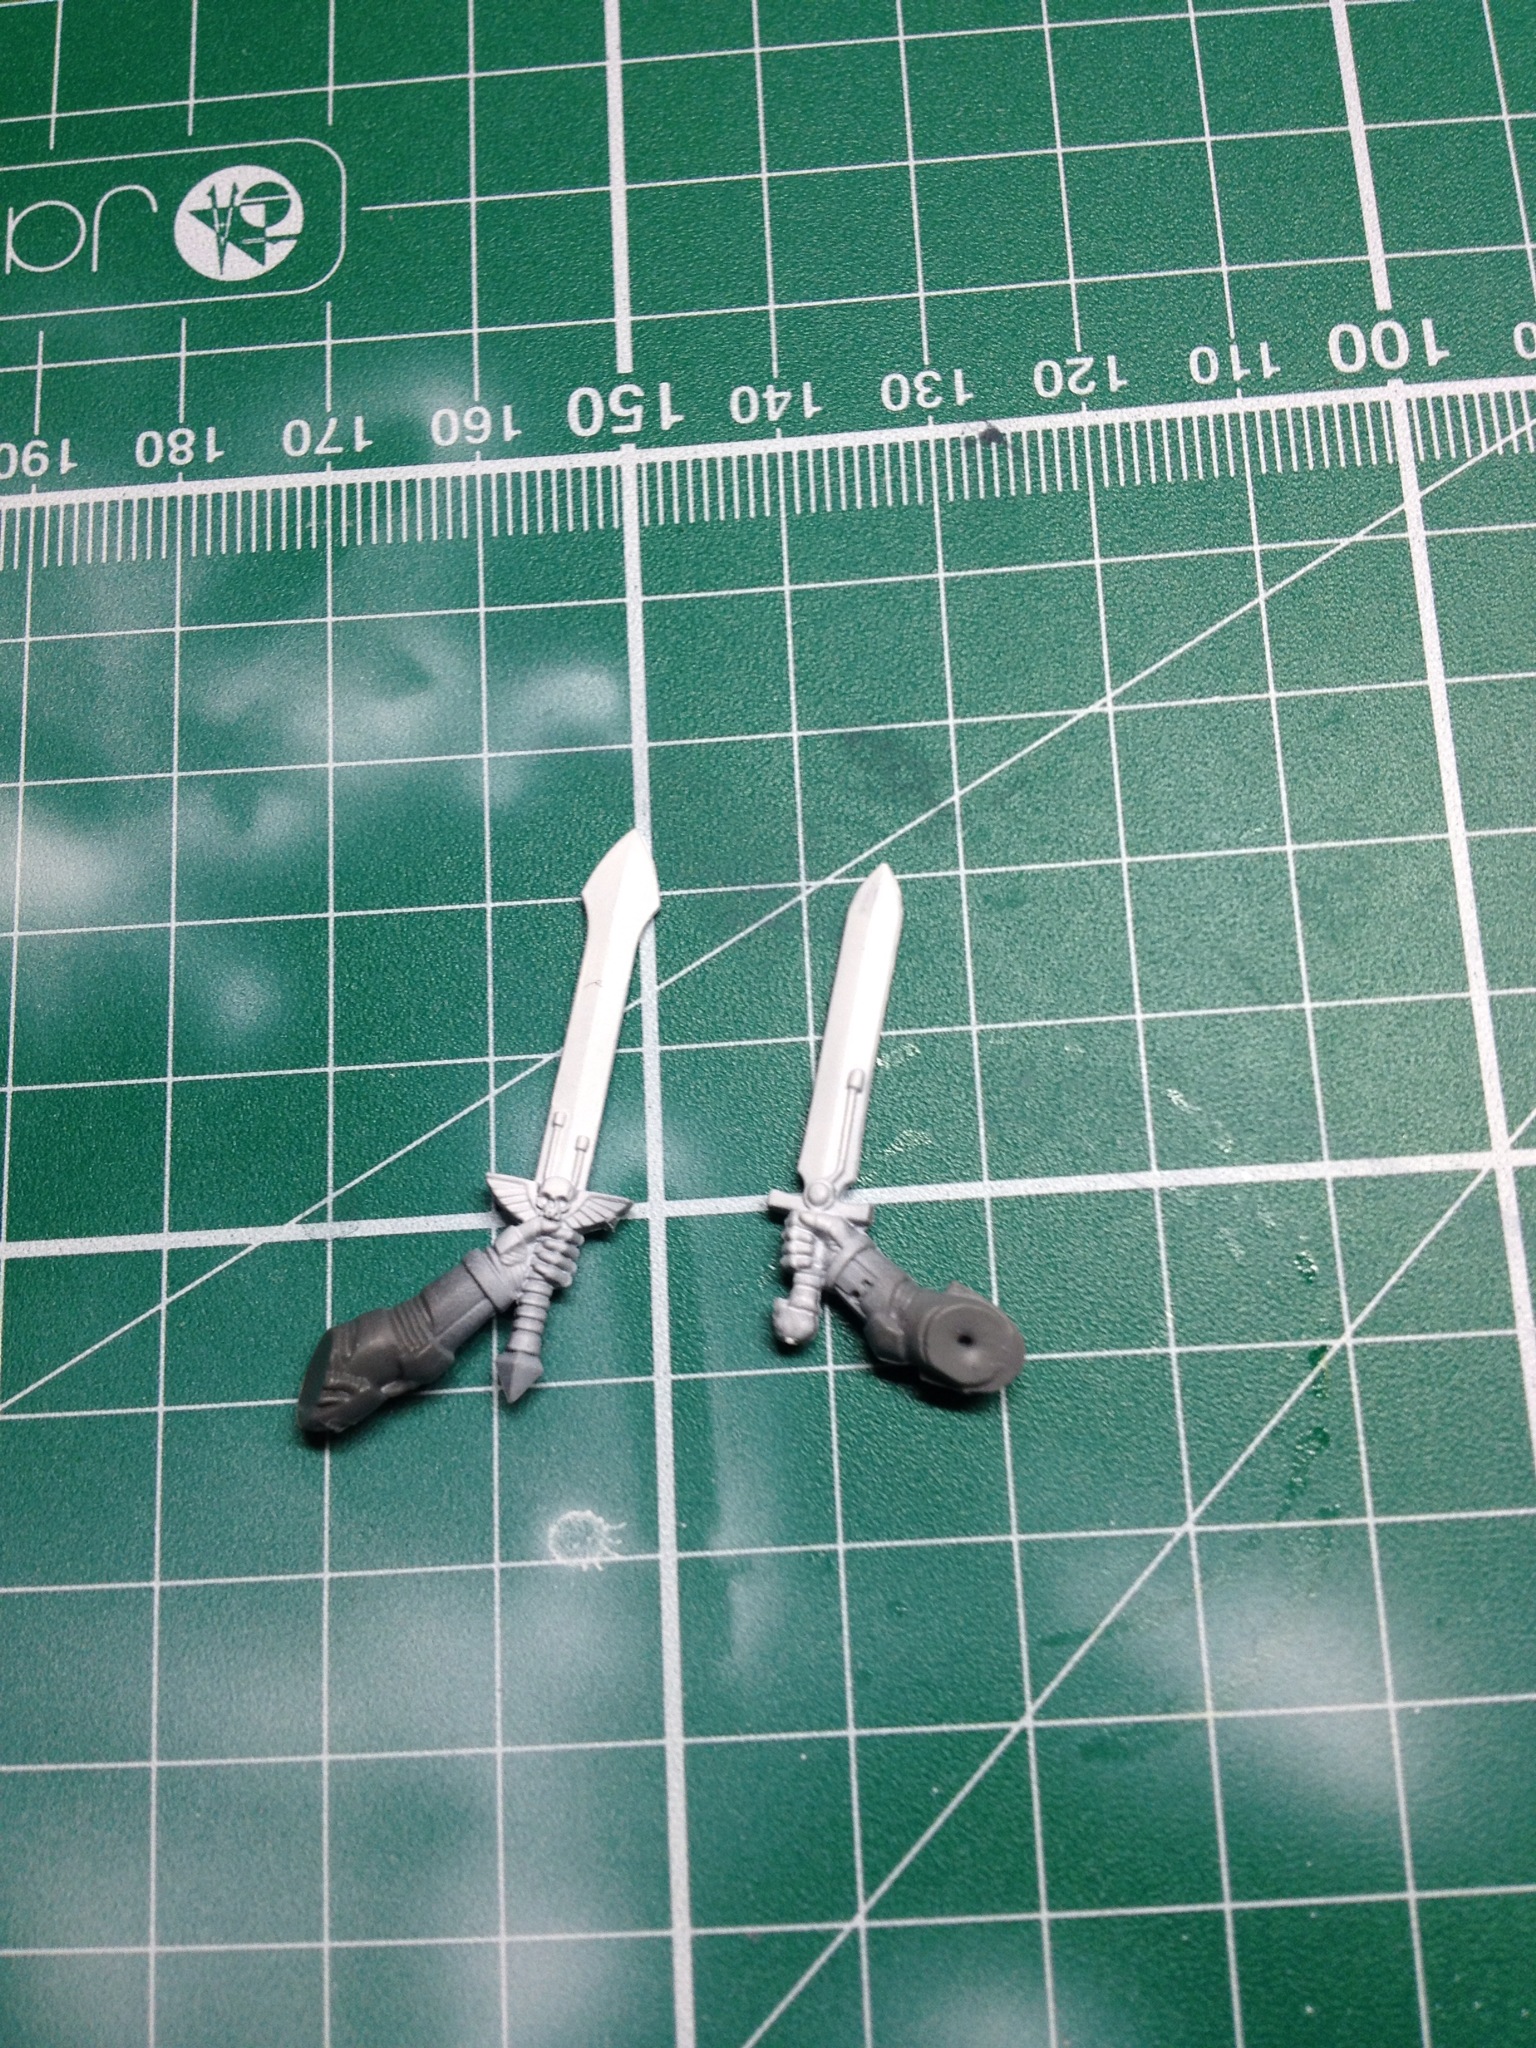
I used the one on the left. and added a base layer of what I believed would be the midtone, but what ended up one of the first highlights. This is the SC5 Artic[sic] Blue. Which is a really nice blue grey tone. Like the moron that I am, I didn’t take a snap of the base coat. But the next step was to start with my first shadow. Which was a mixture of the SC5, and SC6 which is Bering Blue.

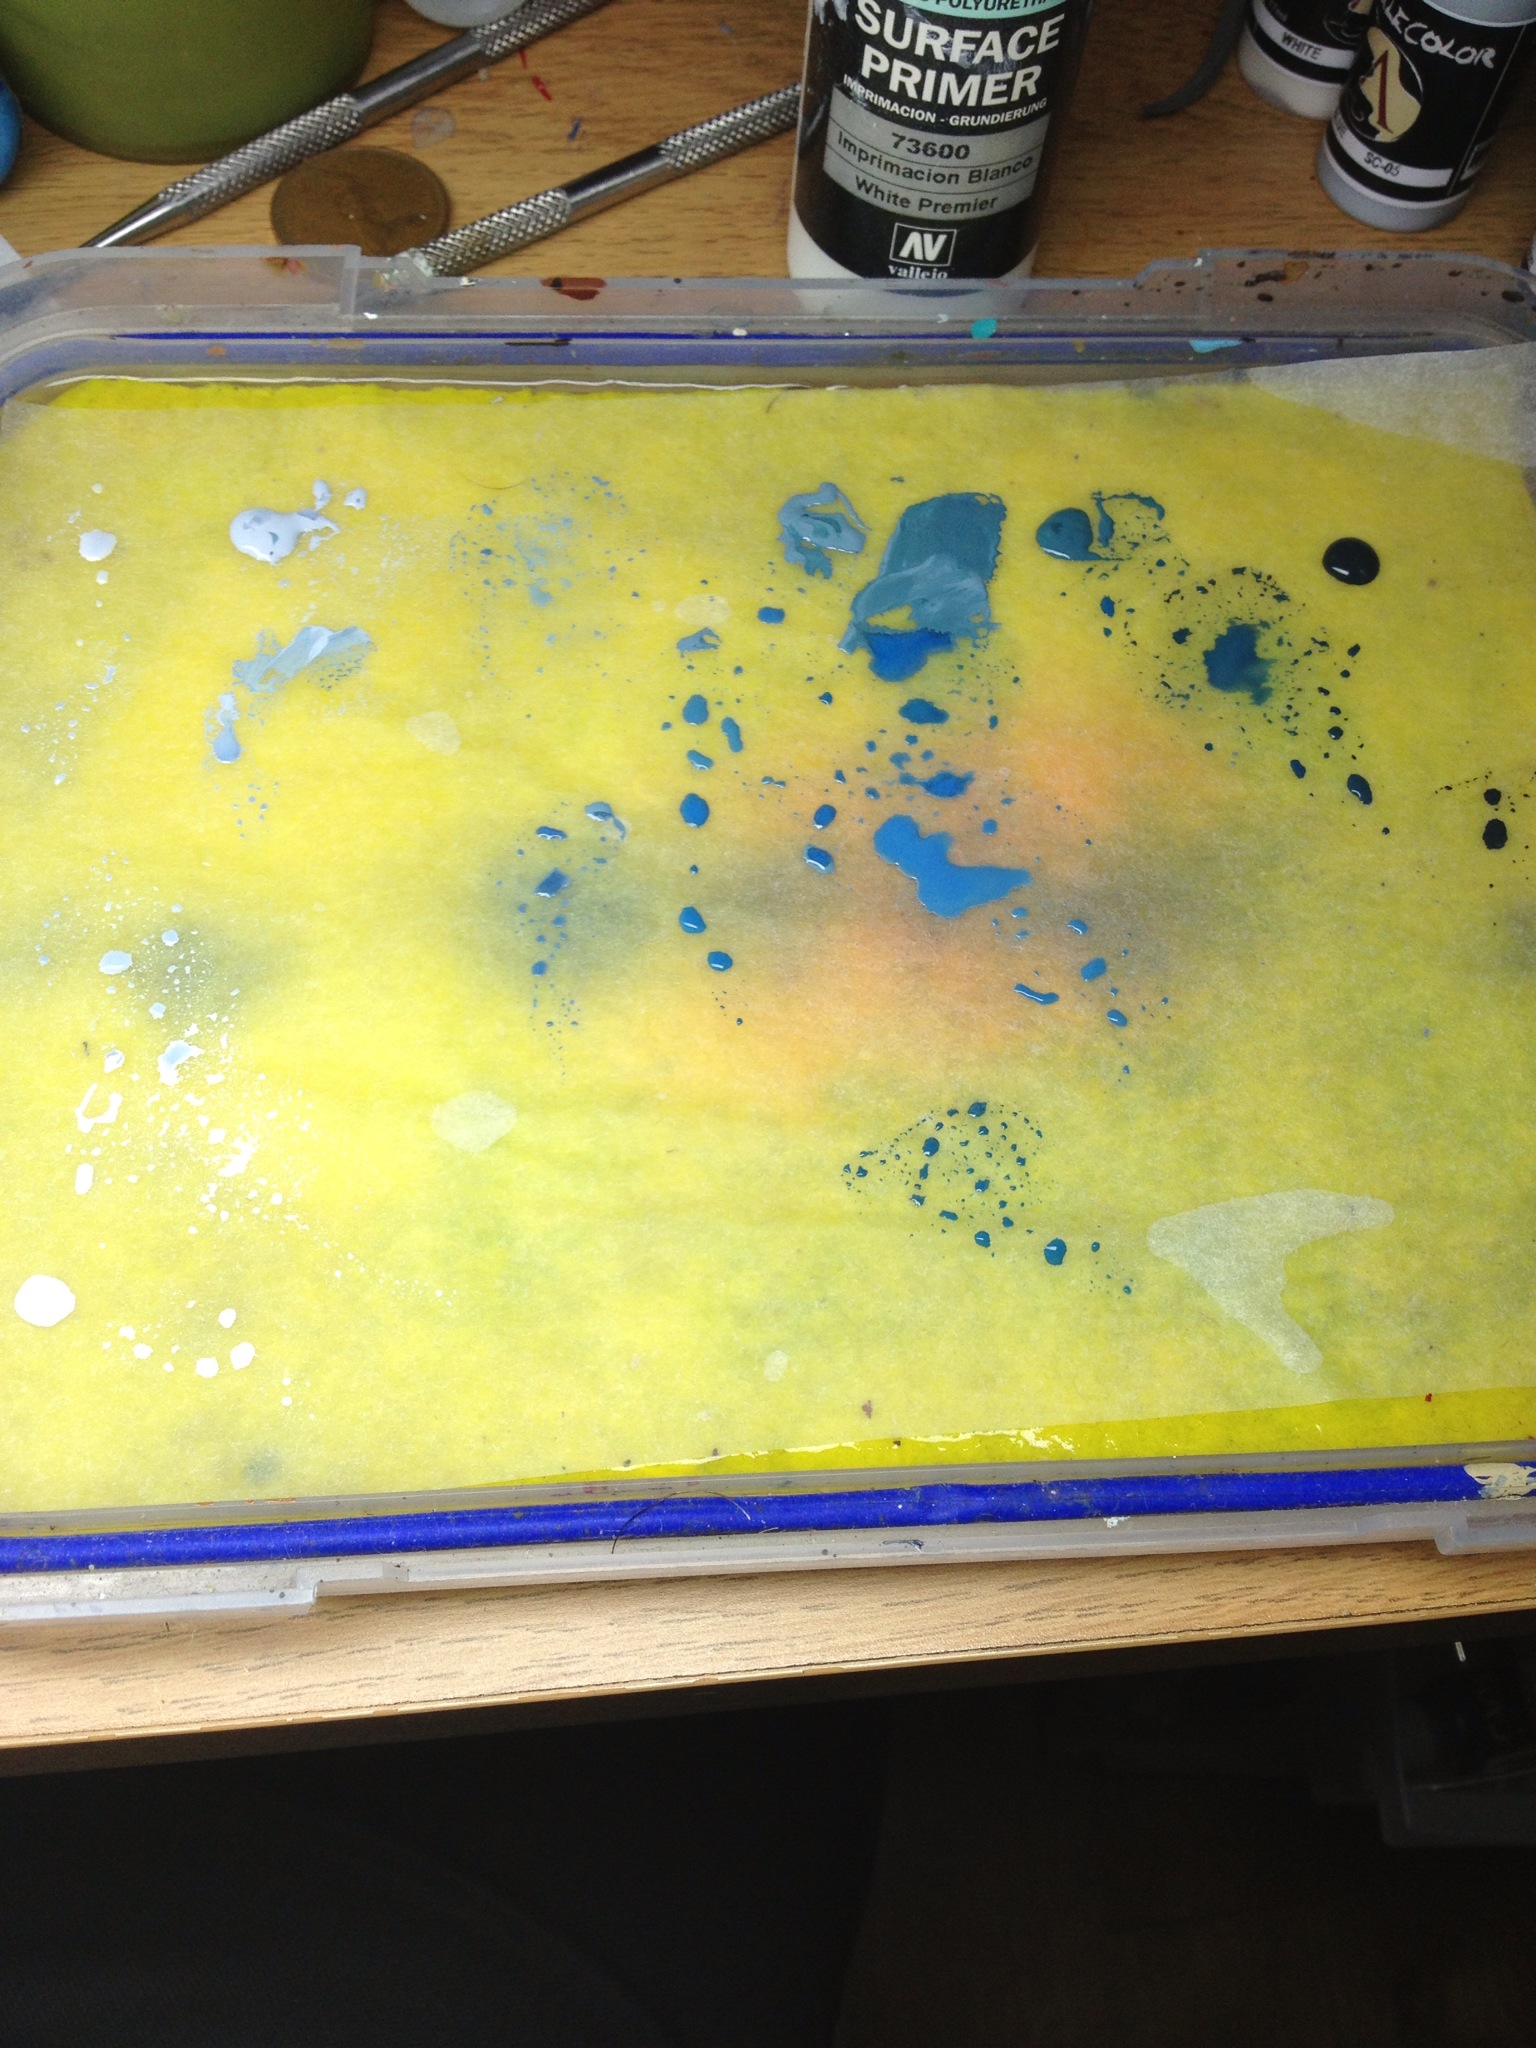
The first thing I noticed about these paints was that they were extremely thick, really nice and opaque, and really highly pigmented. This meant that I had to thin them a lot more than I would usually have to in order to avoid tide marks and blotchy blends. The paint was applied really thinly, pulling the it towards the darkest areas. I then moved on to a layer of pure SC6, to deepen those darker bits.
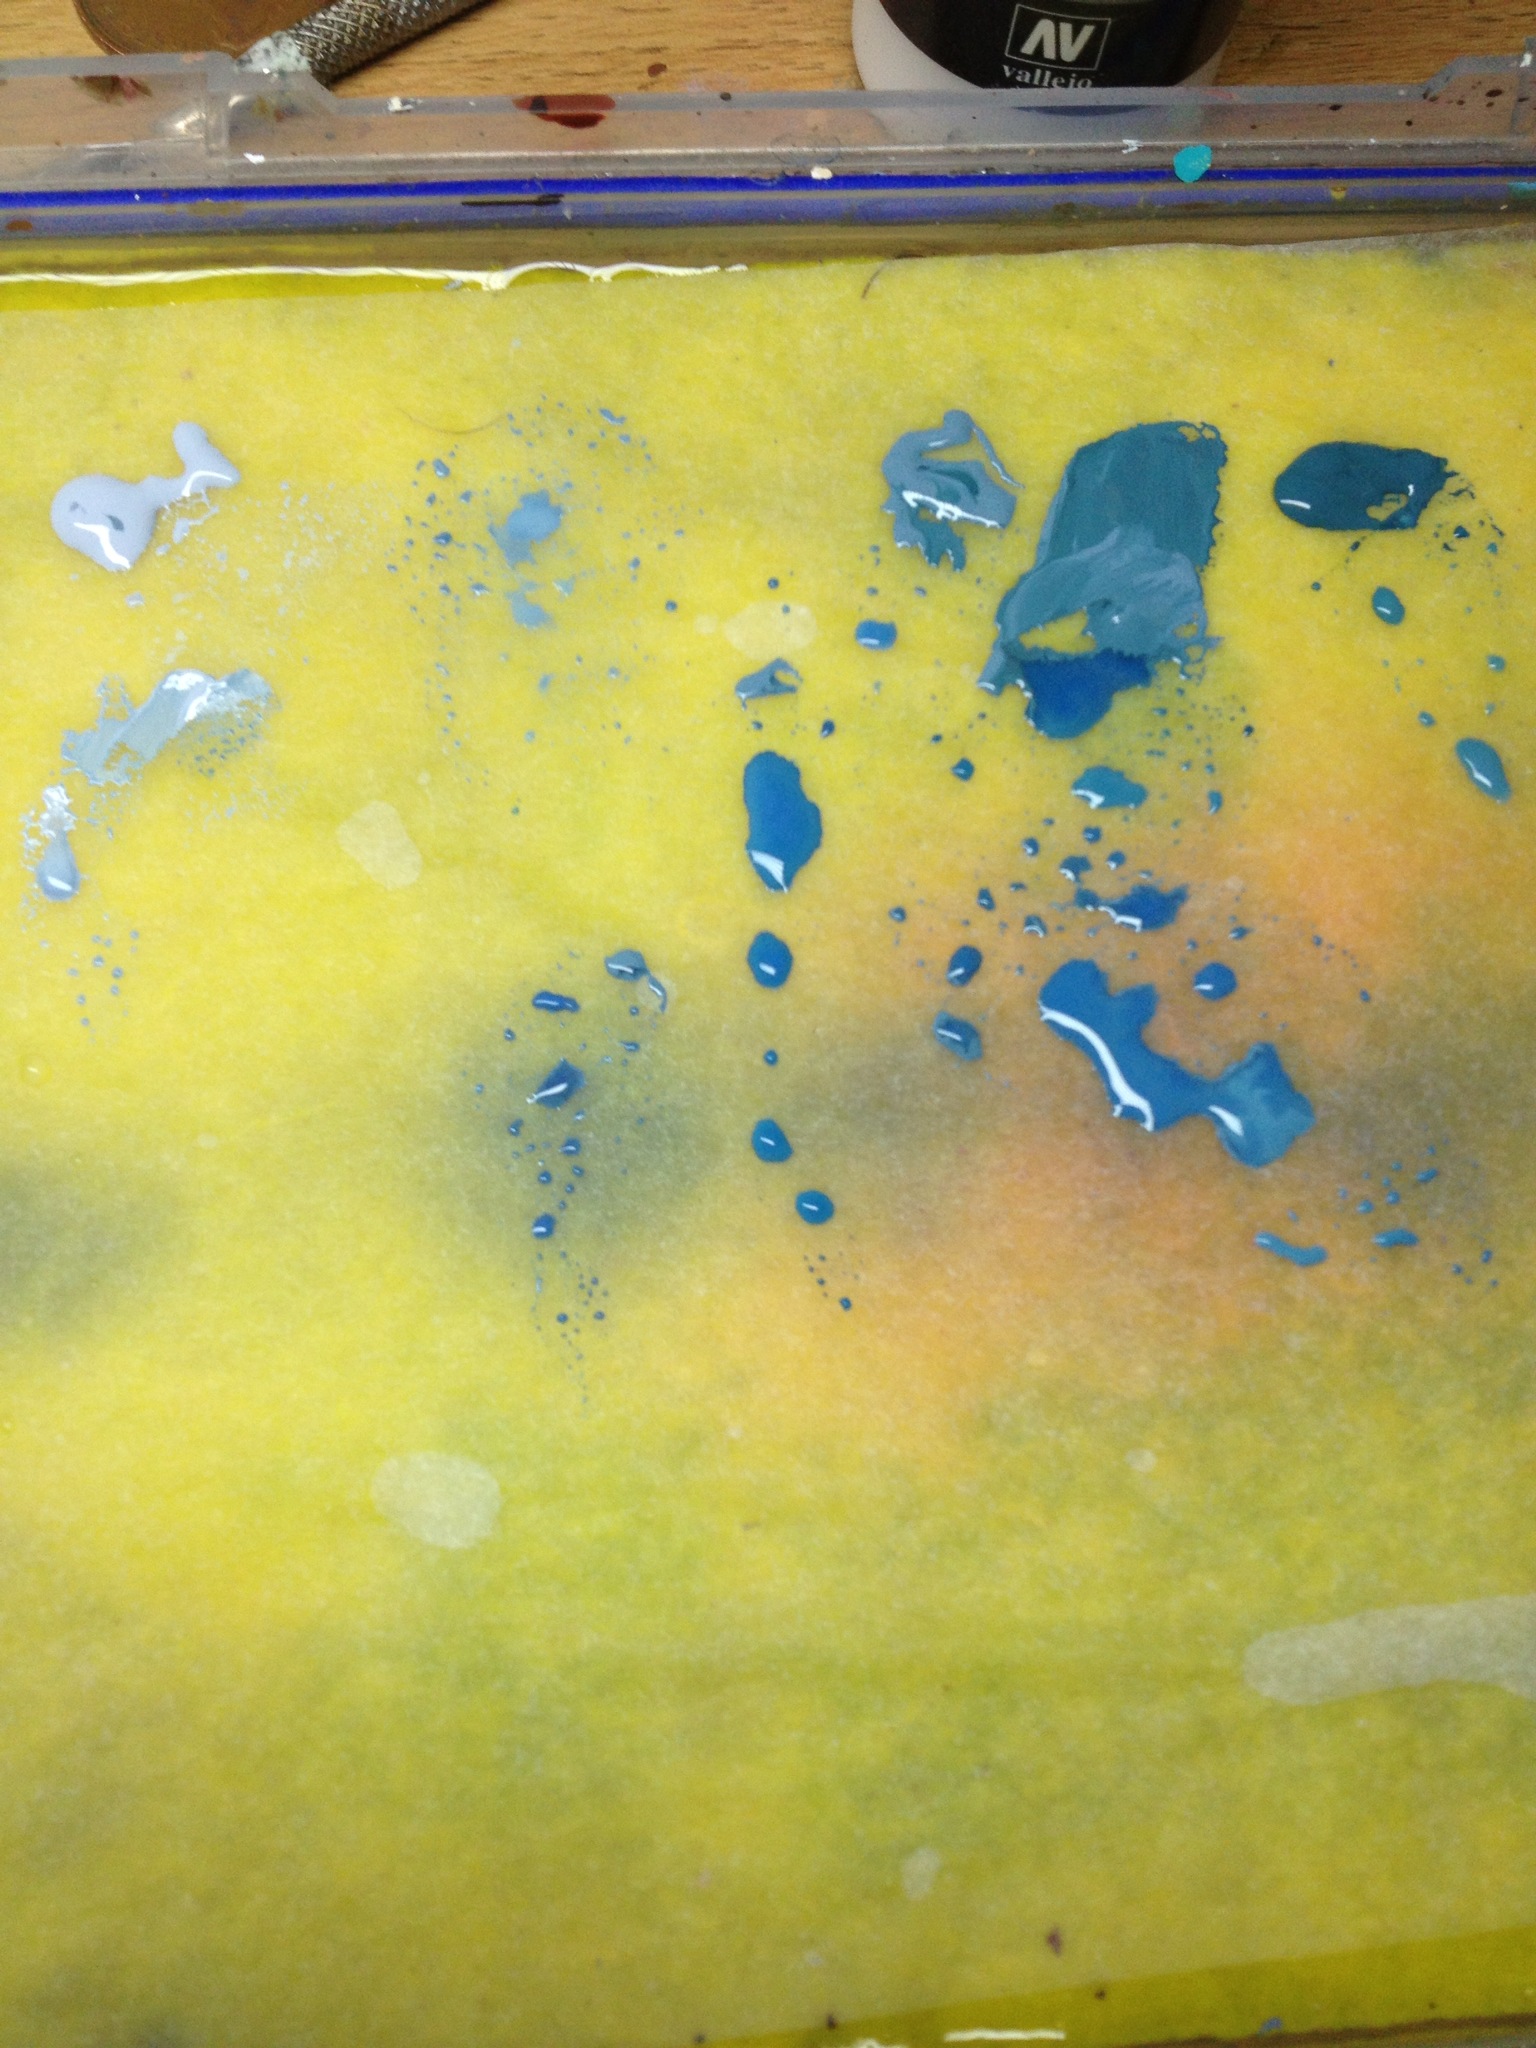
As you can see from the palette, the paint is extremely thinned, and now has a layer of the SC7 – Caspian Blue. mixed with the previous SC6. That was the shadows almost done. I wanted to start on the highlights. I went back over the highlight areas with pure SC5, and then added a little of the SC1 which was a pure white.
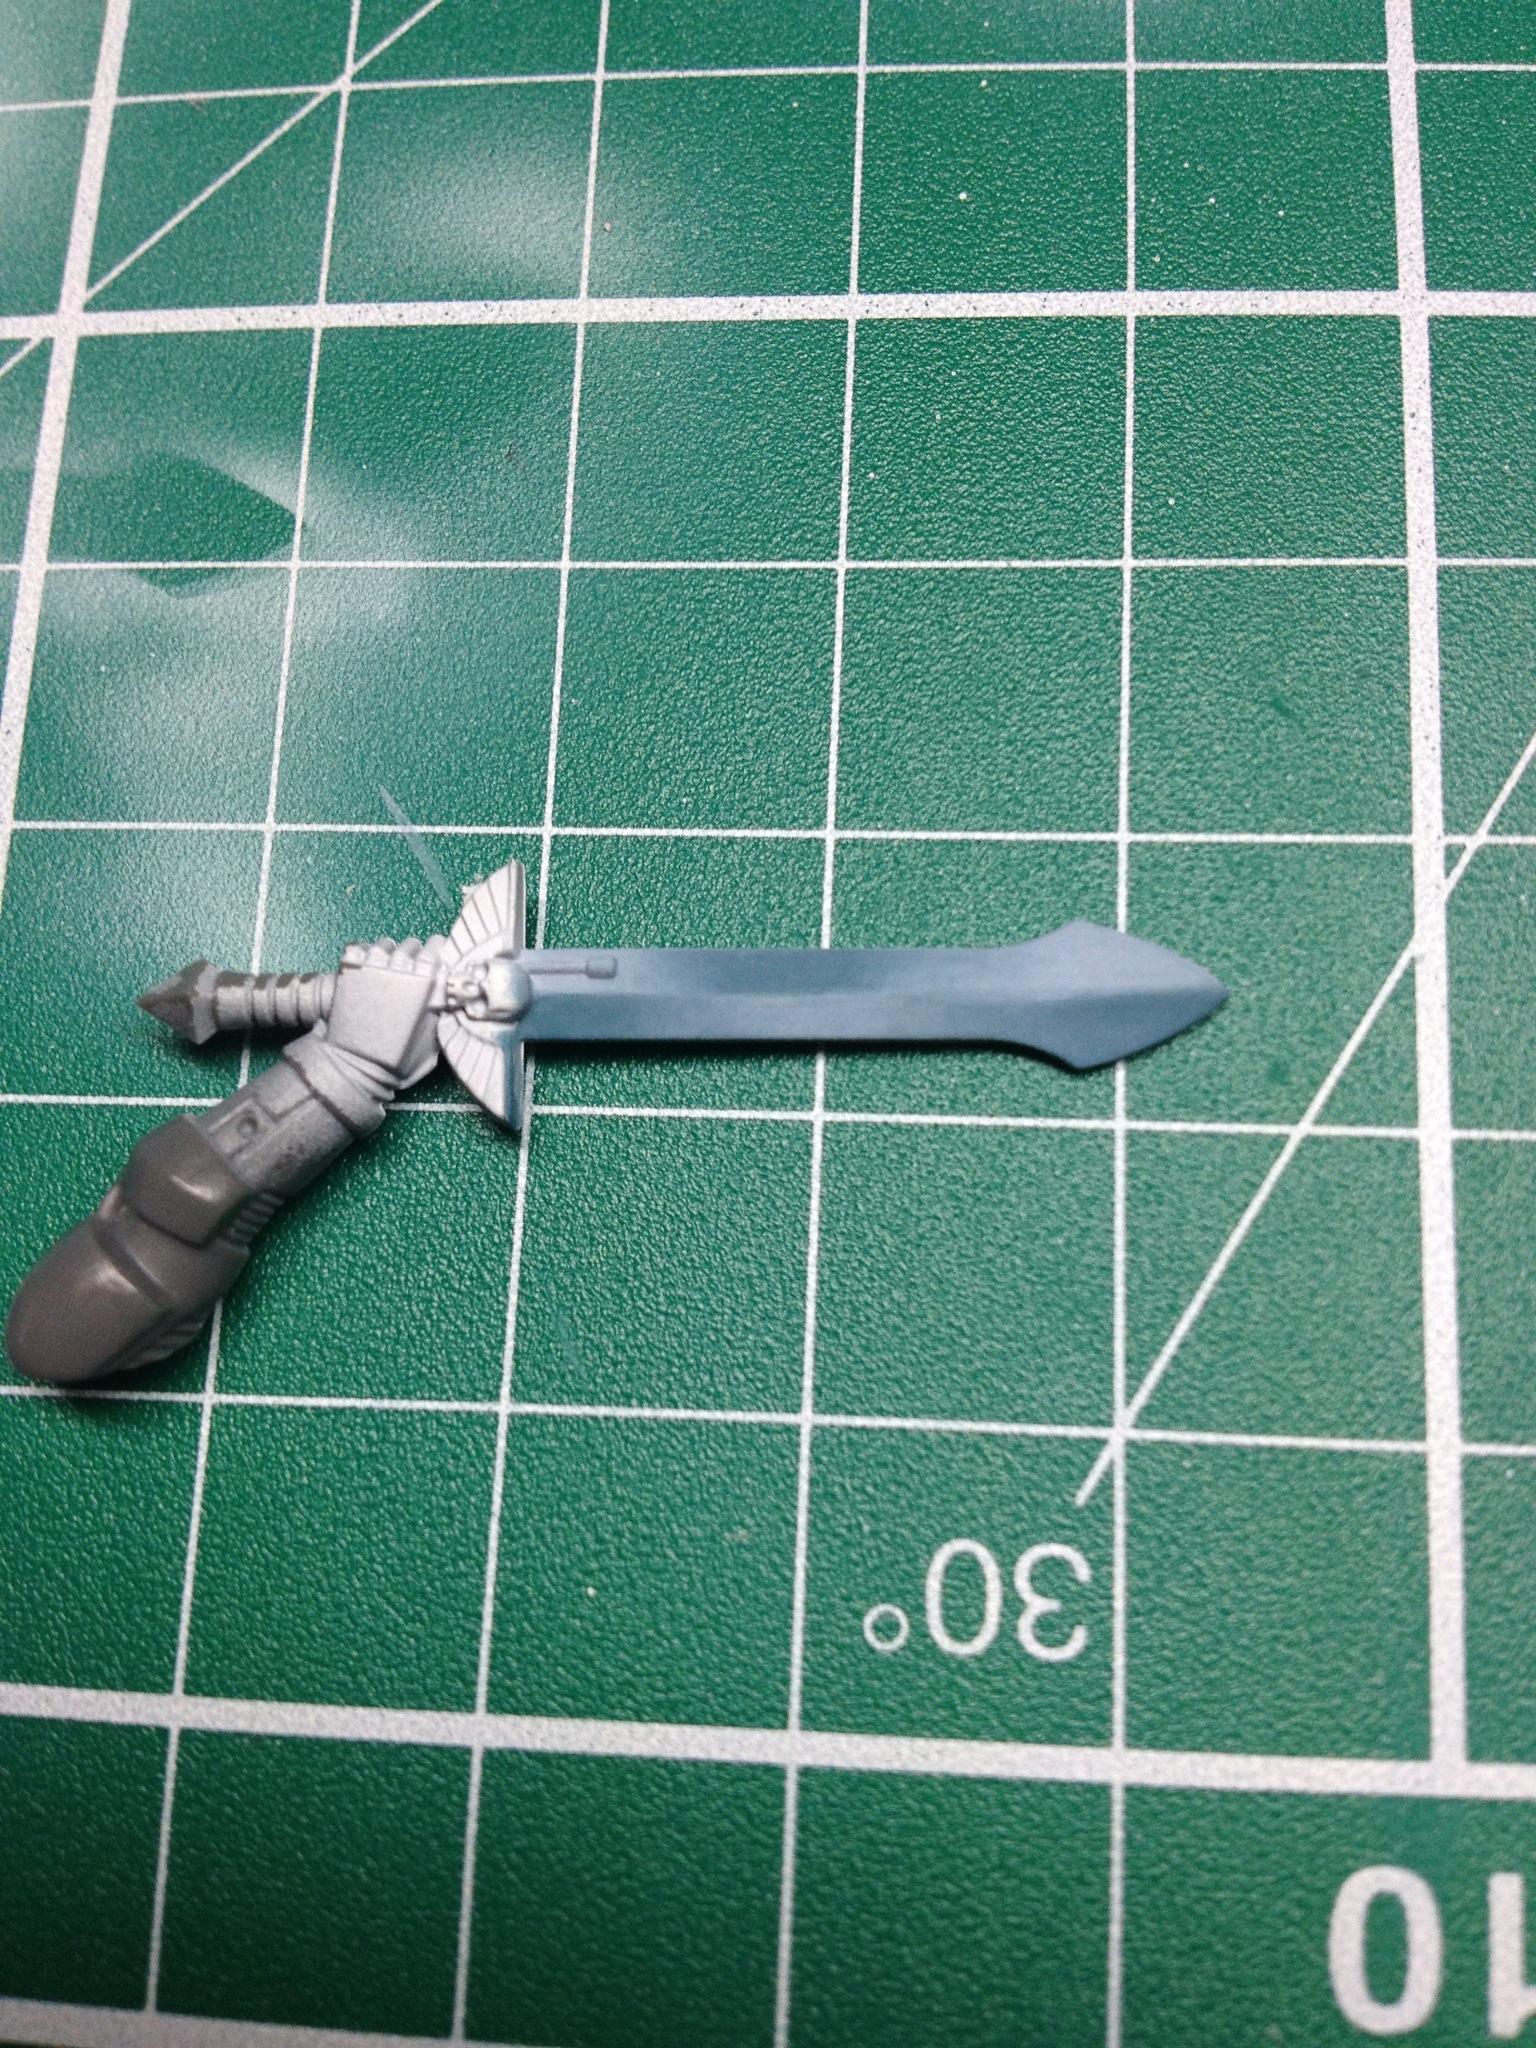
And I thought that this would be it. I stuck the image on Facebook incase any painter mates had some feedback they wanted to drop. And after some feedback from Chris Octive, whos classes I have attended in the past, I was advised to darken the shadows even further, and another mate Sean advised me to throw an edge highlight on, I ended up with this.
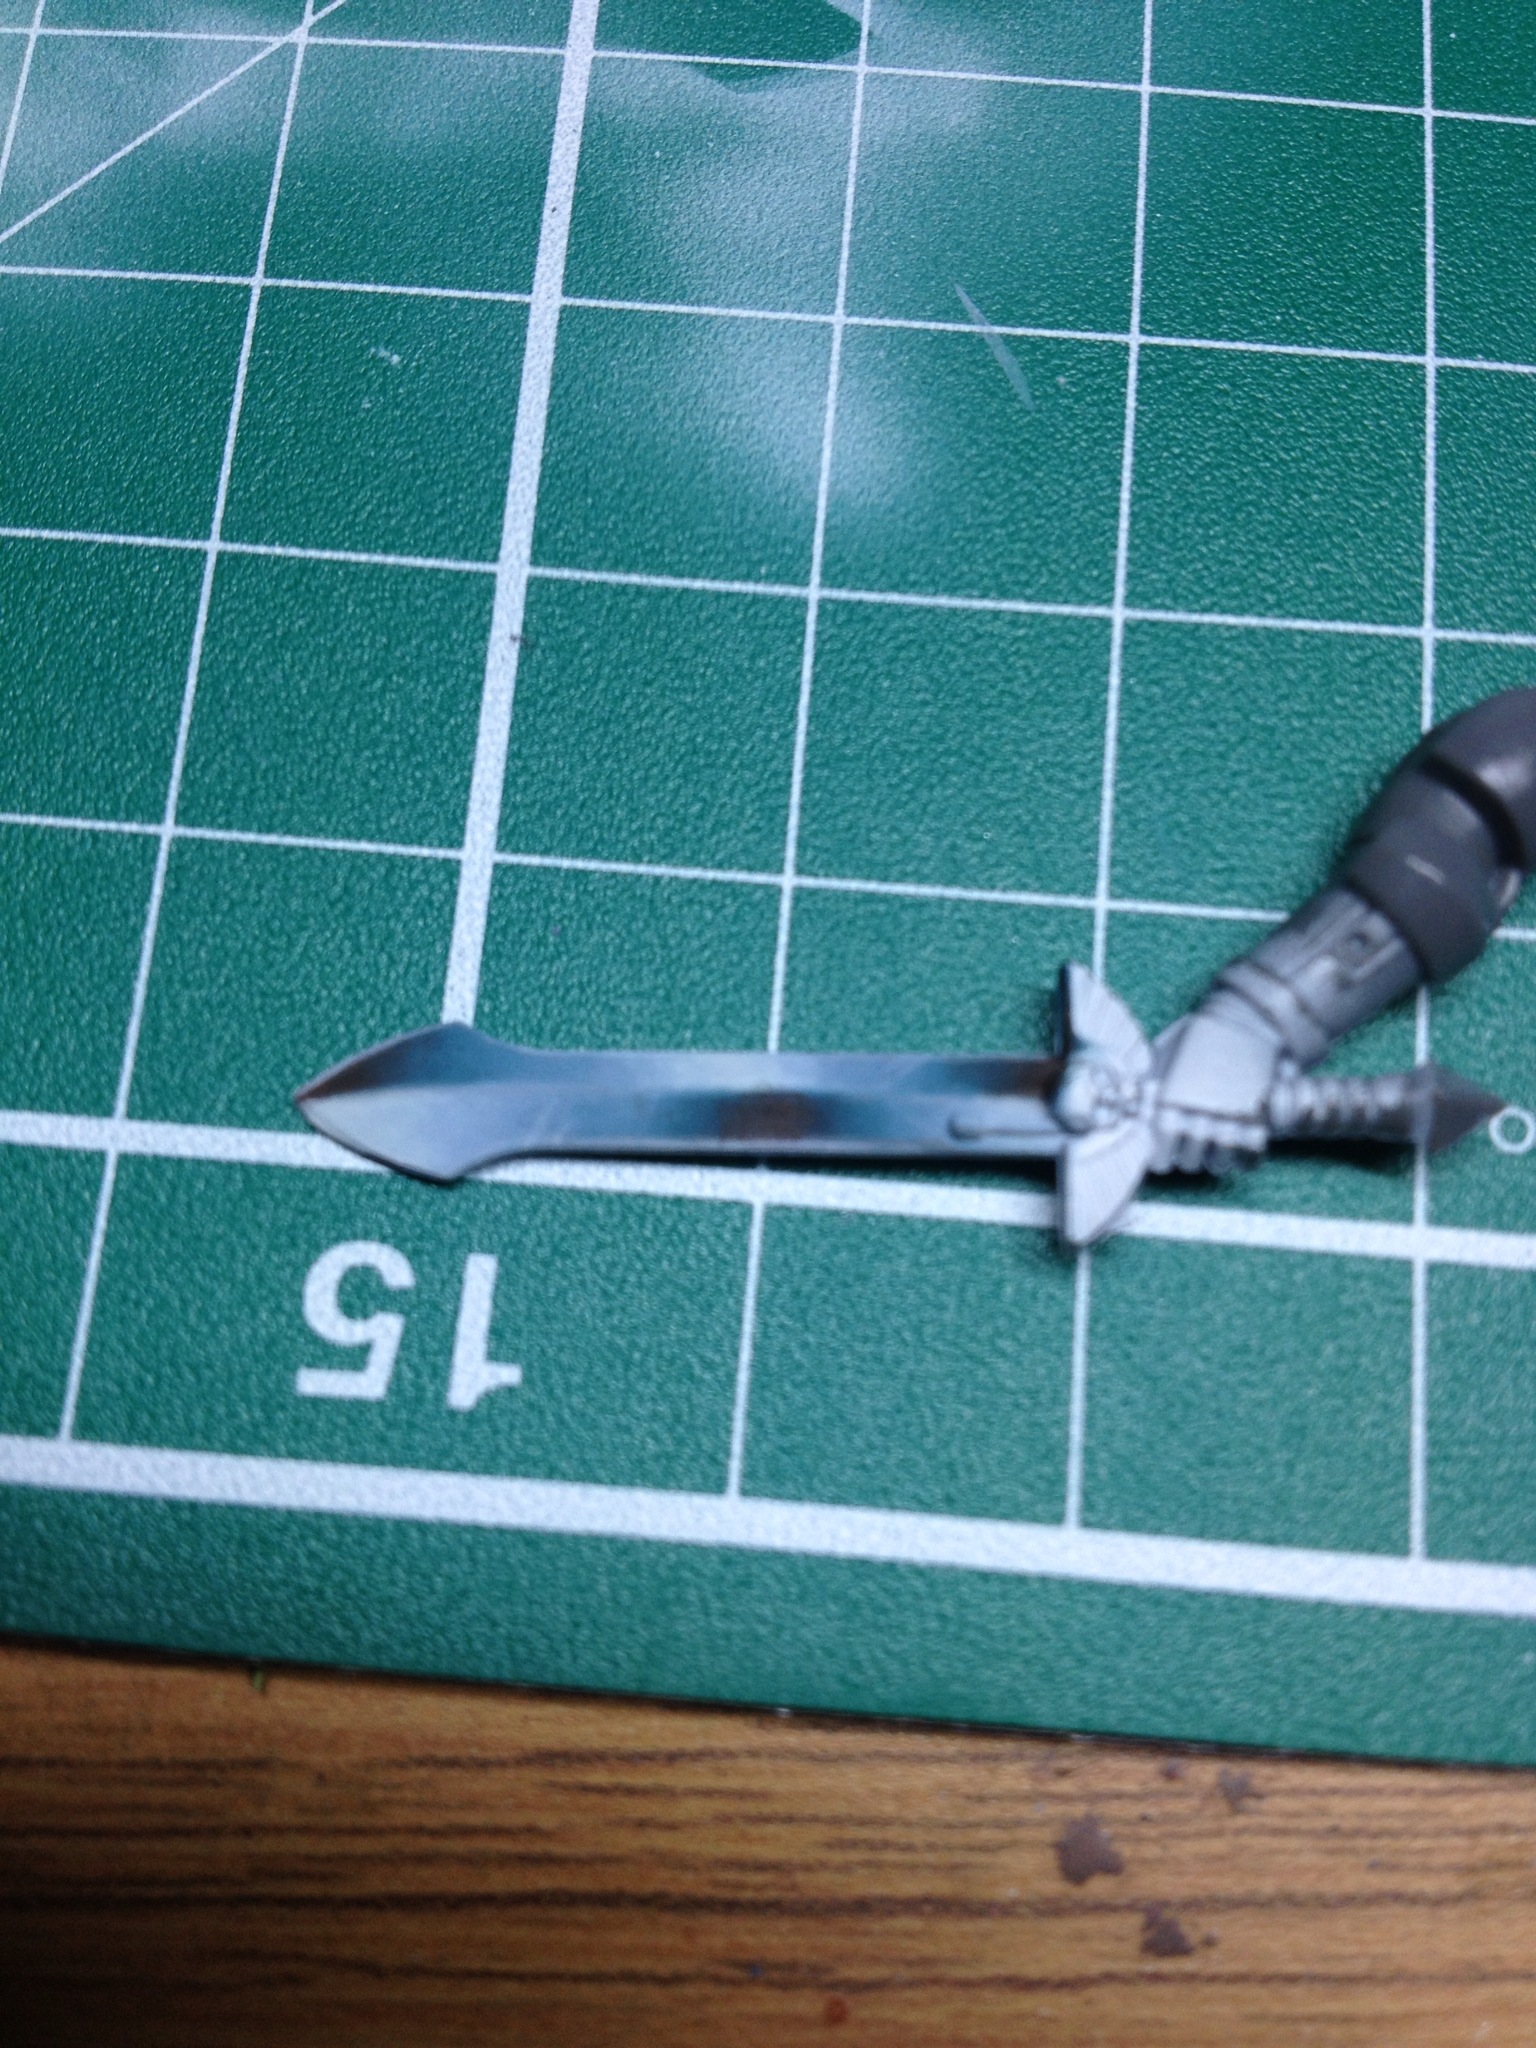
This has a little orange in the shadows to compliment the other colours, and a slight edge highlight. In conclusion, while you could certain;y create all of these shades using Vallejo Model Colour, this set has proved extremely handy, and I will absolutely be using it in the future as a handy go-to for a really nice finish. There is a guide on standard steel, which I will be following along with at some point this week and throwing up on here too, so expect that soon.
You can buy the Scale 75 paint sets for NMM Steel, Gold, and flesh from the excellent Historex website.
This review was created while listening to the new Turnstile, from Reaper Records. Listen to this, then buy the record:
[youtube=http://www.youtube.com/watch?v=lwu43VNfzk4]
Pingback: Scale 75 – NMM Sets. Part 2 (of 4) | COREHAMMER