See that metallic sheen, that’s what you’ll end up with on your models at the end of this if you do it right.
This is the second of my heresy era painting guides, think my paint’s too thick, you can fuck right off, as this doesn’t even use any proper paint.
This is a guide for the red armour, worn initially by the Gal Vorbak, but which was spreading throughout the legion by the time of the drop site massacre. It’s the method used to get that deep glazed metal effect you see in the Forge World game books.
You will need:-
Word Bearers primed in black
Silver Rub n Buff
A dry brush, or small makeup brush with soft bristles
Tamiya Clear Red
Thinners
Red ink/wash of your choice
An airbrush (this might work with a standard brush, if you take your time)
Step 1 – Dry brush that silver rub n buff lightly over the model, you want to build it up slowly, paying more attention to the raised areas and areas the light will catch naturally. The dry brush motion will polish it up in those areas and you’ll get a real gleam. Remember, your black base coat has to be 100%, as this will form the shadows, so no bare resin.*
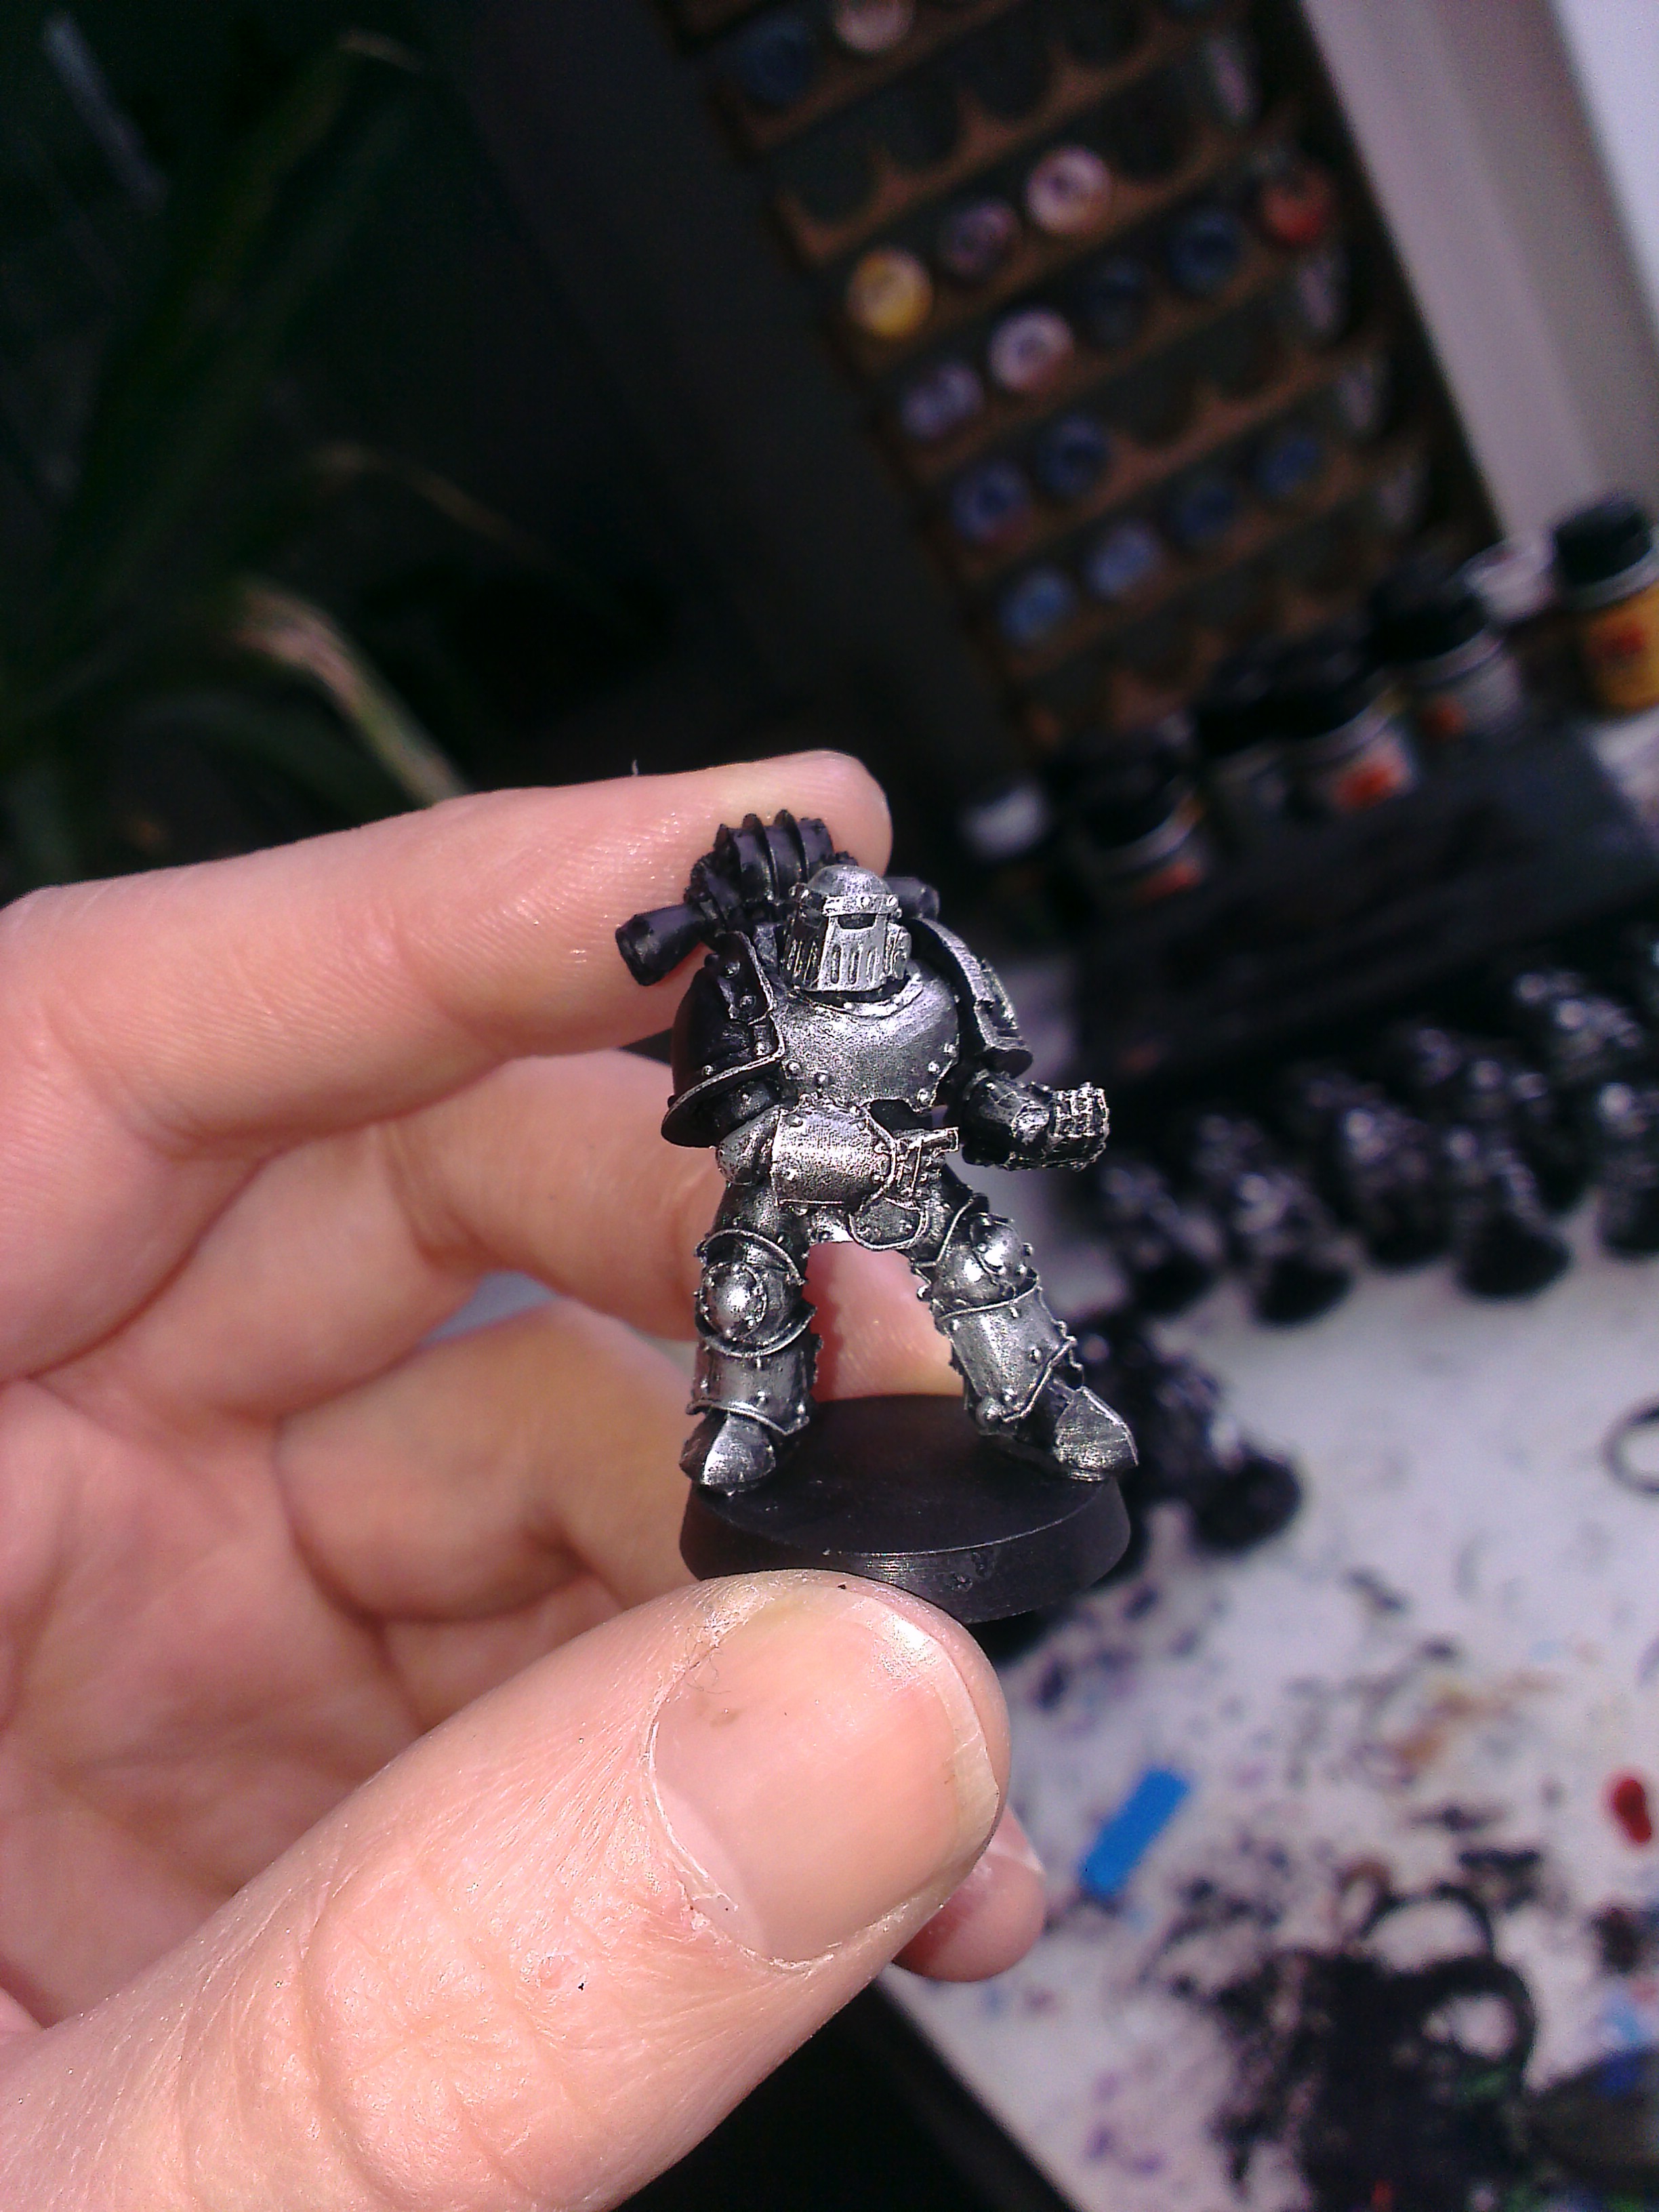
Looks a bit messy at this stage, don’t worry, the glazing will tone it all down, don’t bother with the shoulder pads nor backpack either as they’re black anyway.
*This is also a great starting point for Iron Warriors, you get a really solid bare metal look you can then add layers of weathering washes to to dirty up, oil washes, black ink, etc. Certainly how I’d do them having got used to the use of Rub n Buff.
Step 2 – Fire up the airbrush, and give the model a light coat of red ink. You’ll see where were going with this now, that dried blood description so common in the books.
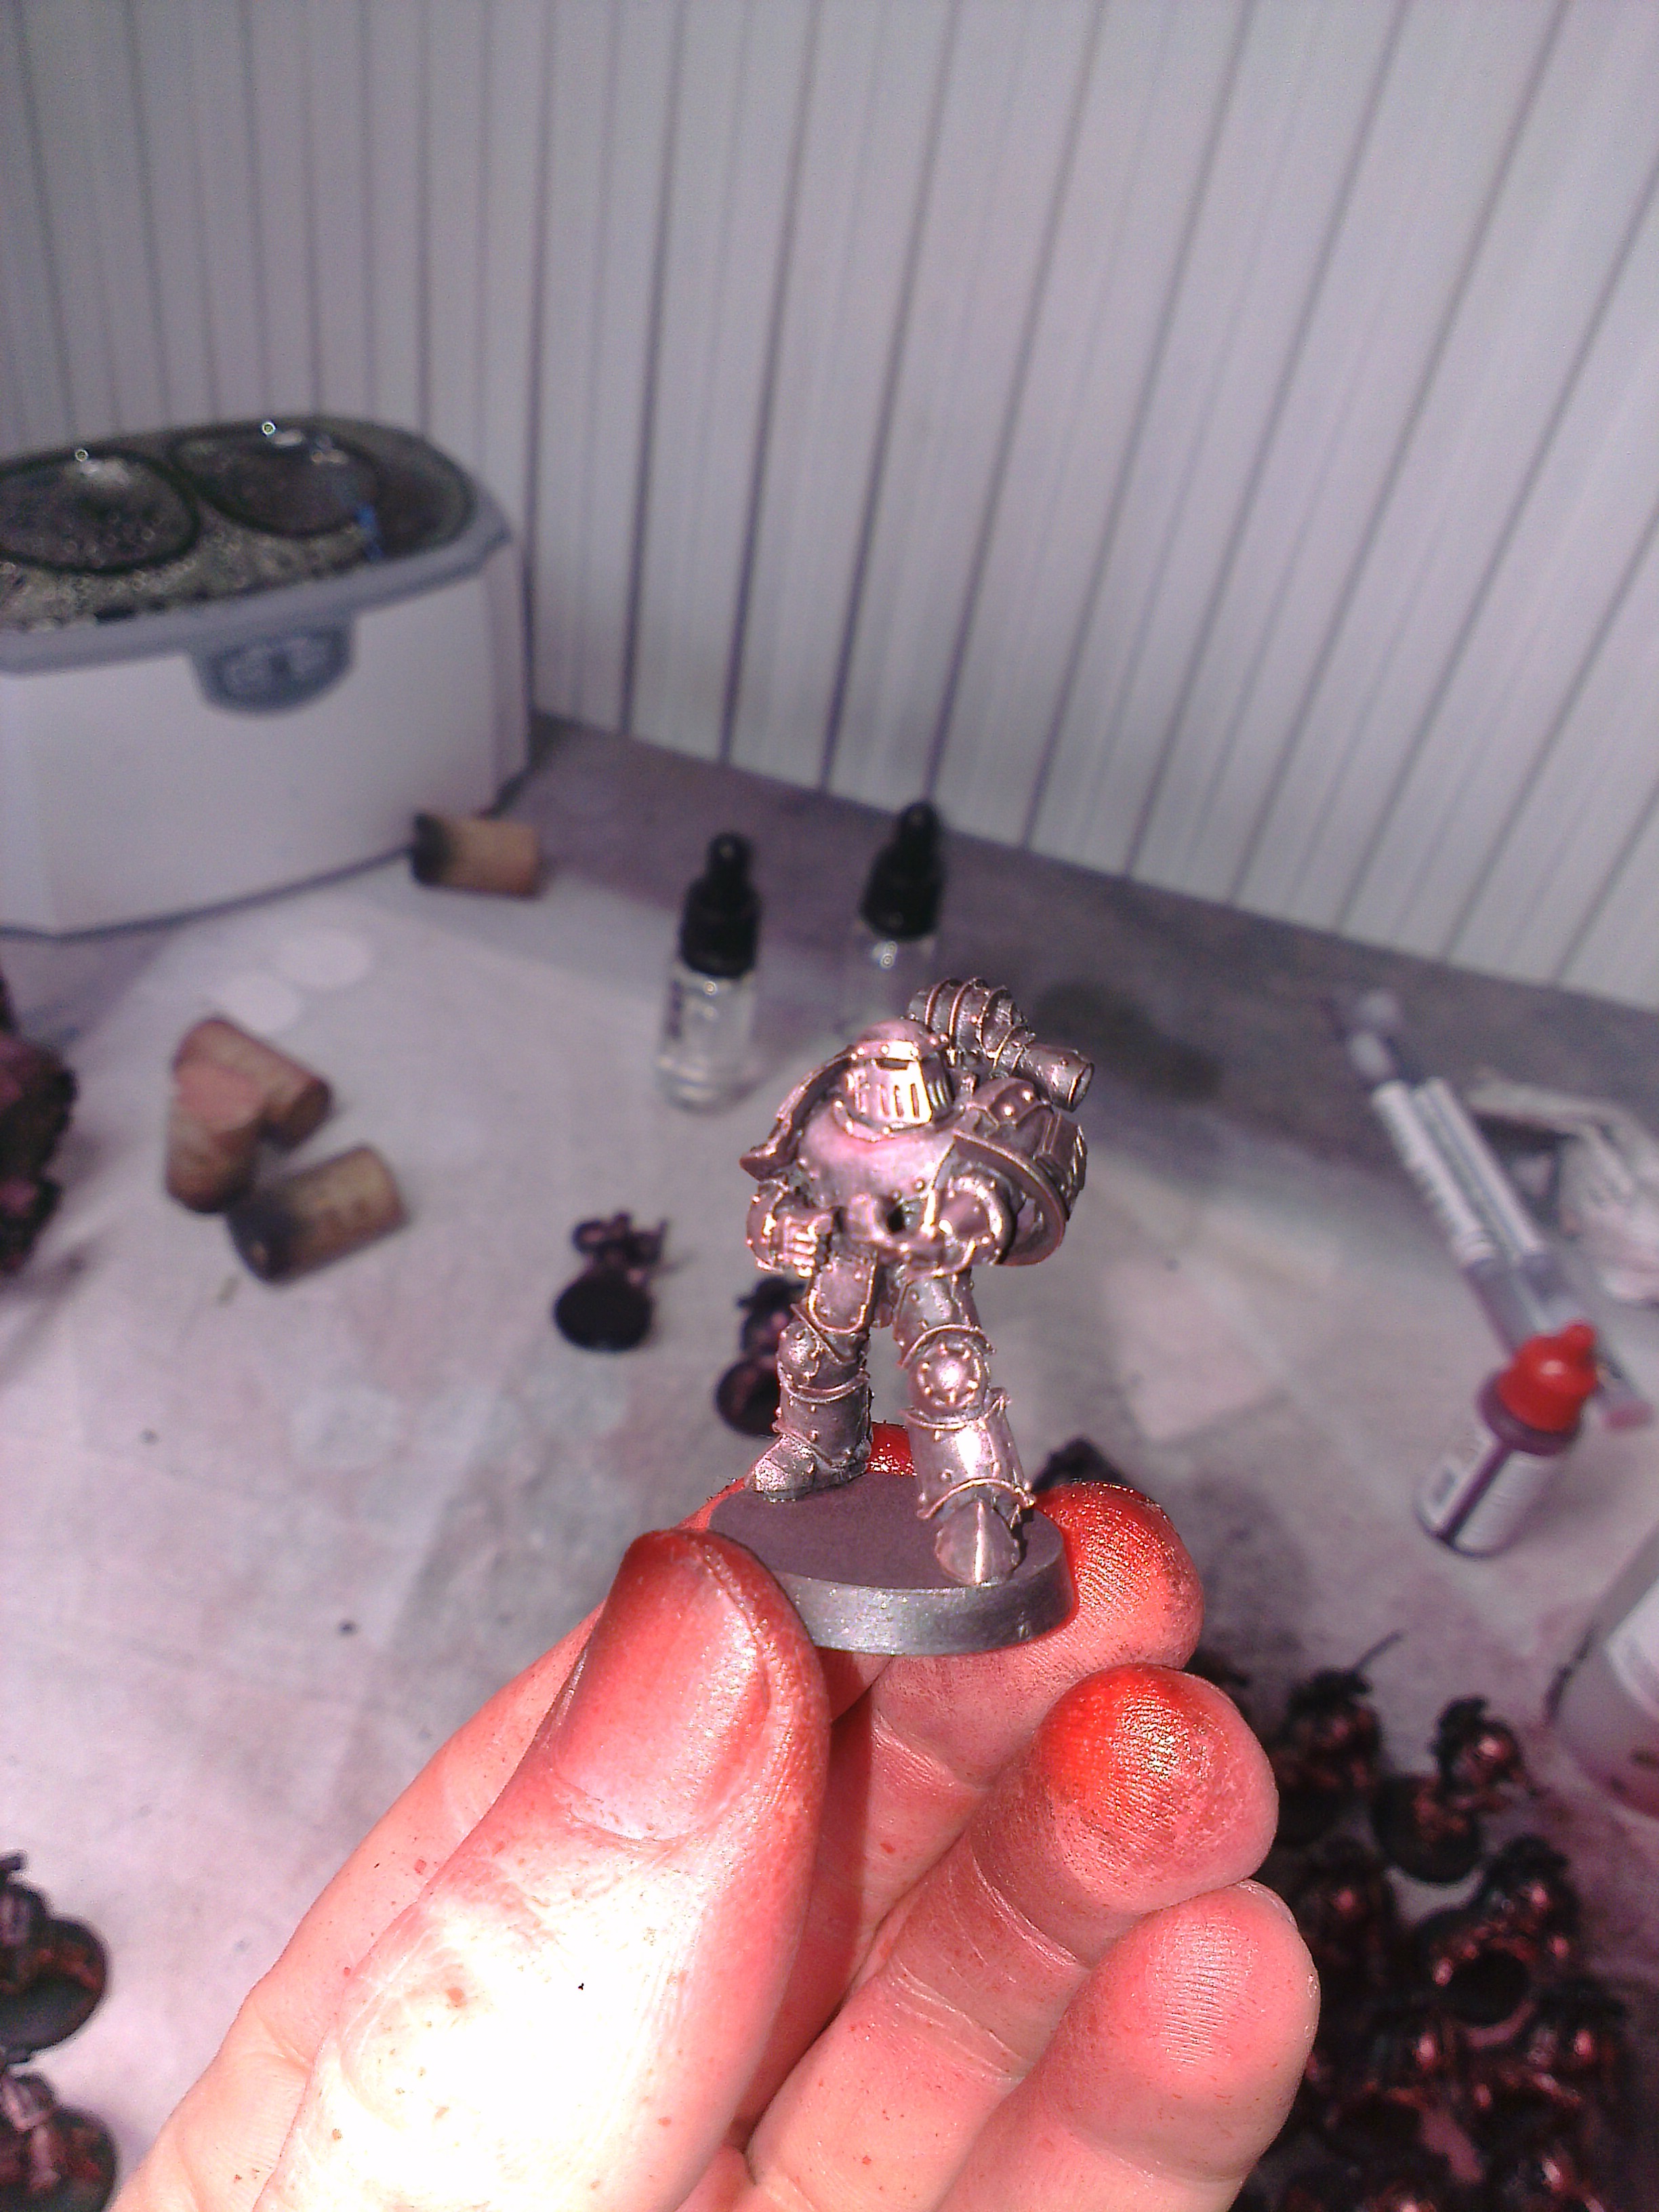
Looks a bit shit at the moment, don’t worry, it will come together.
Steps 3,4 and 5 – Apply a thin coat of Tamiya Clear Red, 3 times. This is where a production line comes in handy, by the time you’re finishing up the last one, the first is drying out. Use thinners here, not acrylic medium as Tamiya paints aren’t acrylic, you’ll only end up with a red goop. Might be an idea to use a hair dryer here too in light passes, but DON’T go overboard, as resin heats up real fast and will warp, bend, snap and do all sorts of other stuff you don’t want it doing right now.
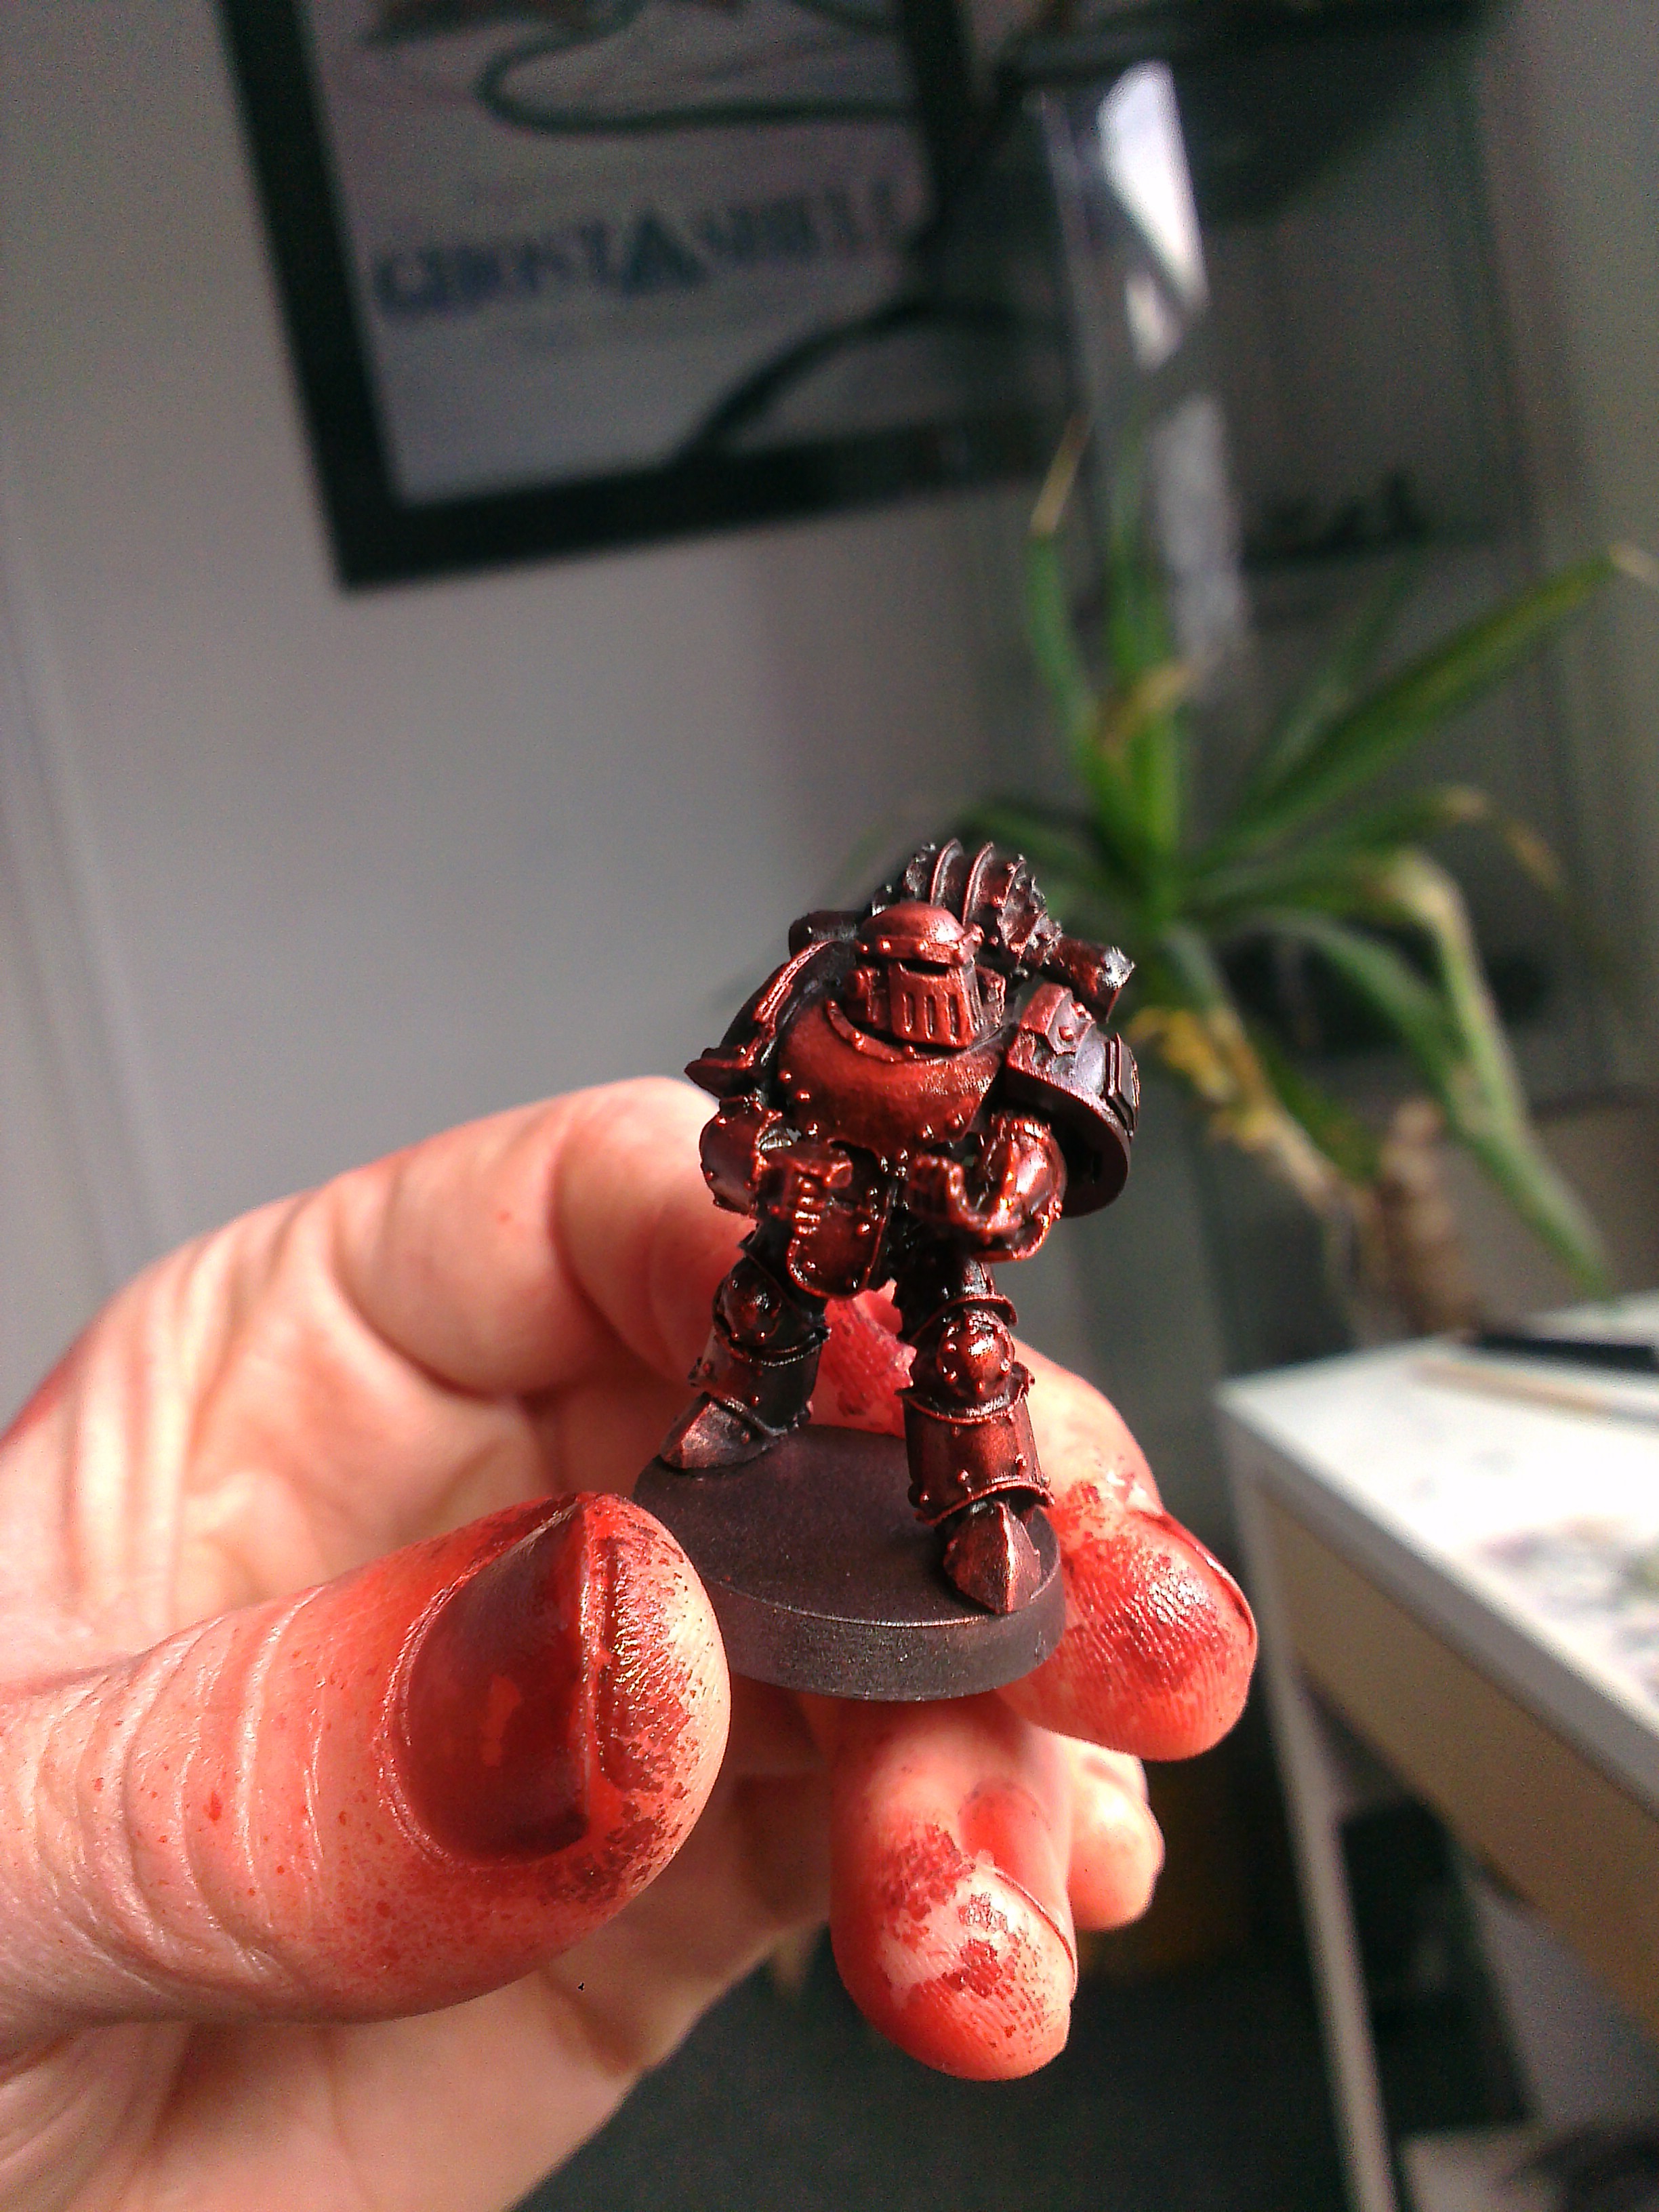 Step 6 – Final coat of your red ink, this tones it down and makes an acrylic surface for you to paint details on. You should now have a really deep polished red metal look.
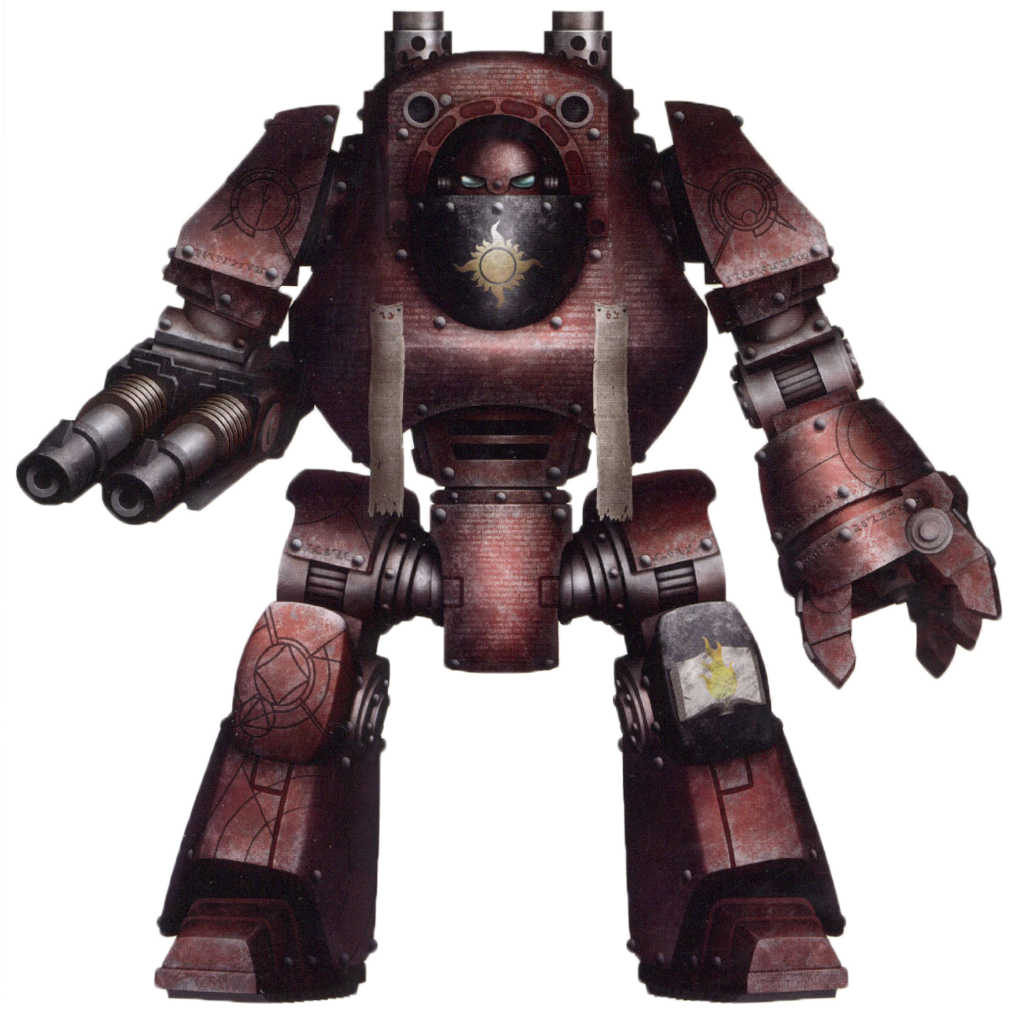
You can also use this method for armour, here’s the beginnings of a 17th legion Sicaran, done in exactly the same way, just take a lot longer dry brushing those panels, you want a really smooth finish done in a rounded motion here.
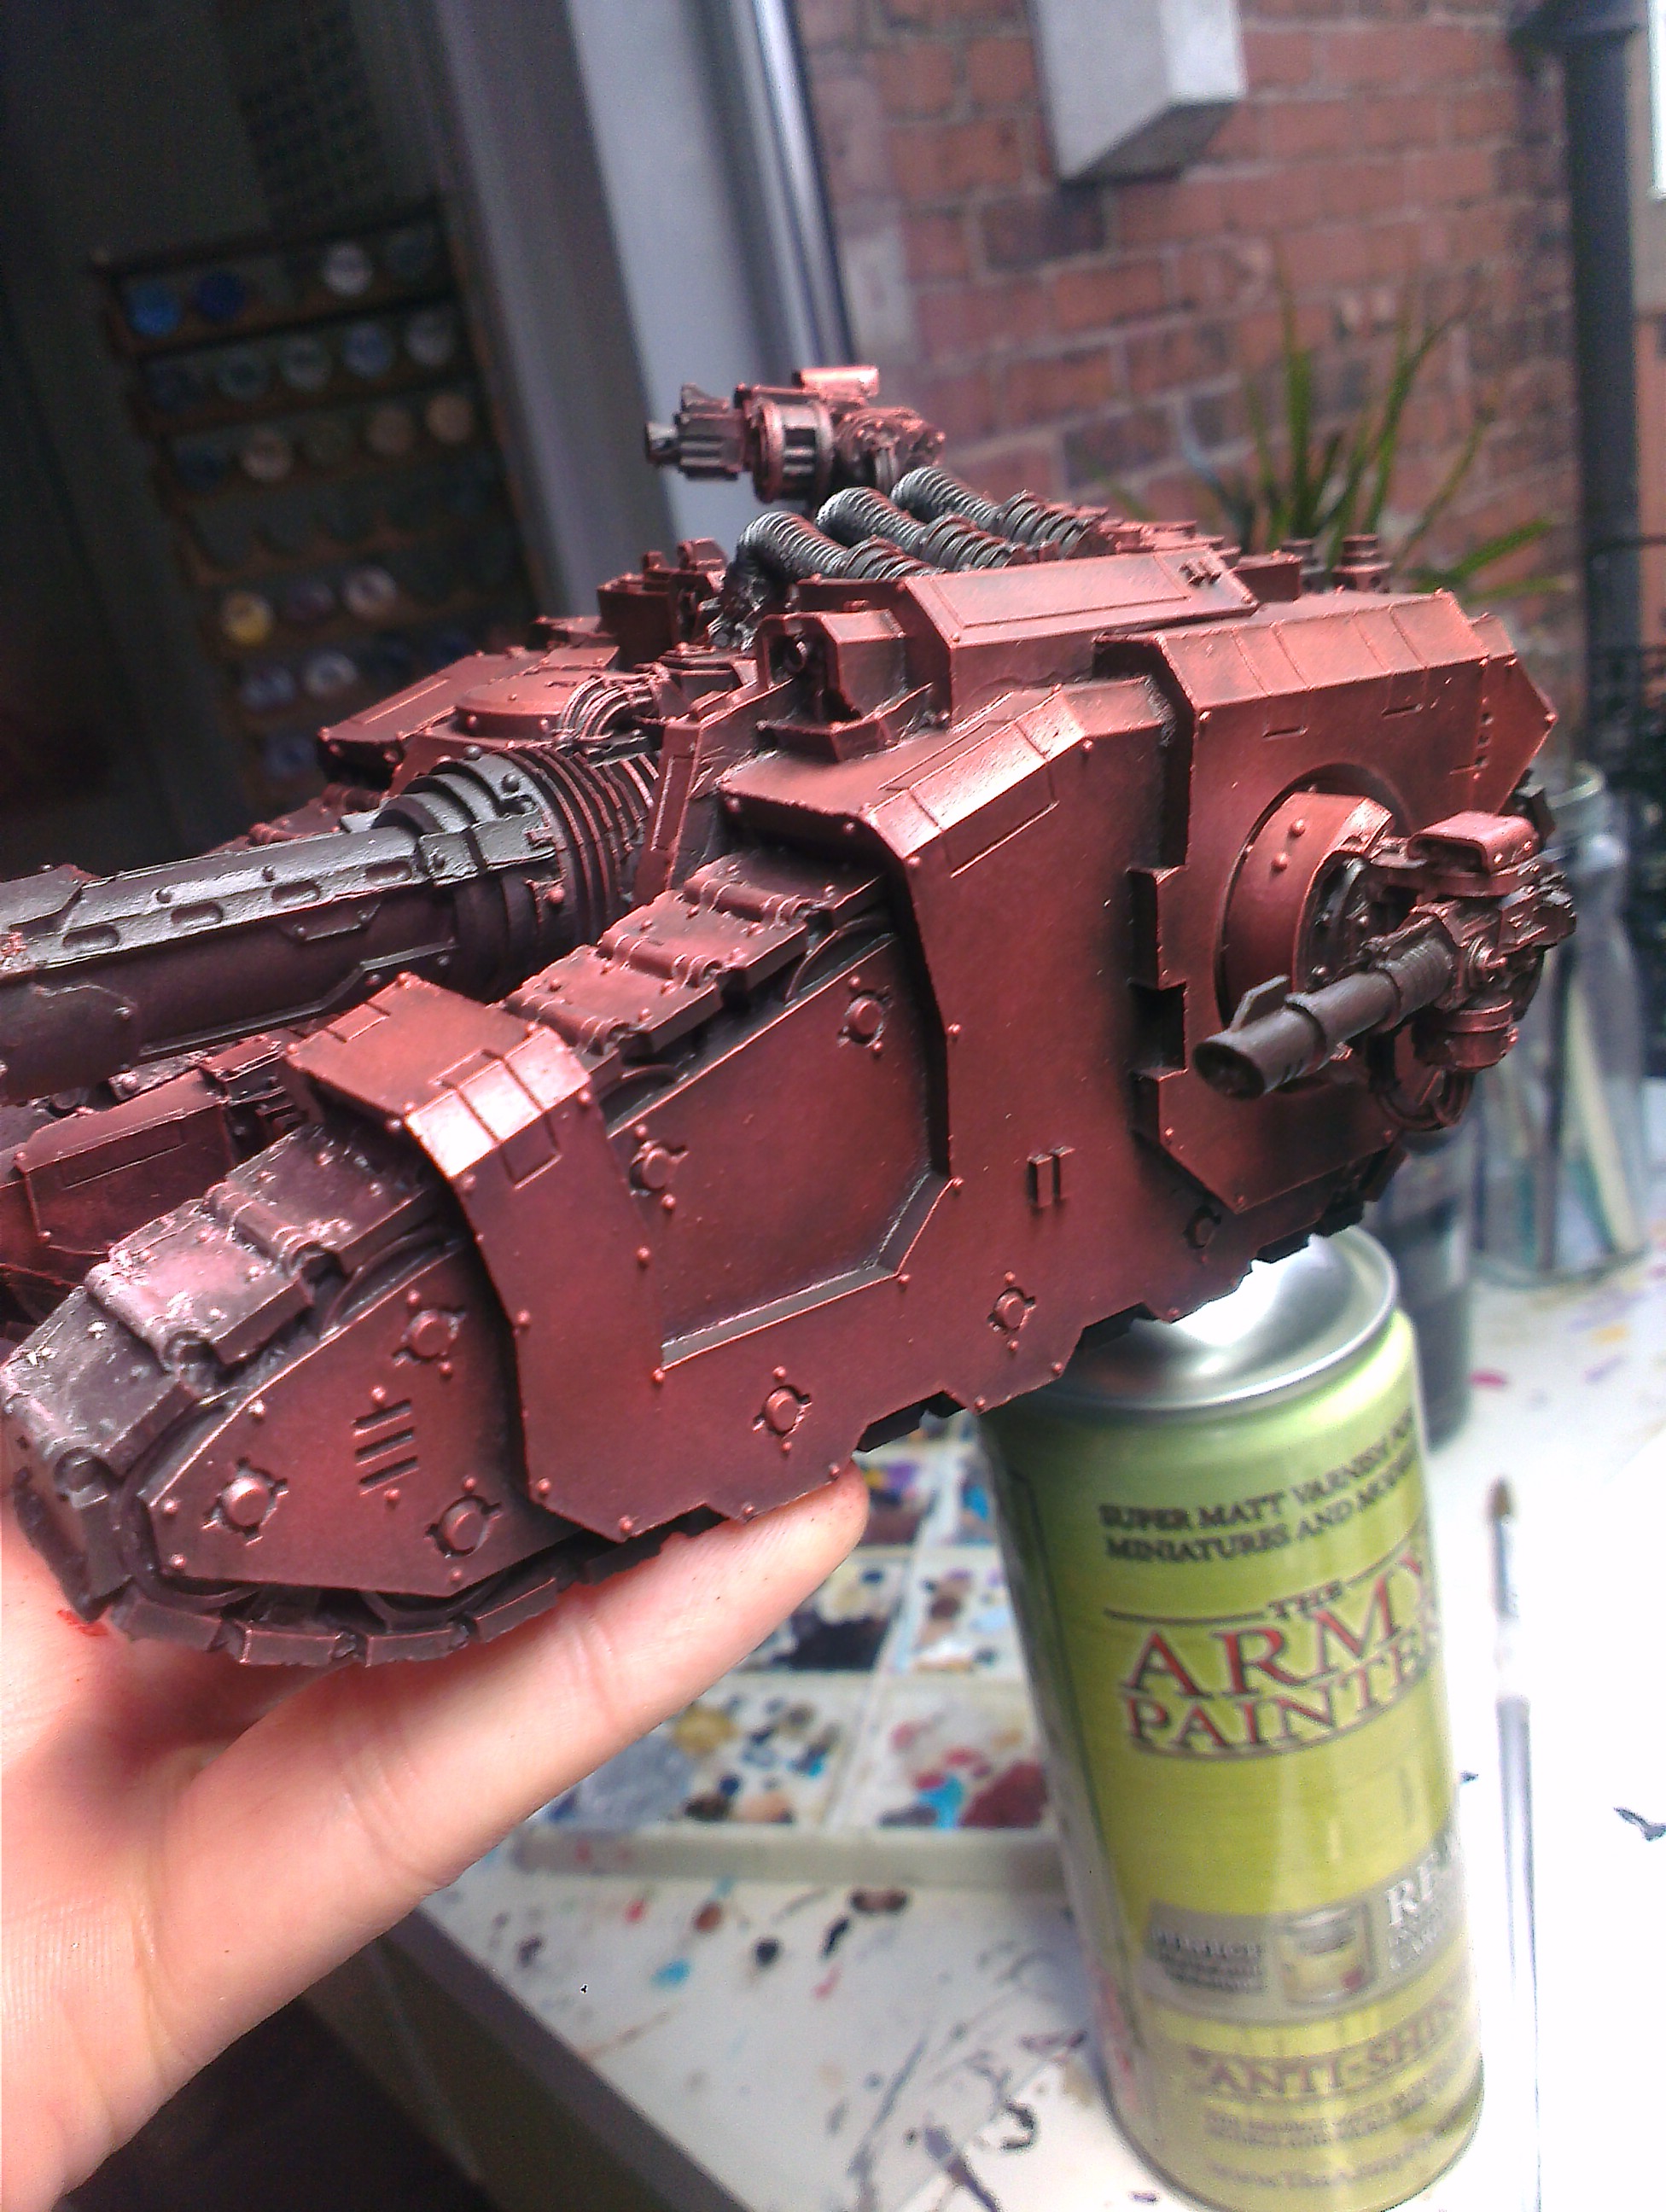
Take longer building up that rub n bufff on those armour panels, your patience will pay off.
If you are doing armour, one thing to bear in mind is that first coat of inks going over metallic oil, so you could do with something like Klear or varnish in that mix to break the surface tension to stop it pooling, and build up those layers really finely. Okay, there are going to be layers of grime over it eventually, but you want a solid base to begin.
And that’s it, no more, no less. You can go ahead and paint the metallic face grills and iconography now to finish them up. After a bit of messing I found thin Ulthuan Grey and Bleached Bone to be good for the scripture, don’t go mad on it though, a little is more on your troops. Don’t use white either as it looks like a a child’s chalk board.
I’m working on the Colchisian star charts to go on the side of that tank, using a gold marker and circular stencils, I’ll do a 1.1 article on those aspects if it works out. You could freehand those patterns if you have a steady hand but I’m very, very bad at free handing designs on models.
I’m currently working on something similar to the above glazing to get the grey pre-heresy metallic armour for the 17th, and will do a full how-to if it works. I’ll also go over how to weather up a pearlescent tank as its slightly different due to the finish you’re looking for.
Tell me more about this klear? Is it something you can use as a varnish when everything’s finished?
It’s the pledge future floor wax I was on about the other week which is a gloss varnish substitute basically. Great stuff and works well added to washes too.
Hey bud, I’m attempting the paint scheme as well. Just wondering do you work the rub n buff into all the recesses or leave them black?
Leave them mate, they’re your shadows. You can add oils to add more depth but that black will do most of it for you.
Thanks for getting back to me. I airbrushed some carroburg Crimson onto the first model and I wasn’t happy with how it looked, but I’ll keep on trying.
It will look pink before you layer on the Tamya like in the pic, take your time, and it will come together. The last layer of crimson will darken that armour to blood red.