Whatever I’ve done, I’ve been staring down the barrel of a gun.
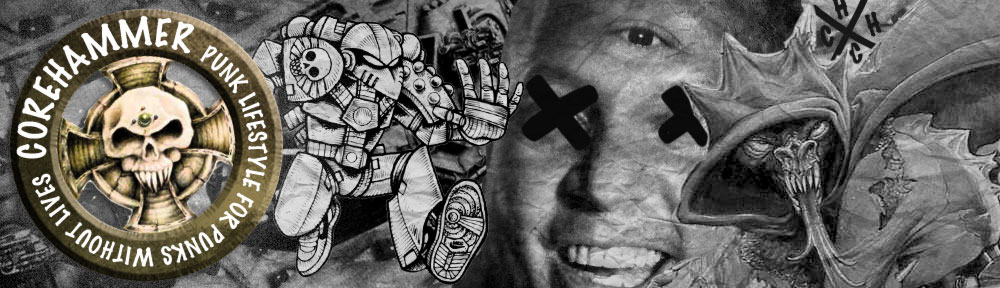
This is the final stage in modelling your fellblade or whichever tank you’re following along with, from raw resin straight outta the Forgeworld bags, through a nice neat paint job, and now you’re gonna make it look all messed up and battered.
There are a few tools here I’m going to use you might want to pop out and grab, as they’ll come in handy for every other vehilce you do from now on. They are: black and burned umber oil paints, white spirit, gold and silver Rub n Buff (a metallic oil paint basically) and weathering powders. I use Secret Weapon myself, I find their grain much finer than other brands I’ve used. They cost a few quid more but you get a better finish, its up to you though, whichever brand you’re comfortable using.
When I built the tank, I wasn’t building it with a guide in mind, but having built it, it seemed appropriate given the issues which presented themselves.
I have no in progress shots of the weathering techniques I used but what I can do is get some pics up and do some step by step blocks of text, which to be fair will be more informative than some of the vague step by steps that miss out sections you get in AFV model magazines.
To begin with, the major part of the tank is purple, I’ve already been over with you how to get a solid looking purple hull here. What we’ve done there is color modulation, you don’t strictly need to know what that is but if you want to read more, there are plenty of articles about it, this one by Mig Jimenez is particularly good. Essentially, you know the way you create super defined shades and highlights on your models? Well this is the same but creating them on flat armour panels on model tanks. What you’ve done is make the armour panels pop by using different shades of purple. You should seal the tank now the basic paint job is complete, this is how it would look coming out of the manufactorum more than likely.
To weather it, I took the Red Scorpion guide from the Forgeworld Masterclass book, and edited it to suit purple. First, I chipped the whole tank using sponge, fine sponge is great here, from pluck foam packs or blisters. Mix up some black and dark copper (Tin Bitz), tear off a nice rough piece of foam, keeping it small, and dip it in. Begin applying that to the armour edges, where you think the most wear and tear would occur. Lower hull edges, walk ways, ladders, moving joints, these are the places the paints going to wear out the most. Now, let that dry, then do the same but slightly lighter, using boltgun metal, leaving lots of the dark copper showing through. Then the same but even lighter with Chainmail.
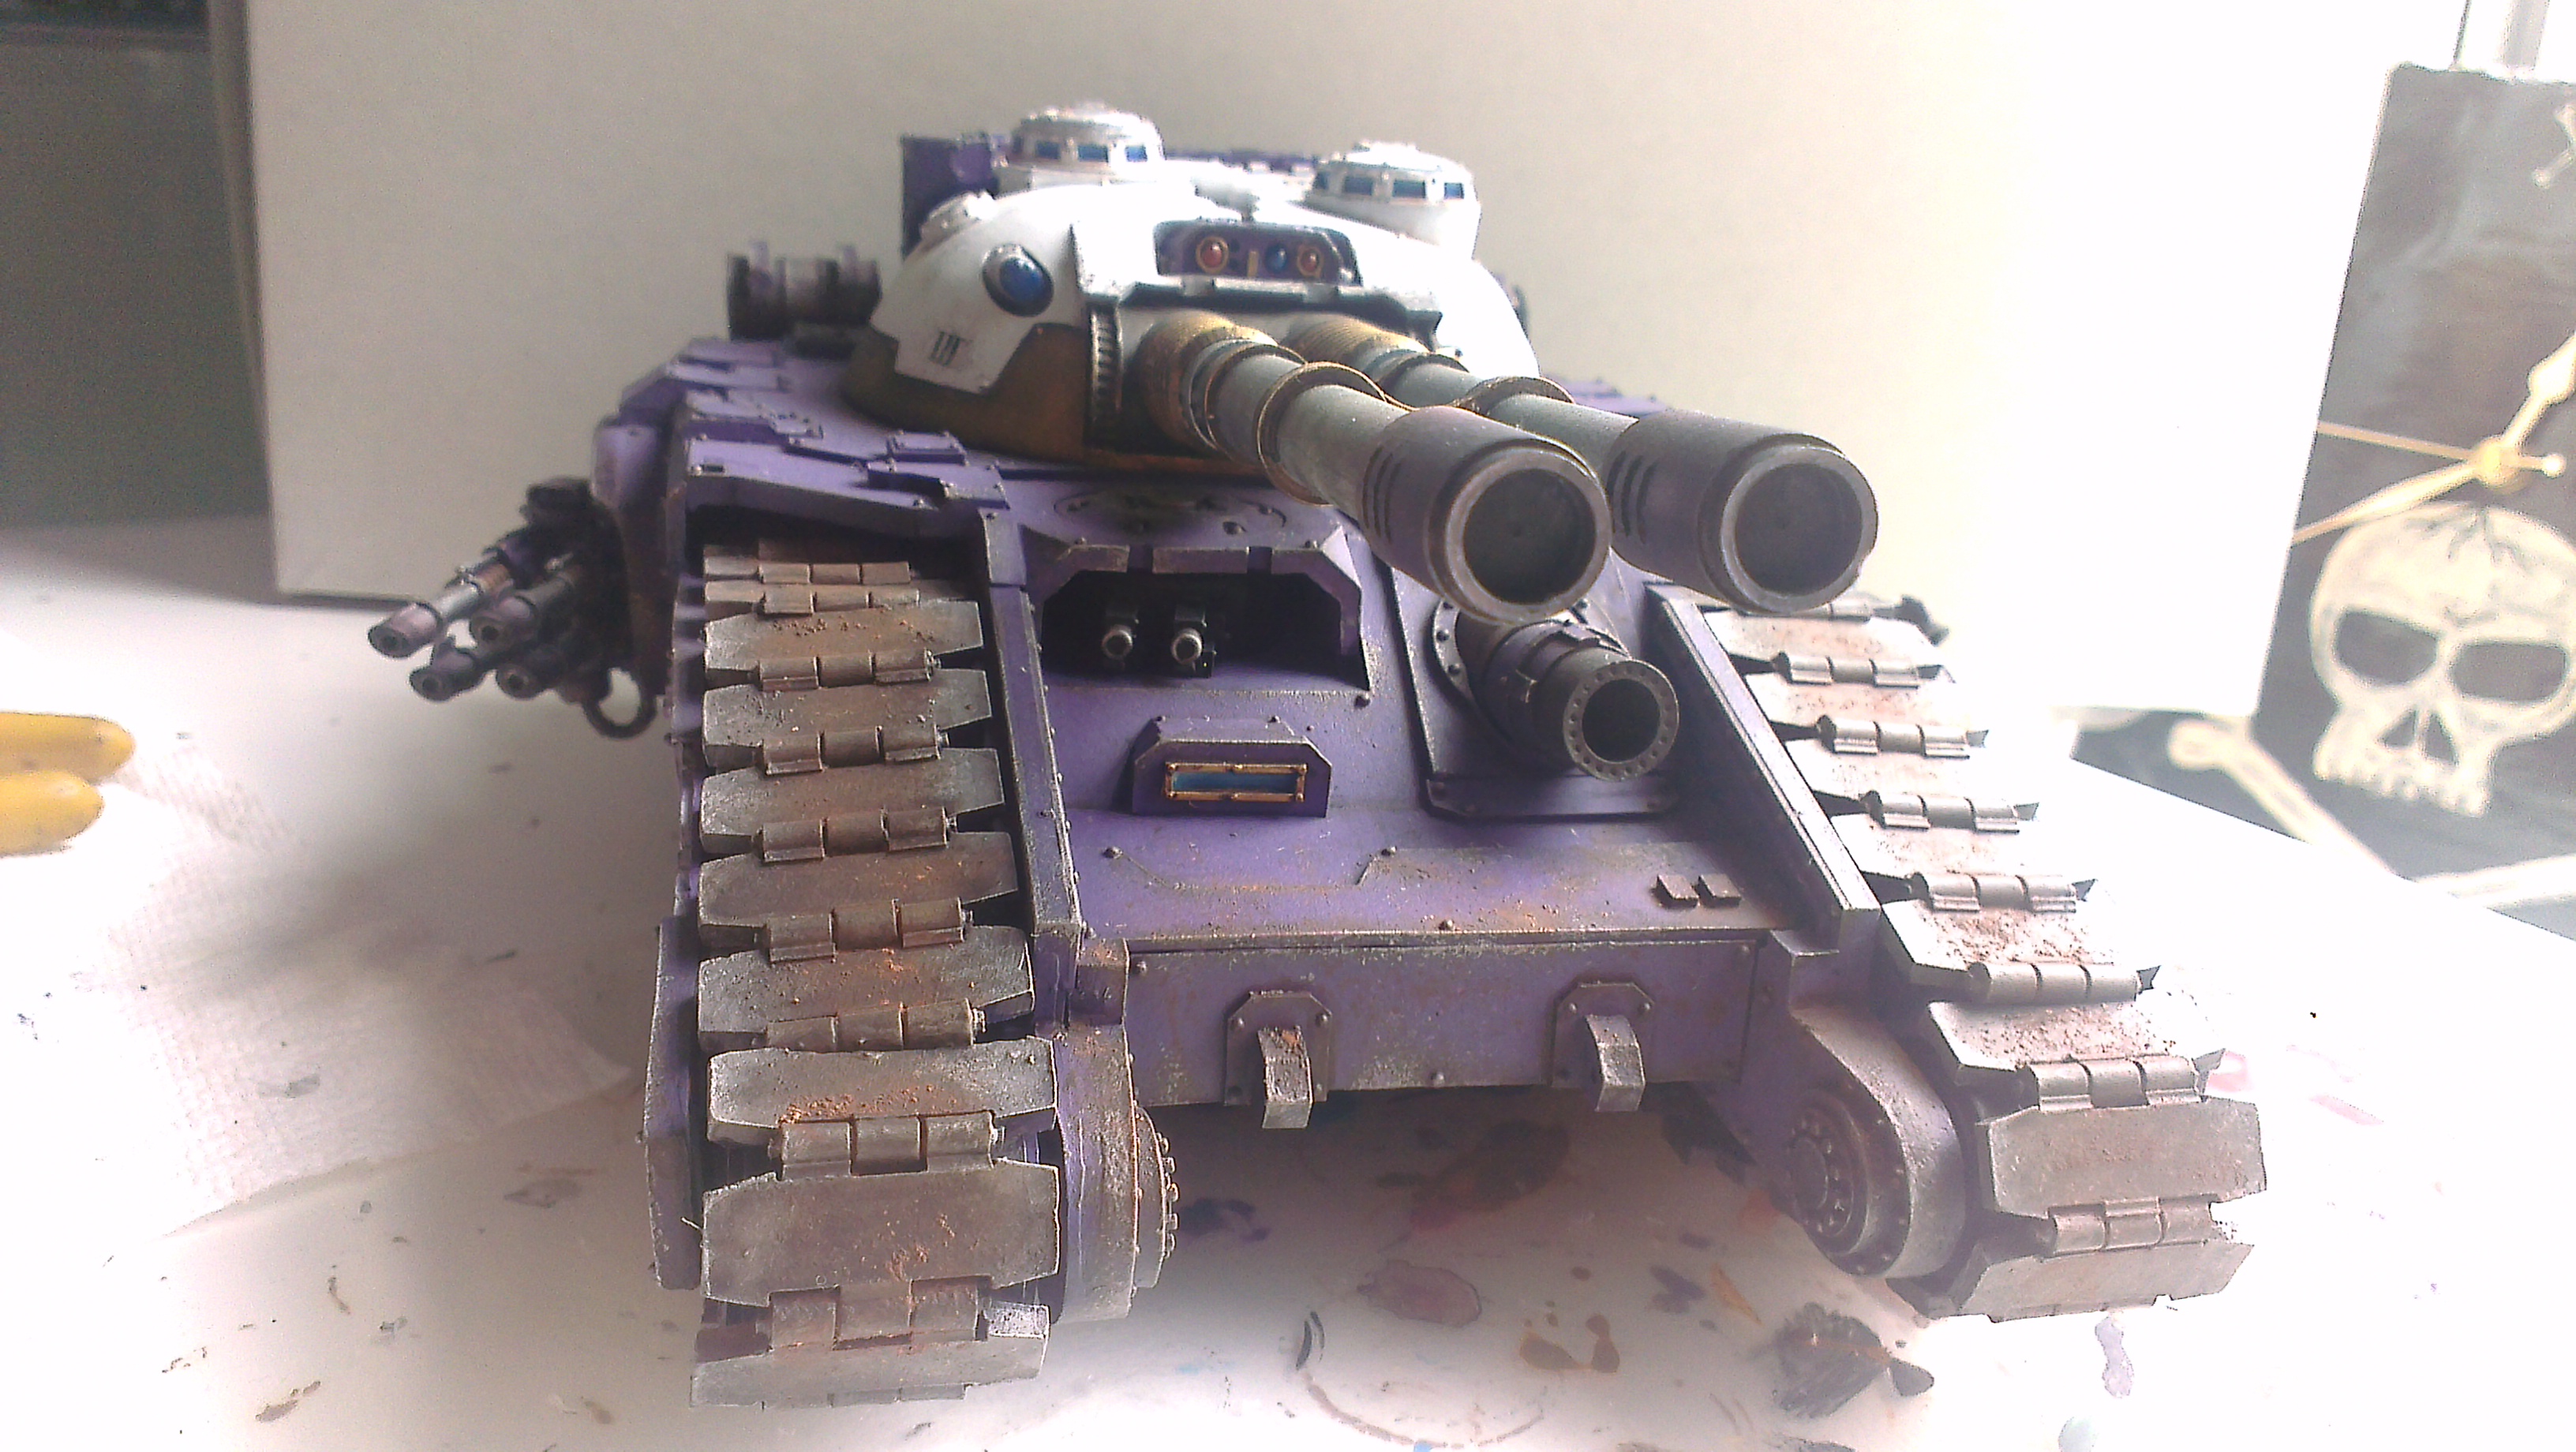
Here you can see the layers of chipping working together on the areas of high wear across the hatches.
At this point, before you begin, I’ll mention something I do that will improve your tank from day one. When sponging on all your layers of chips, rotate the sponge left or right, every time you press it on. this stops the same pattern being applied over and over and makes for a much more organic chip effect.
Now, your tanks going to begin to look lived in, and its fine to stop here if you’re happy. Like I said in the last article, were only adding depth here, layers of different techniques to add realism, you can do as much or as little as you like.
If you want to carry on, then the next step is a piece of piss. You need to add a filter. Sounds like a nightmare right? In this case, were only using ink/washes. Its just a color wash all over the purple to bring the layers so far together, knock the brightness back a bit and give you back your shadows which can be lost somewhat in the airbrush process. For purple, you want to mix blue wash with purple wash, making a really dark bluey purple, add some water and keep it in a spare pot if you’re planning on painting up a full army. Now flow this over the tank, one armour panel at a time making sure you get even coverage and no tide marks. Once its dry, your hull is now complete. I didn’t put a filter over the white areas as I wanted them to pop against the purple but i did chip them in the same way. The next step is to seal this again with some varnish, rattle can, airbrush, whatever, just do it gloss or satin at a push.

You can see the purple has been toned down under the filter then the layers of grime well add later. The white doesnt look out of place either as its been chipped and pin washed at the same time using the same efx.
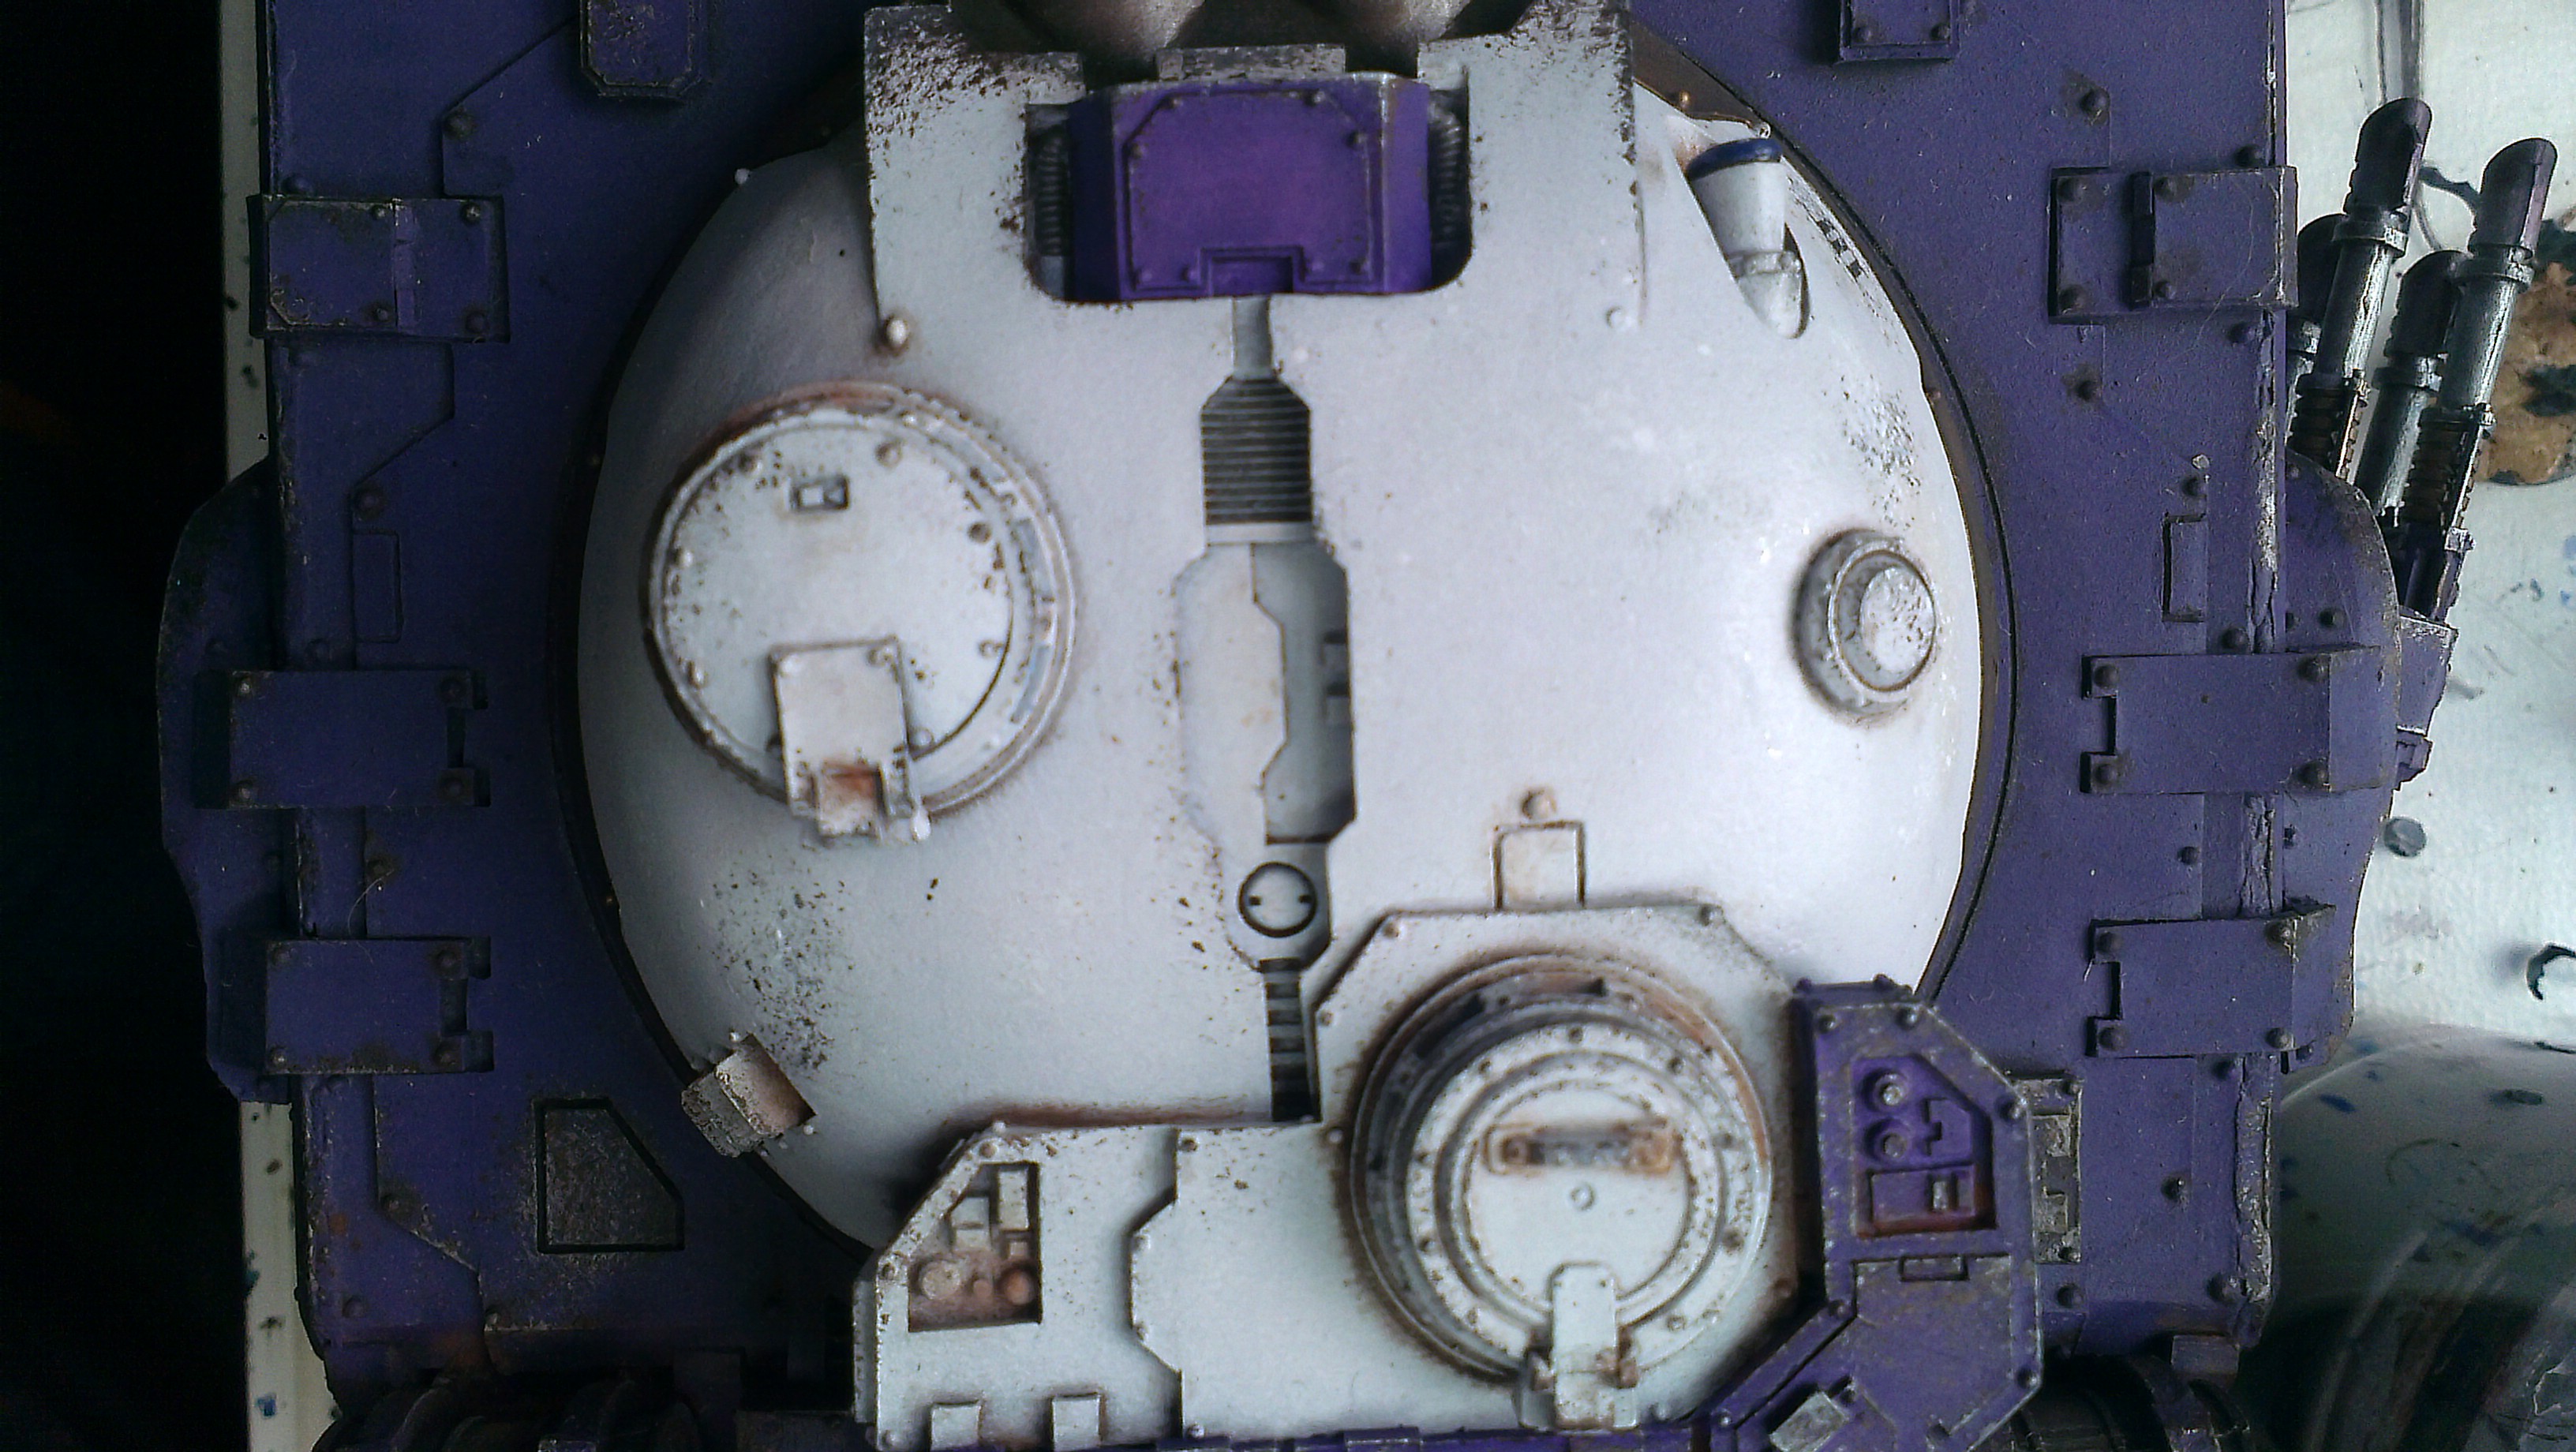
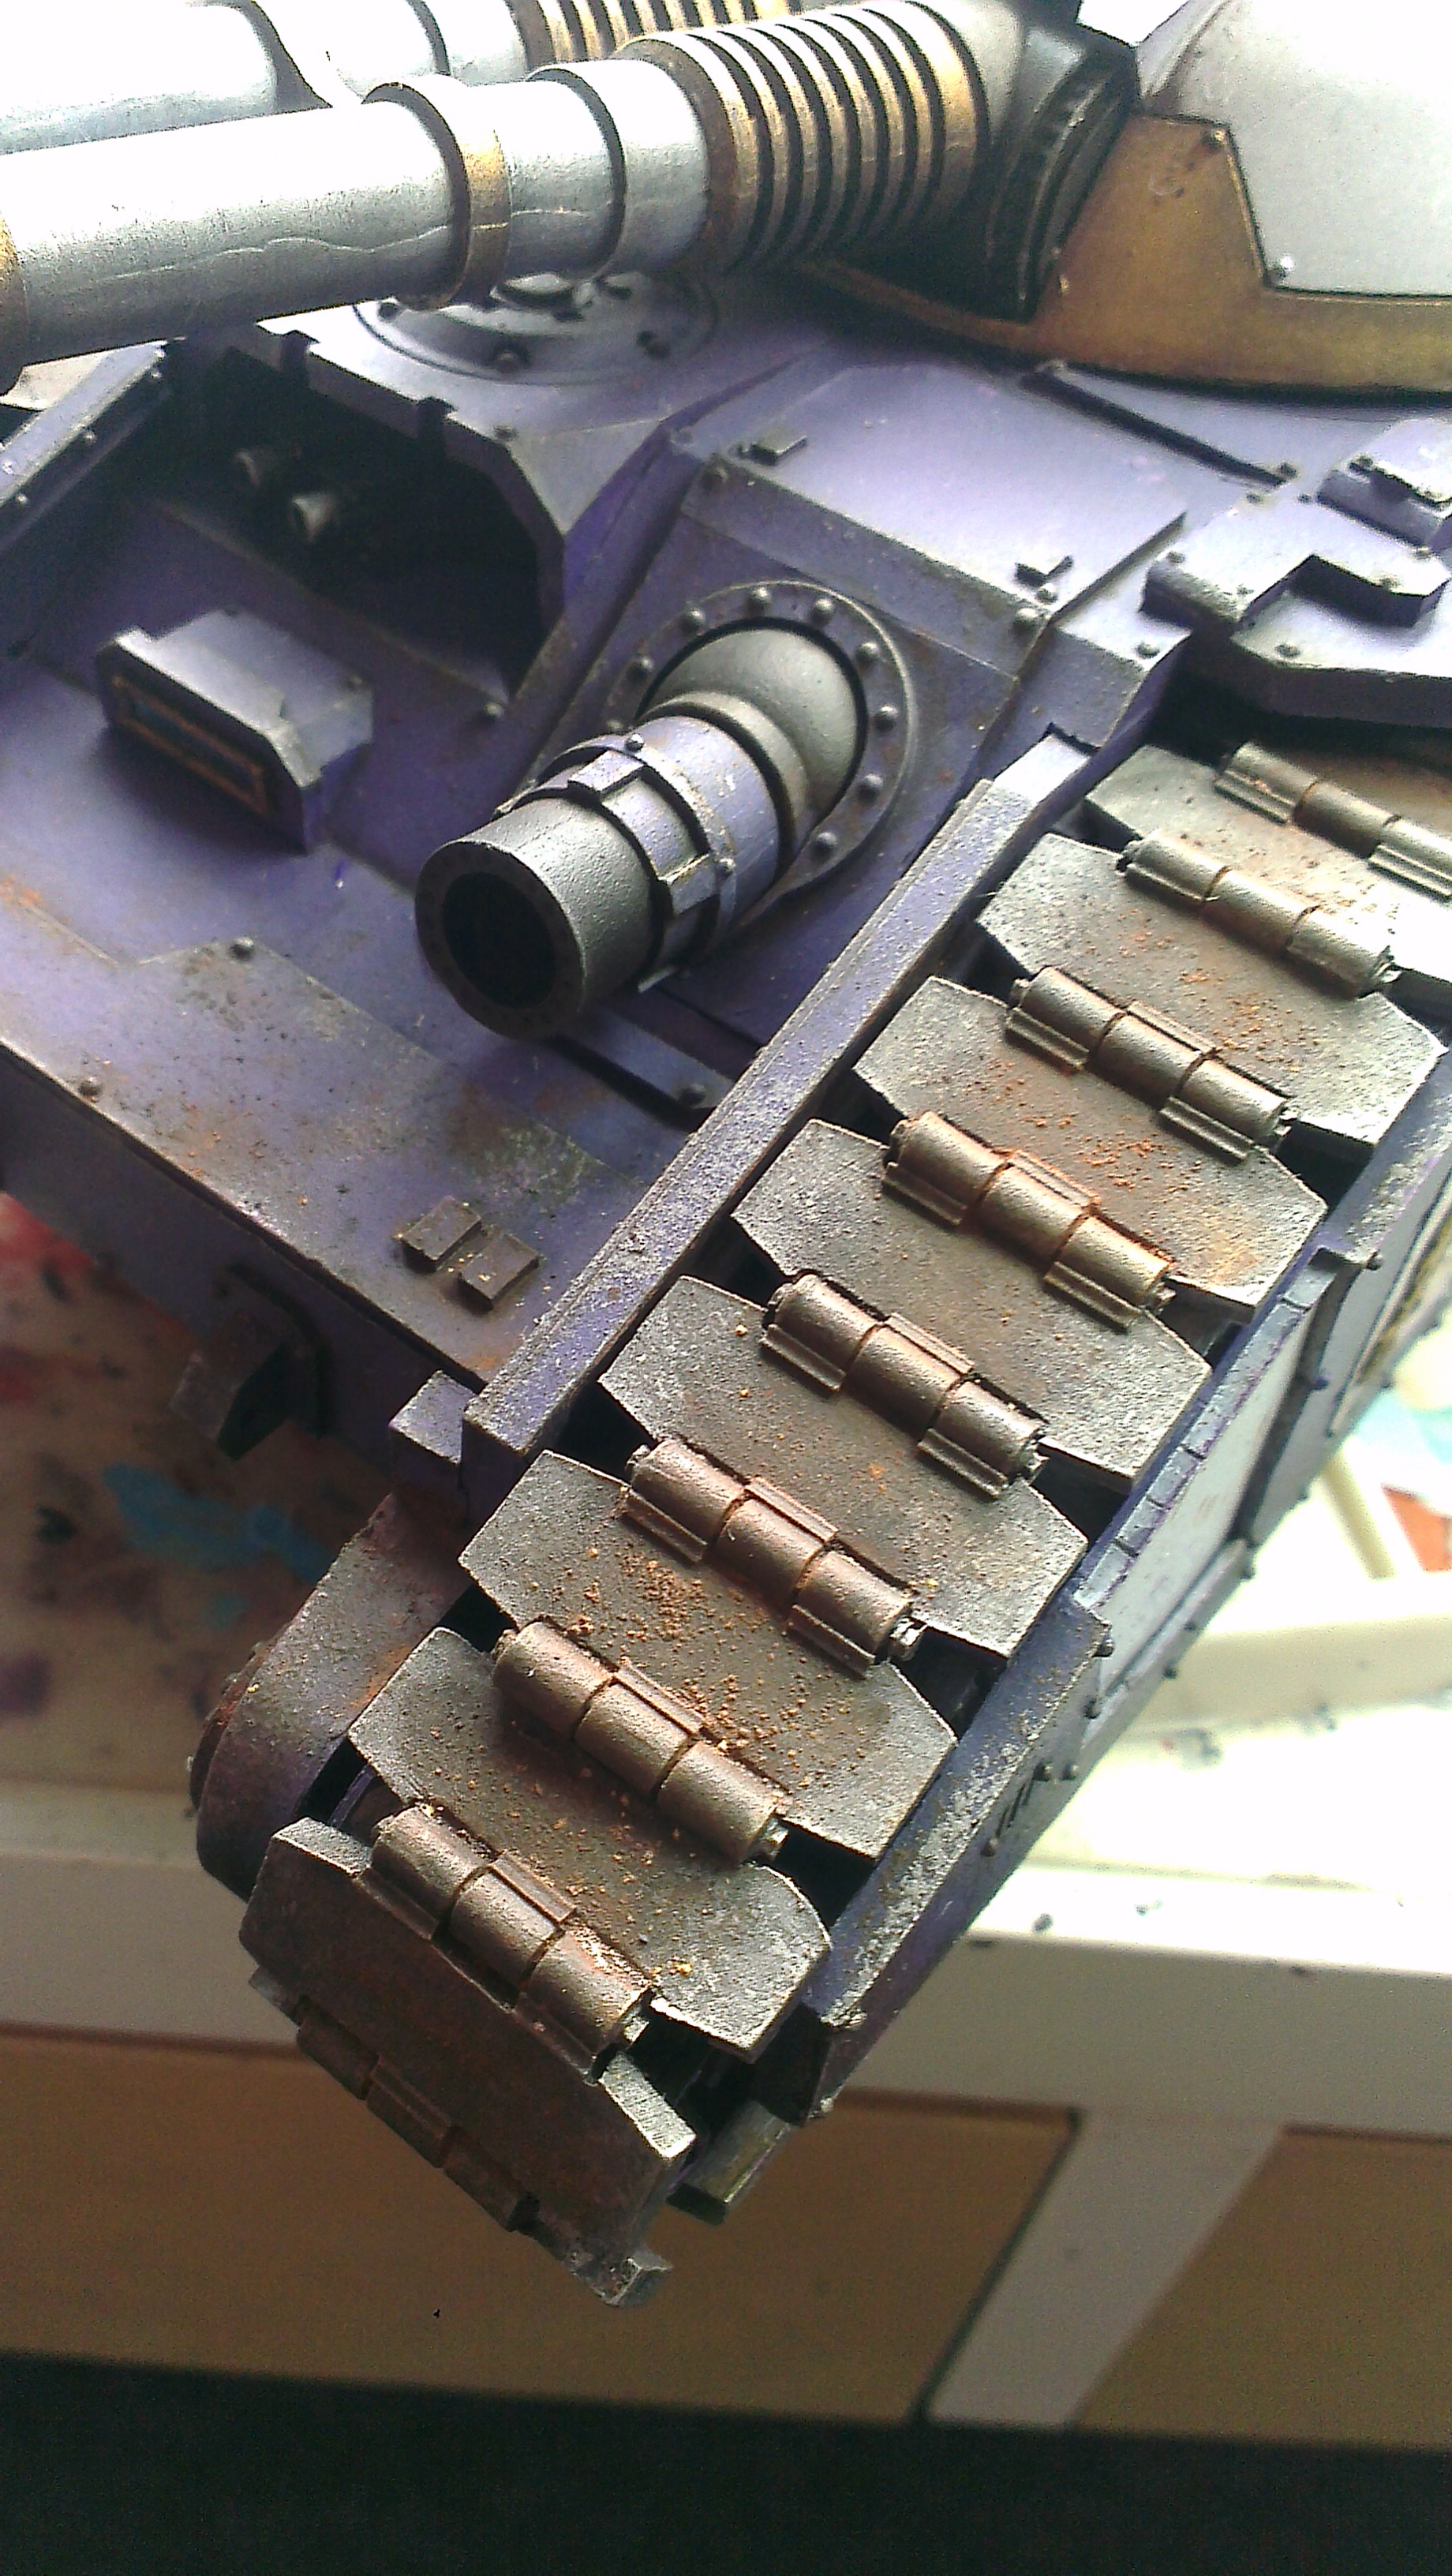
The exhausts were done using the shadowsword guide in the other Masterclass Book, they’re pretty easy is you take your time. Paint them up boltgun metal, drybrush them with mithril, you can add a mid tone of chainmail here if you like. Easy. The vent holes were painted black, and the really rusted flutes at the top were done as follows:
Base them in socrched brown or any dark brown you like.
Mix up a small amount of burned umber oil paint, with a touch of white spirit so it flows, and paint that over the brown.
As you’re using oils, it takes a while to dry, so while its wet, just dab in some rust coloured weathering powders randomly into the wet and blend it about as you like. Takes a bit of practice and I’m still learning myself but that’s the technique right there. This will dry up with a really rough rusted texture. I added some 3B pencil over the edges to show bare metal too.
Just take your time on this and remember the different layers and you can get a pretty realistic finish for not much effort.
Once that lots totally dry, remember, the oils take longer, then just mix up some purple, red and yellow washes, maybe some green too. You’ll have seen exhausts on trucks and busses, or the bin down the road those kids set on fire last week. The metal, when it reaches a certain temperature begins to discolor and you get a really impressive array of rainbow tones across it. This is what you’re doing here so put a bit of yellow on the top of the exhaust housings, and just slap on the rest randomly, blending the colors together. Once its dry you get a really nice burned metal effect for almost zero effort.
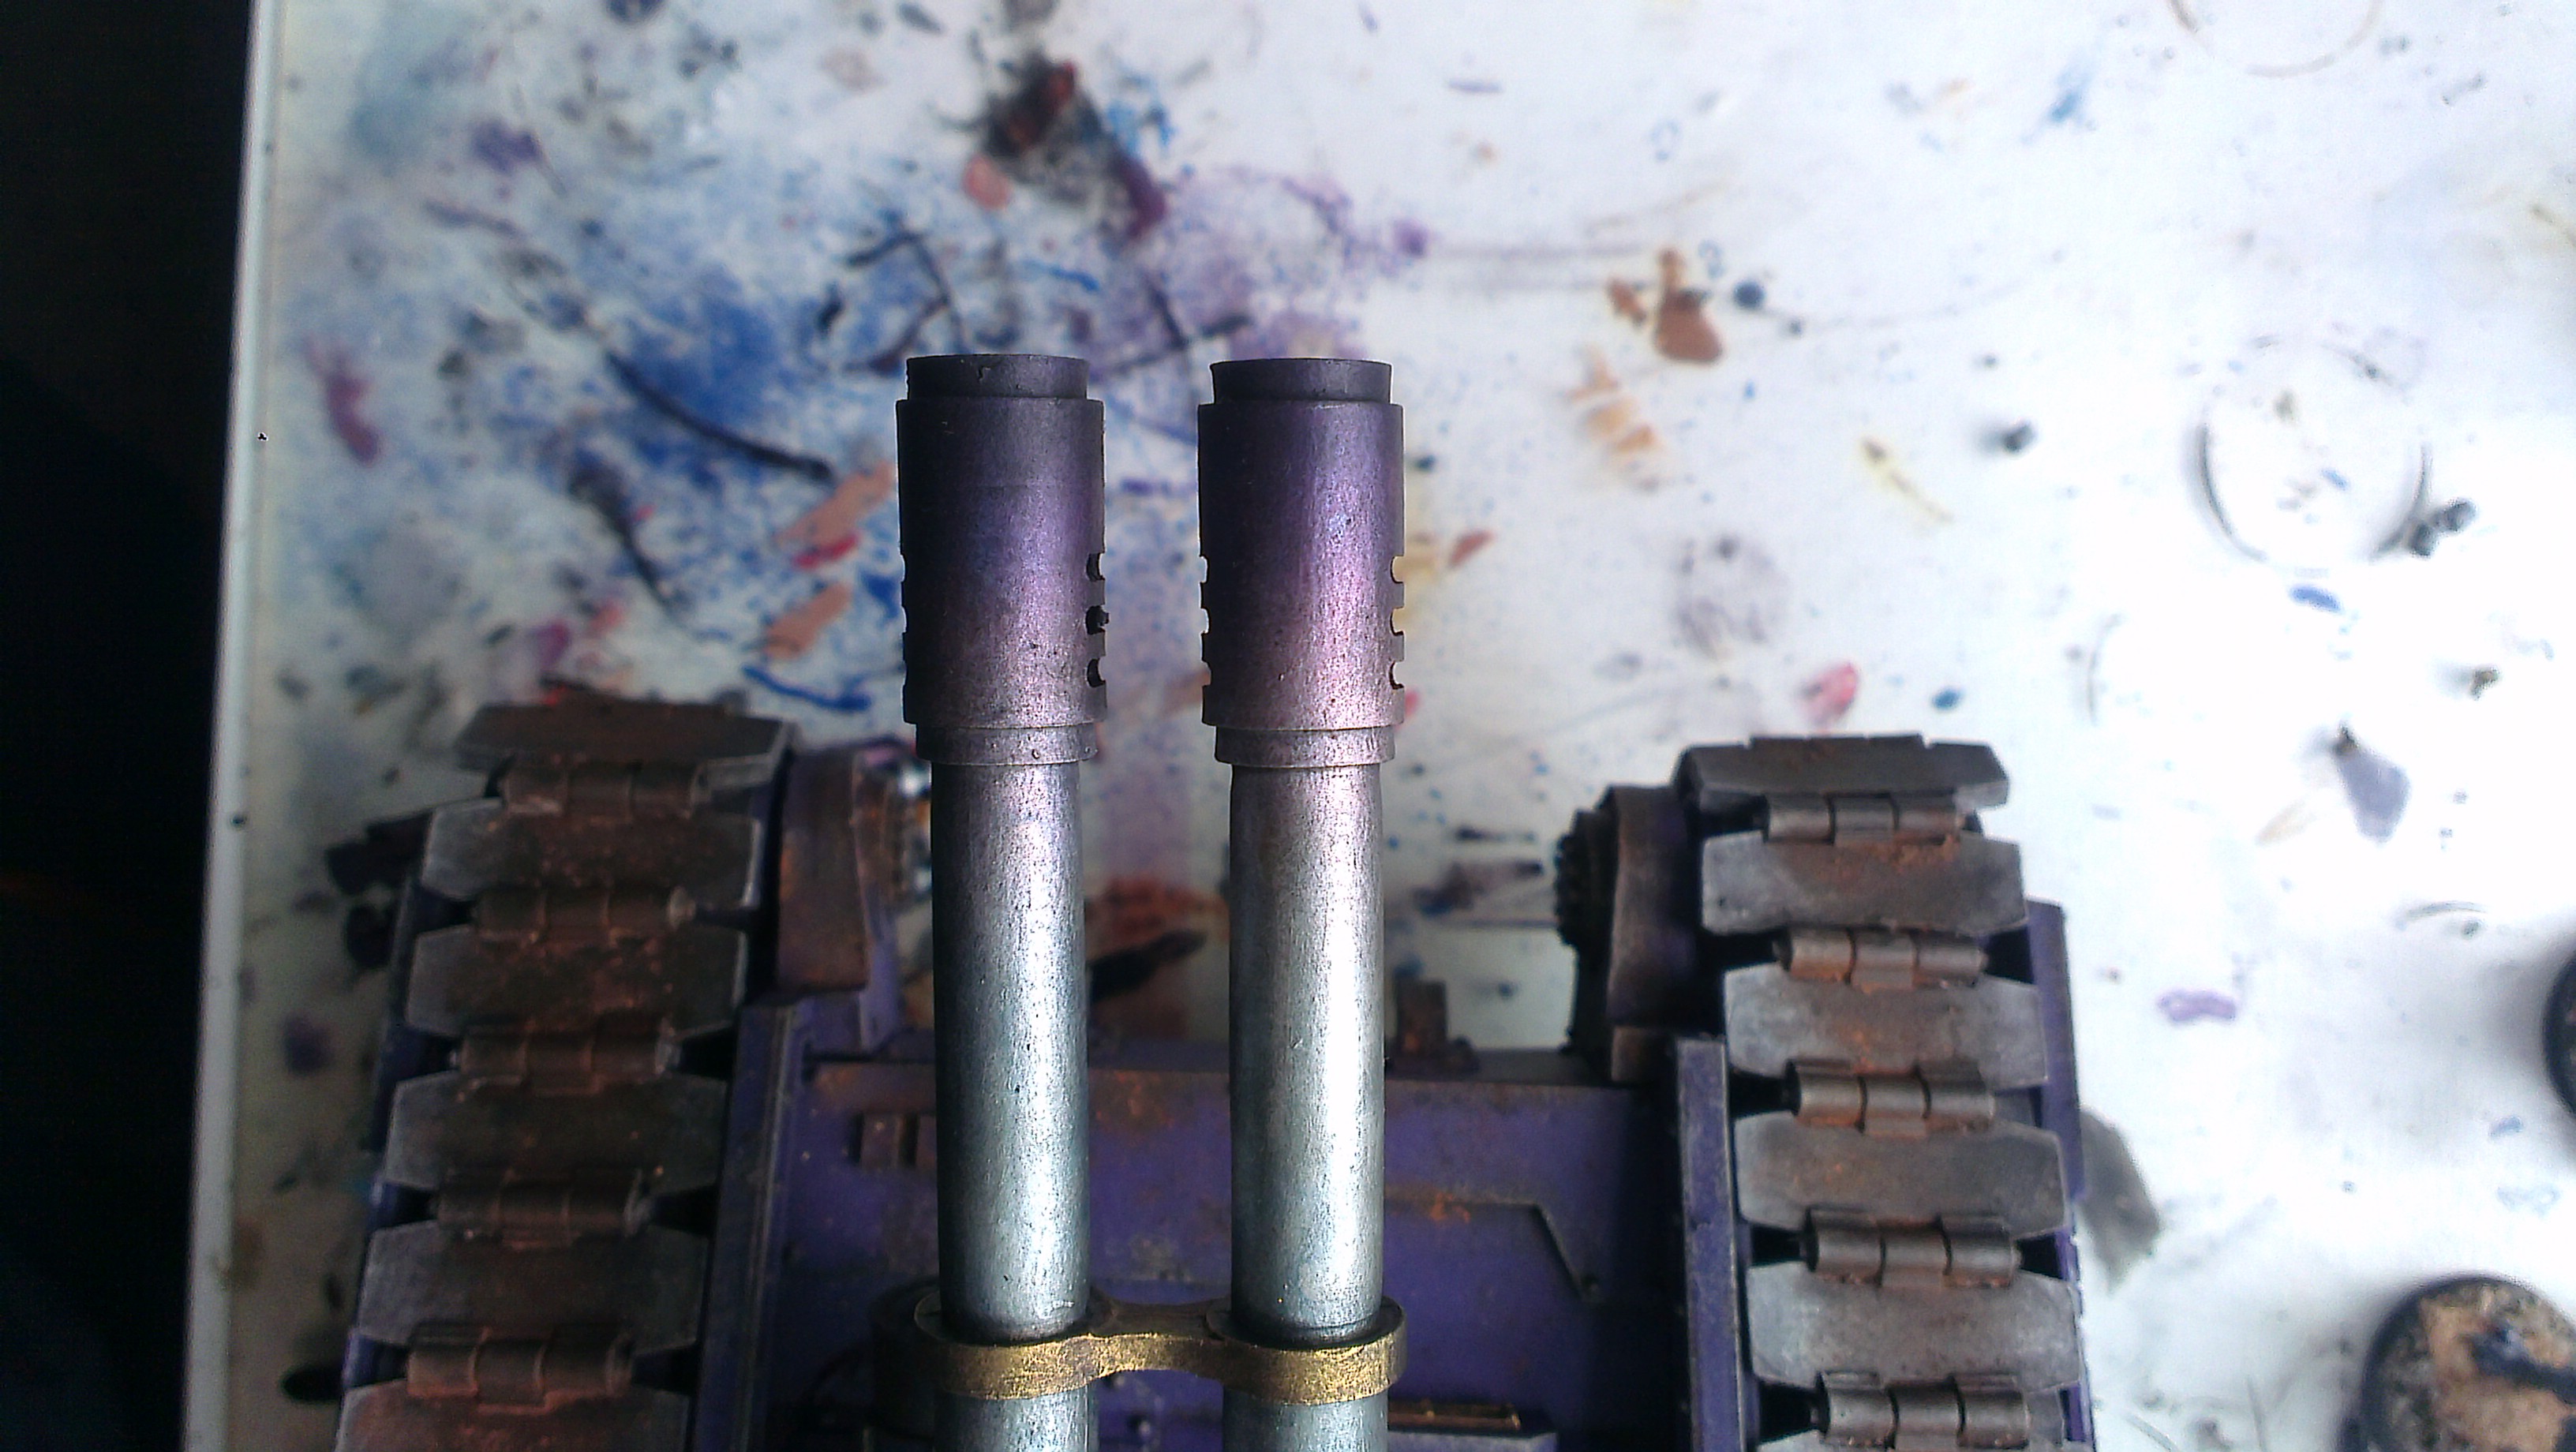
Your tanks starting to look really good now, just the gun barrells left before we add the murk. You can do these in a million ways depending on what metal you want them to be made of. For the gold bits across all my EC vehicles, I did a simple set of steps:
Base in Tin Bitz, drybrush on gold Rub n Buff, wash with Agrax, wash with Agrax and Devlan/Nuln mixed, light drybrush with a light gold color. Thats it.
The silver barrels were similar, I based them in boltgun metal, drybrushed them with silver Rub n Buff, then washed them with blue, then sepia to add some depth, and again, thats it.
All thats left is the heat burn, again there’s tonnes of ways, I use an airbrush but my man Duggan has a sweet method with a drybrush that would work just as well. For this tank, I just airbrushed on overlapping bands of red wash, blue wash and purple wash.
Just bands of colour with some black airbrushed on the ends for soot and some black powders round the vents.
The next step is one I’m still getting to grips with, oil pin washes. There are a lot better guides by people a lot better at this than me floating about, Id recommend you go do a bit of research because its not as easy as it looks. The theory is, you have a gloss surface, so you mix up a wash of black and burned umber oils with white spirit. You then use a brush to dab this on to the armour joins and recesses, all the shadow areas, and the gloss pulls the wash off the brush into the cracks and round the rivets via capillary action. You then let the wash mostly dry, and as its just setting, you can use a damp brush with a tiny bit of white spirit on it, to blend it out of the cracks so there are no solid blocks of it. If its done properly, the effect is absolutely brilliant, if you fuck it up, it looks awful. Go have a read, do your research. There are pre mixed products on the market for this like Adam Wilders products here but I don’t know how much you can manipulate them if at all once they’re on/drying. Again, do some research and think about the effect you want.
I added a few rust spots across the tank by just mixing up burned umber oil, with rust powder and a bit of white spirit, then flicking it randomly onto the tank. I then just lightly sprayed white spirit over the blobs, it softened the edges and as it dries, the texture forms from the powders giving you realistic rust.
There are other small techniques you can do with brown and black inks for leaky oil etc, but I didn’t use them on this vehicle so I’ll leave them till next time.
So now we have the layers from fresh, chipped, and now oil/grime. These are the layers you’d expect in real life to form, so keep this in mind, you cant mix these up as it just looks weird doing them in the wrong order.
Next ups weathering powders. I was warned off these initially as they were supposed to be a nightmare to work with, but I just jumped in anyway. They can be a pain, but they can be used to devastating effect in many different ways. I tend to keep them fairly minimal, less isn’t more when weathering, but keep them to manageable amounts to begin with. I began by just stippling them in dry to areas you’d get accumulation of mud and dust, crevasses, joins, areas round the running gear and the runners themselves. Set them with a dab of white spirit near it, not on it, and you’re set. Same with the tracks, I just stippled on layer after layer of the various earth and dust colors gradually. There are a few things to remember, so you don’t make the same mistakes I did though:
Build your colors up in layers, alternating them for a more realistic finish.
Flood the area with white spirit by dabbing your brush close to but not on the powders. The gloss varnish we put on will do the rest.
DO NOT blast the finished powdered tank in varnish thinking its going to protect all your hard work with those powders, the wet varnish will mix with the powder and ruin it all. Use several very light passes building it up.
Layers of different earth pigment powders, one after the other, just seal and let them dry between applications.
And that’s it, most of the stages here are standard techniques from any scale modellers arsenal. There are hundreds of products to look out for to help you but at basics, all you need are stuff like oils, white spirit and you can even make your own powders by shaving off pastel blocks into tubs. there really is no end to how far you can go, so crack on and enjoy yourself. If you have any questions, ping them up at the Corehammer Facebook page and someone will have the knowledge to help you out. If they don’t, then we’ll just go and ask our weathering expert Charlie who most certainly will have the answer.
Paul,
I really enjoyed this article. Learned an absolute ton. Thanks so much for the other links going to the enamel products, and the mig tutorial. The tip on rotating the sponge for the weathering chips is also simple, but something I wasn’t doing. Thanks again!
Top shit! Finally had a proper read of this. I’ve got a Baneblade that needs finishing and this has given me the kick up the arse I needed. The FW book is great but can be a bit vague. This is rad. Good work.
Nice guide, the result looks great!