Prior to entering the Dark Throne tournament, I’d not played 6th edition at all. Up until a few weeks before the tournament I was confident that I would end up dropping out, but I had a few practice games with Pete and it gave me that little boost I needed. Although I came 26th out of 34, it shook something up in me, and made me want to play more, and finish my army.
I now consider my Dark Angels finished, and so have been looking around for another army to start. I’m waiting to see how 2014 pans out for Fantasy Battle, and will be starting either a Wood Elf, Bretonnian or Beastmen army. But that’s a little way off. In the meantime, we are putting together a new tournament which will be doubles. I’ll be paired up with my riverside brother Pete, and he’s going to take his Ultramarines, so I thought I’d take some White Scars. Even though the Ravenwing list I took to the Dark Throne was a complete joke, I do like the idea of speedy armies. But, more importantly, I’ve not painted much white before, and have always fancied it. So, it was a perfect match really.
I had a box of the new style Space Marines lying around from when they were first redone, and had been struggling to choose a scheme. I like Crimson and Imperial Fists a lot, but had always wanted to do some White Scars, ever since I painted a Space Marine based on my mates TU-2 guitar tuner.
I’ve put together a 750 point list of speedy stuff, and thought I would practice on my squad, before moving on to bikes and what have you. My intent here was not to get a super high quality finish, which you might argue should be the intention of any paint job. But, I wanted to try to find the balance between speed and quality, so they’ll look alright on the field, and I can churn them out at a pace that wont interfere with any of my longer term projects.
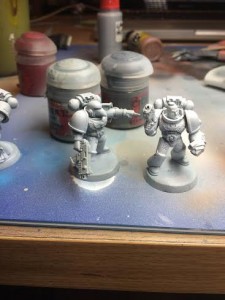
So I started with an airbrushed white primer. And then did a basecoat of Citadel Celestra Grey from which to build up to white.
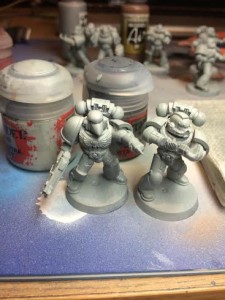
The next stage was a mix of Celestra Grey and VMC White. This was applied from a roughly 45 degree angle, so as to maintain the shadows.
Its not easy at all to make out the difference, but in the finished model it should be more apparent (I hope).
One of the things that always makes an airbrushed miniature look a little sloppy, is when the detail isn’t redefined after the airbush coats are done. So, I went back and filled in the panel lines and what-not with a mix of Citadel Mechanicus Standard Grey and Celestra Grey. It’s at this point that the miniature starts coming together. 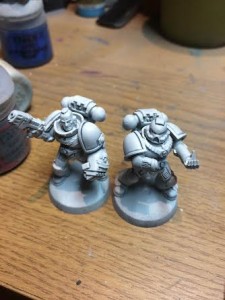
I sorted the reds out nice and quickly, going from Khorne Red mixed with a little black, then up to Wild Rider Red. Again, I tried to keep it pretty basic, so it isn’t mega flashy, but it’s good enough for tabletop standard.
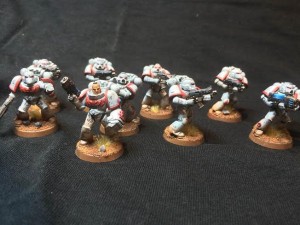
I don’t like my Space Marines to look straight out of the factory. I like them to have taken a few digs in their time. So the first point of call was to make that armour look a little battered. So I got some blister sponge and used Mechanicus Standard Grey to add the chips. Once I had finished those I airbrushed a little VMA Light brown around the bottom for the dirt. I forgot to keep snapping at this point but here is an image with the weathering and reds in place.
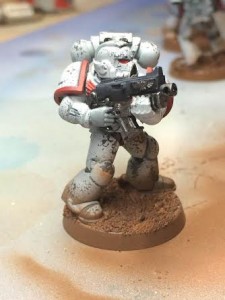 Black bolters are something I have never done before and didn’t really fancy. I have had moderate success with my Ravenwing when painting black, but it’s something I think is tough to make look cool. I don’t like those edge highlights much, so I thought I would do a simple wet blend of grey to black along the bolter casing. And that’s it, all done. A few little tufts on the bases to break them up a bit, and they’re ready to roll. Took about half a day to get to this point. The hairdryer came in very handy for drying between coats, and really sped things up.
[youtube=”https://www.youtube.com/watch?v=wuDx6_PLIVk”]

