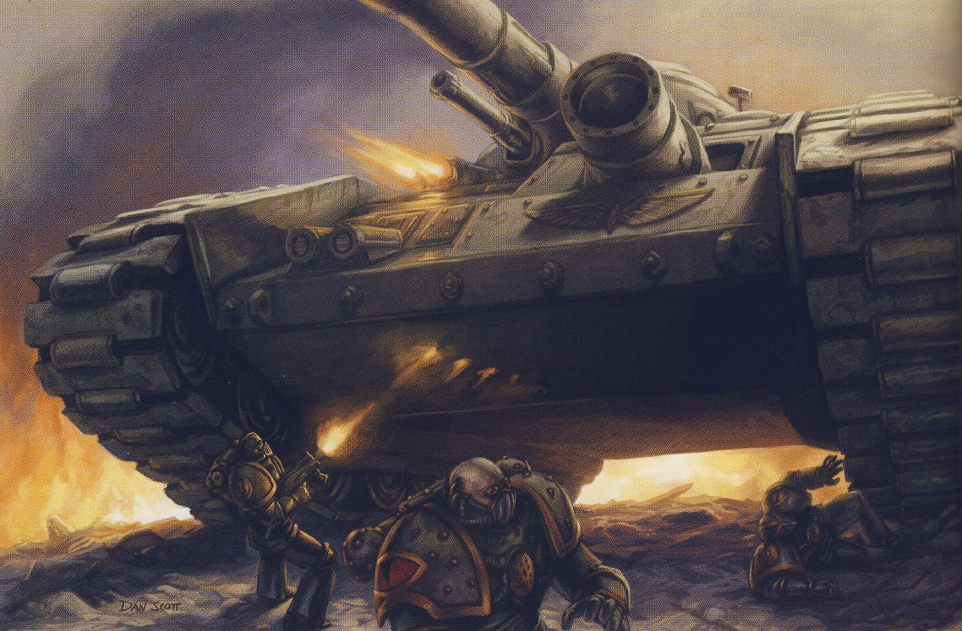
That tank shock roll’s not gonna do you much good there son.
Following on from my last article, I thought I’d do a tutorial on how I went about painting the Fellblade. There aren’t many, if any, about for Emperor’s Children vehicles, so this might come in handy for someone painting up any kind of vehicle in 3rd Legion livery.
The base will always be purple, with golds and whites where you see fit. My own army has a few different tones of purple over it as I develop how I apply the paints and the shades I use. I think the Fellblade has the best effect so far, it came out really strong and vibrant without being pink.
I began the process by washing the kit again, not sure if anyone else does this, but once everything had been epoxied together, I rinsed it all in tepid soapy water just to get rid of any skin oil, glue bits, dust, whatever, dried it off then undercoated the lot in Vallejo black primer. This is my go to for priming, it goes on smoothly, its non drip, covers anything, and self levels. I cannot fault it, but if you don’t have an airbrush, Army Painter black is great, its pretty fine, much finer than Citadel Chaos Black spray or Halfords matt black undercoat which is a good solid undercoat, and will have more than enough sticking power to grip the bare resin.
You’ll be undercoating the kit and its sub assemblies, two sponsons, turret/cannon and hull. Make sure you get a nice thin even coat, a few light passes is better than one thick one, as you don’t want to obscure the details, and you need black in the darkest recesses with the method we’ll be using here. Put the lid on the heavy bolter array on here but don’t stick it, you want it to look the same as the rest of the hull, but you need to take it off later to stick the actual guns in.
The next step is simple, but does use an airbrush, you can get the same effect for the base by applying a few thinned coats with a large brush, then drybrushing the lighter tones moving up the vehicle where you think the light would catch, don’t overdo it though, we don’t need those edge highlights GW use, we just need some gradients in the tone.
Yes, this is a Rhino,, but I didn’t get pictures of the inbetween stages, so you’ll have to use your imagination.
I applied the Vallejo Model colour 960 Violet all over the kit, two thin applications with the airbrush, the second layer from a 90 degree angle upwards, this gives you darker tones on the undersides of panels etc. I’d usually use Naggaroth Night but thought Id try a new set of layers, this works so much better.
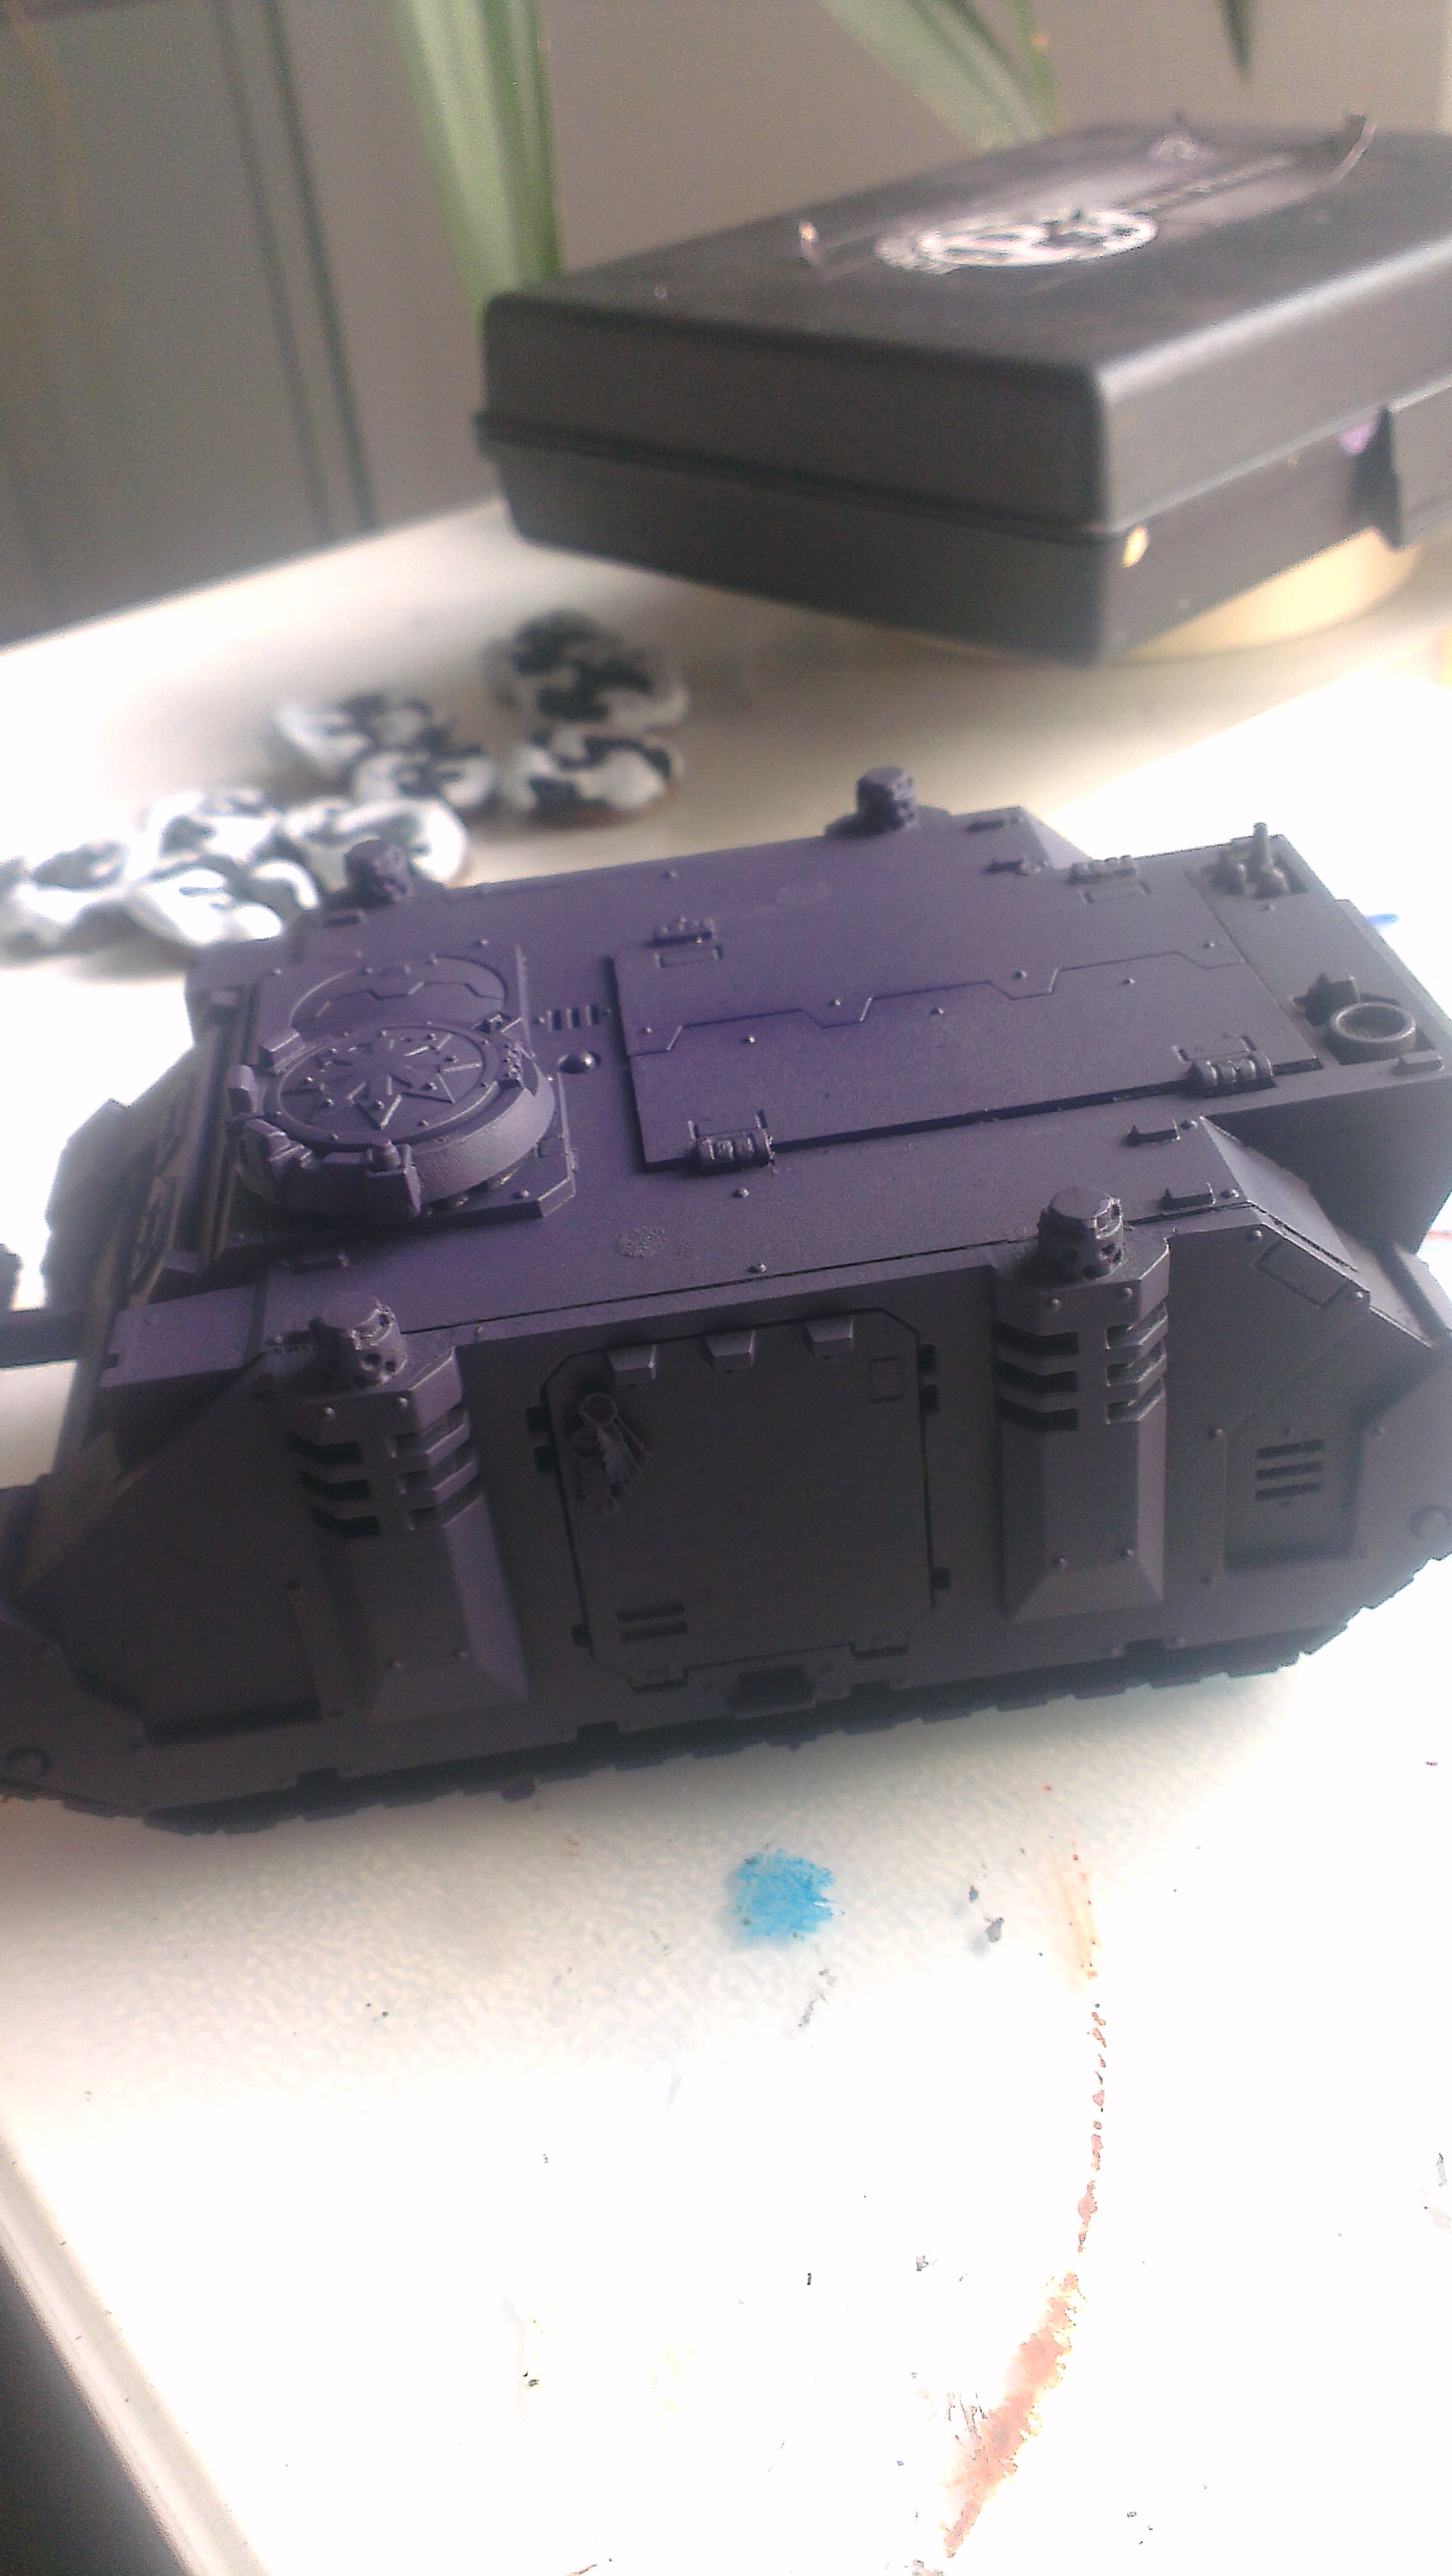
This is what you get with the Alien Purple, don’t panic though after a layer of Genestealer and a filter down the line it will tone it town a lot.
The second layer was Army Painter Alien Purple. Its an odd choice this one as its quite vibrant, but over the darker base, it works. Again, a few thin coats keeping to the more raised areas of the hull, where light would catch, then do the same again with GW Genestealer purple, keeping to the very highest points. You now have a basic paint layer to work from that looks more realistic than you’d get with edge highlighting.
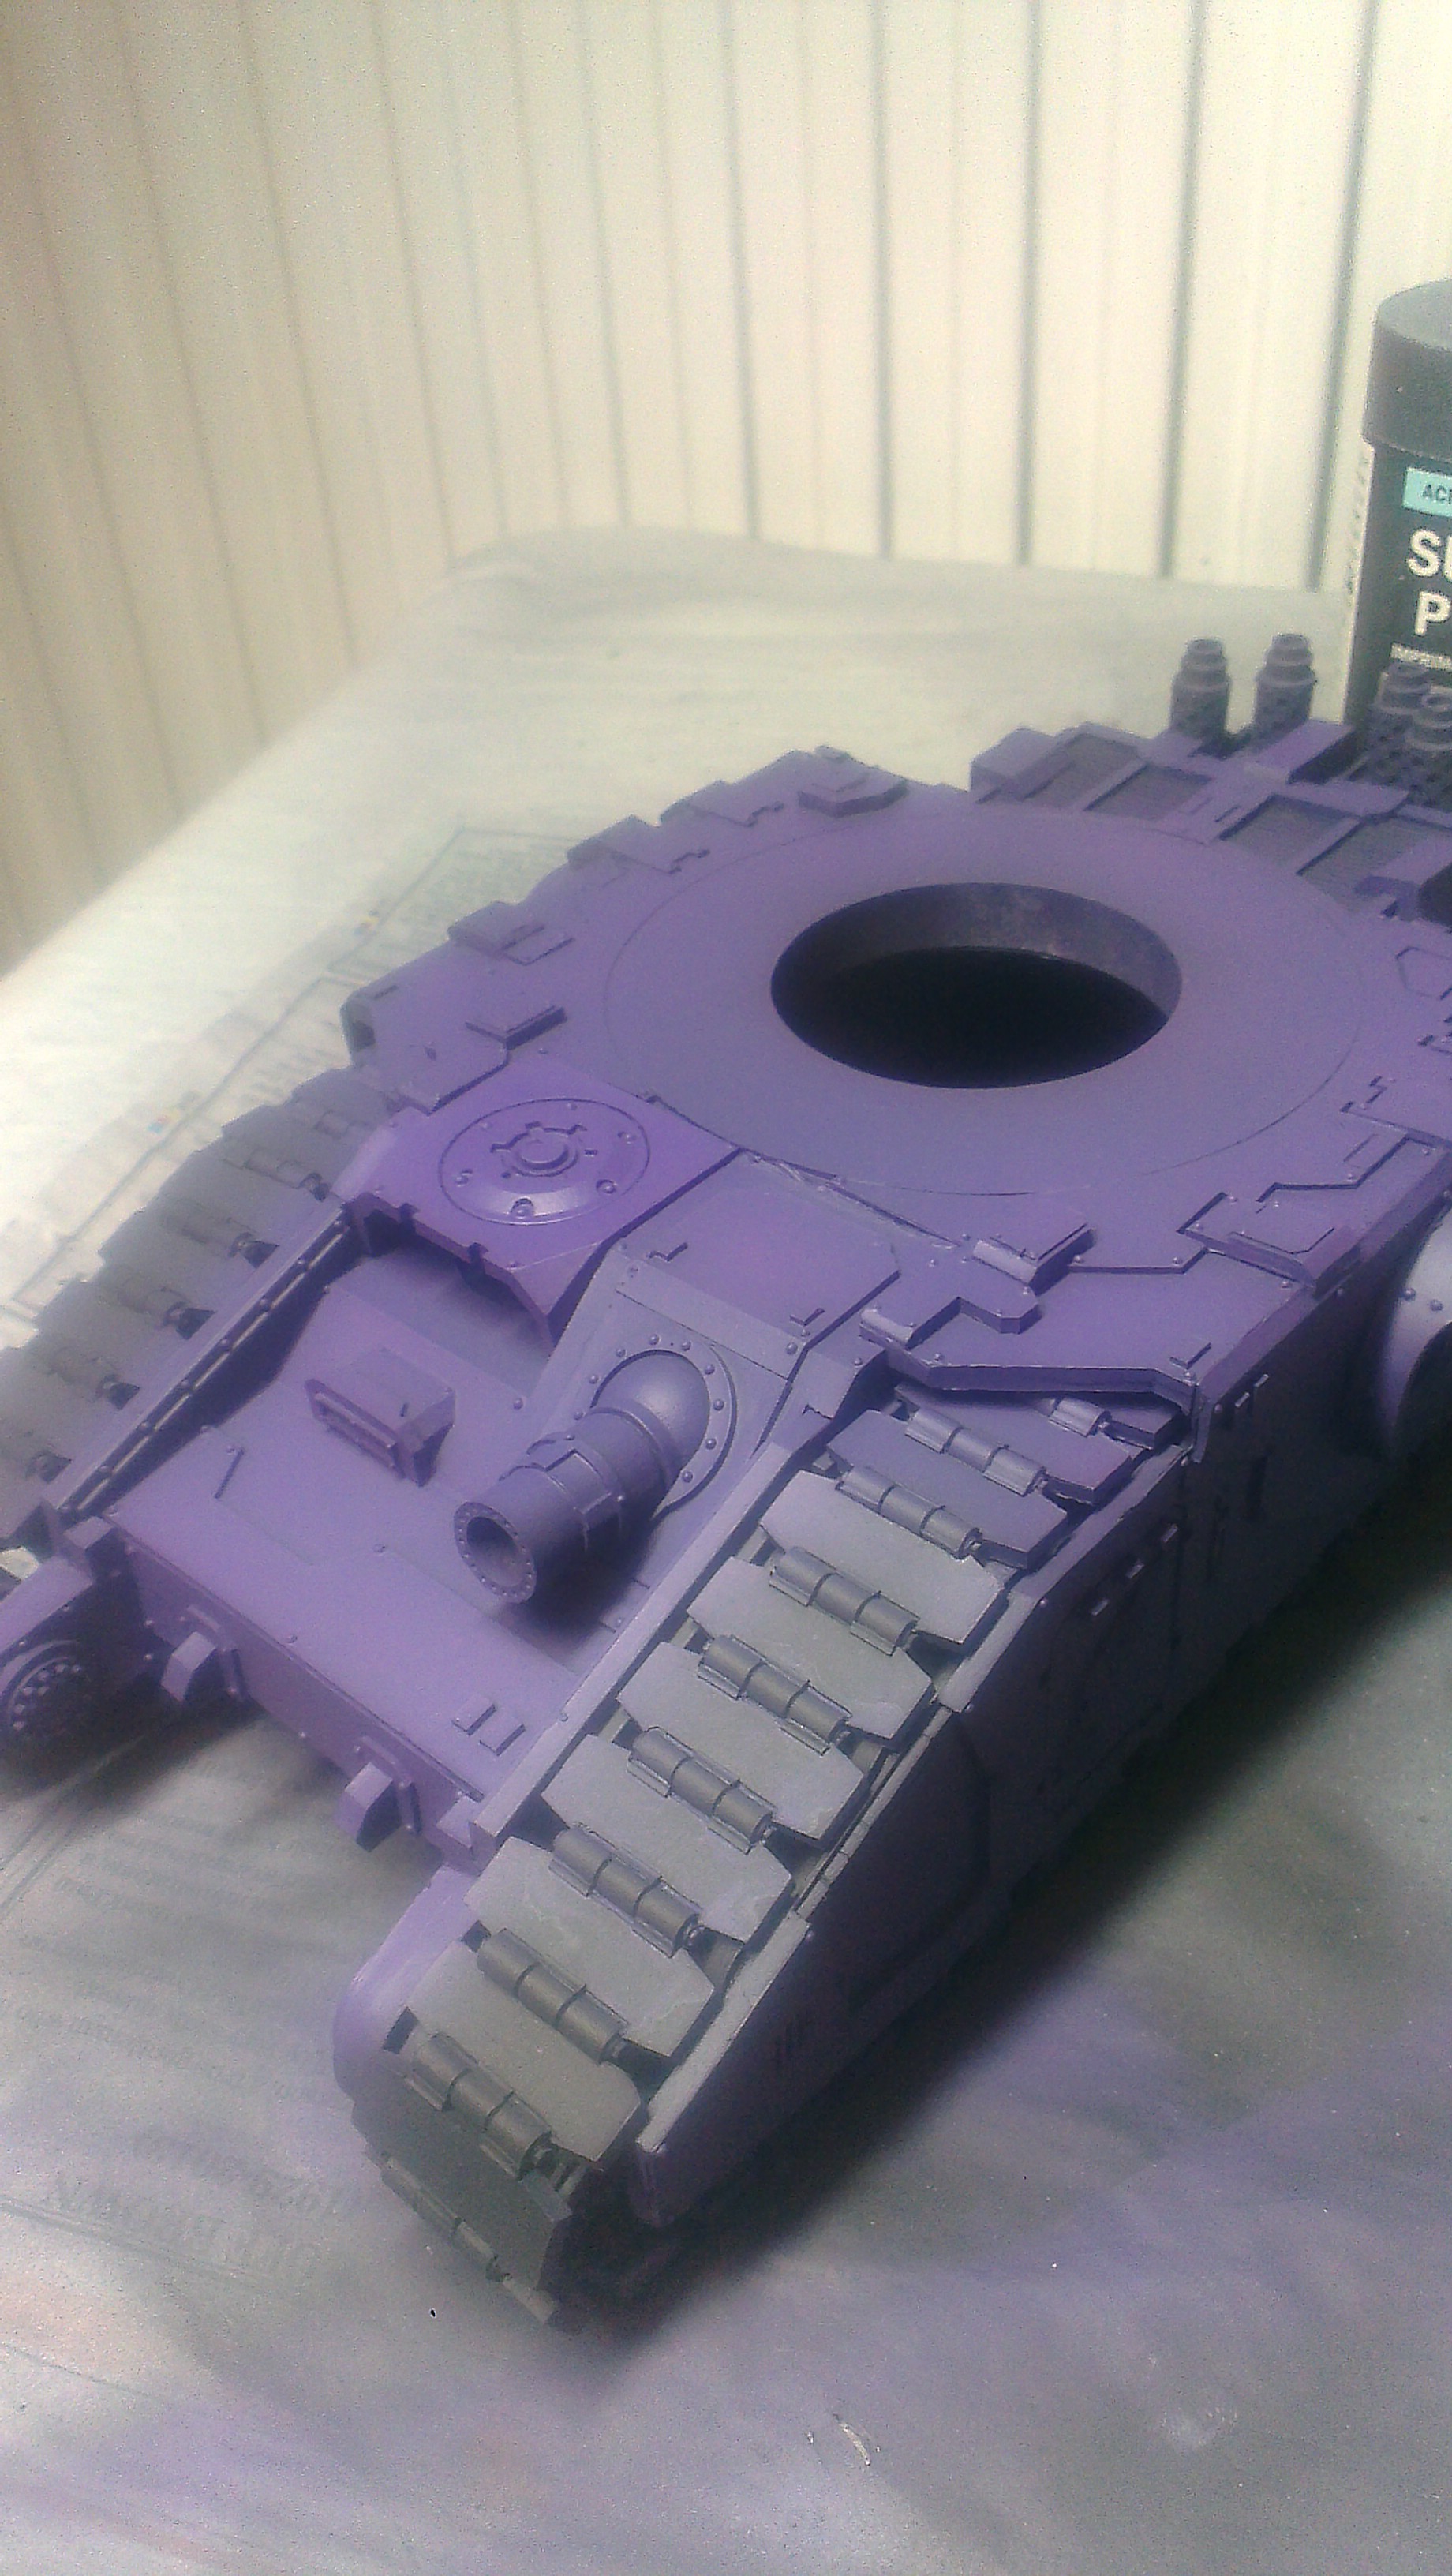
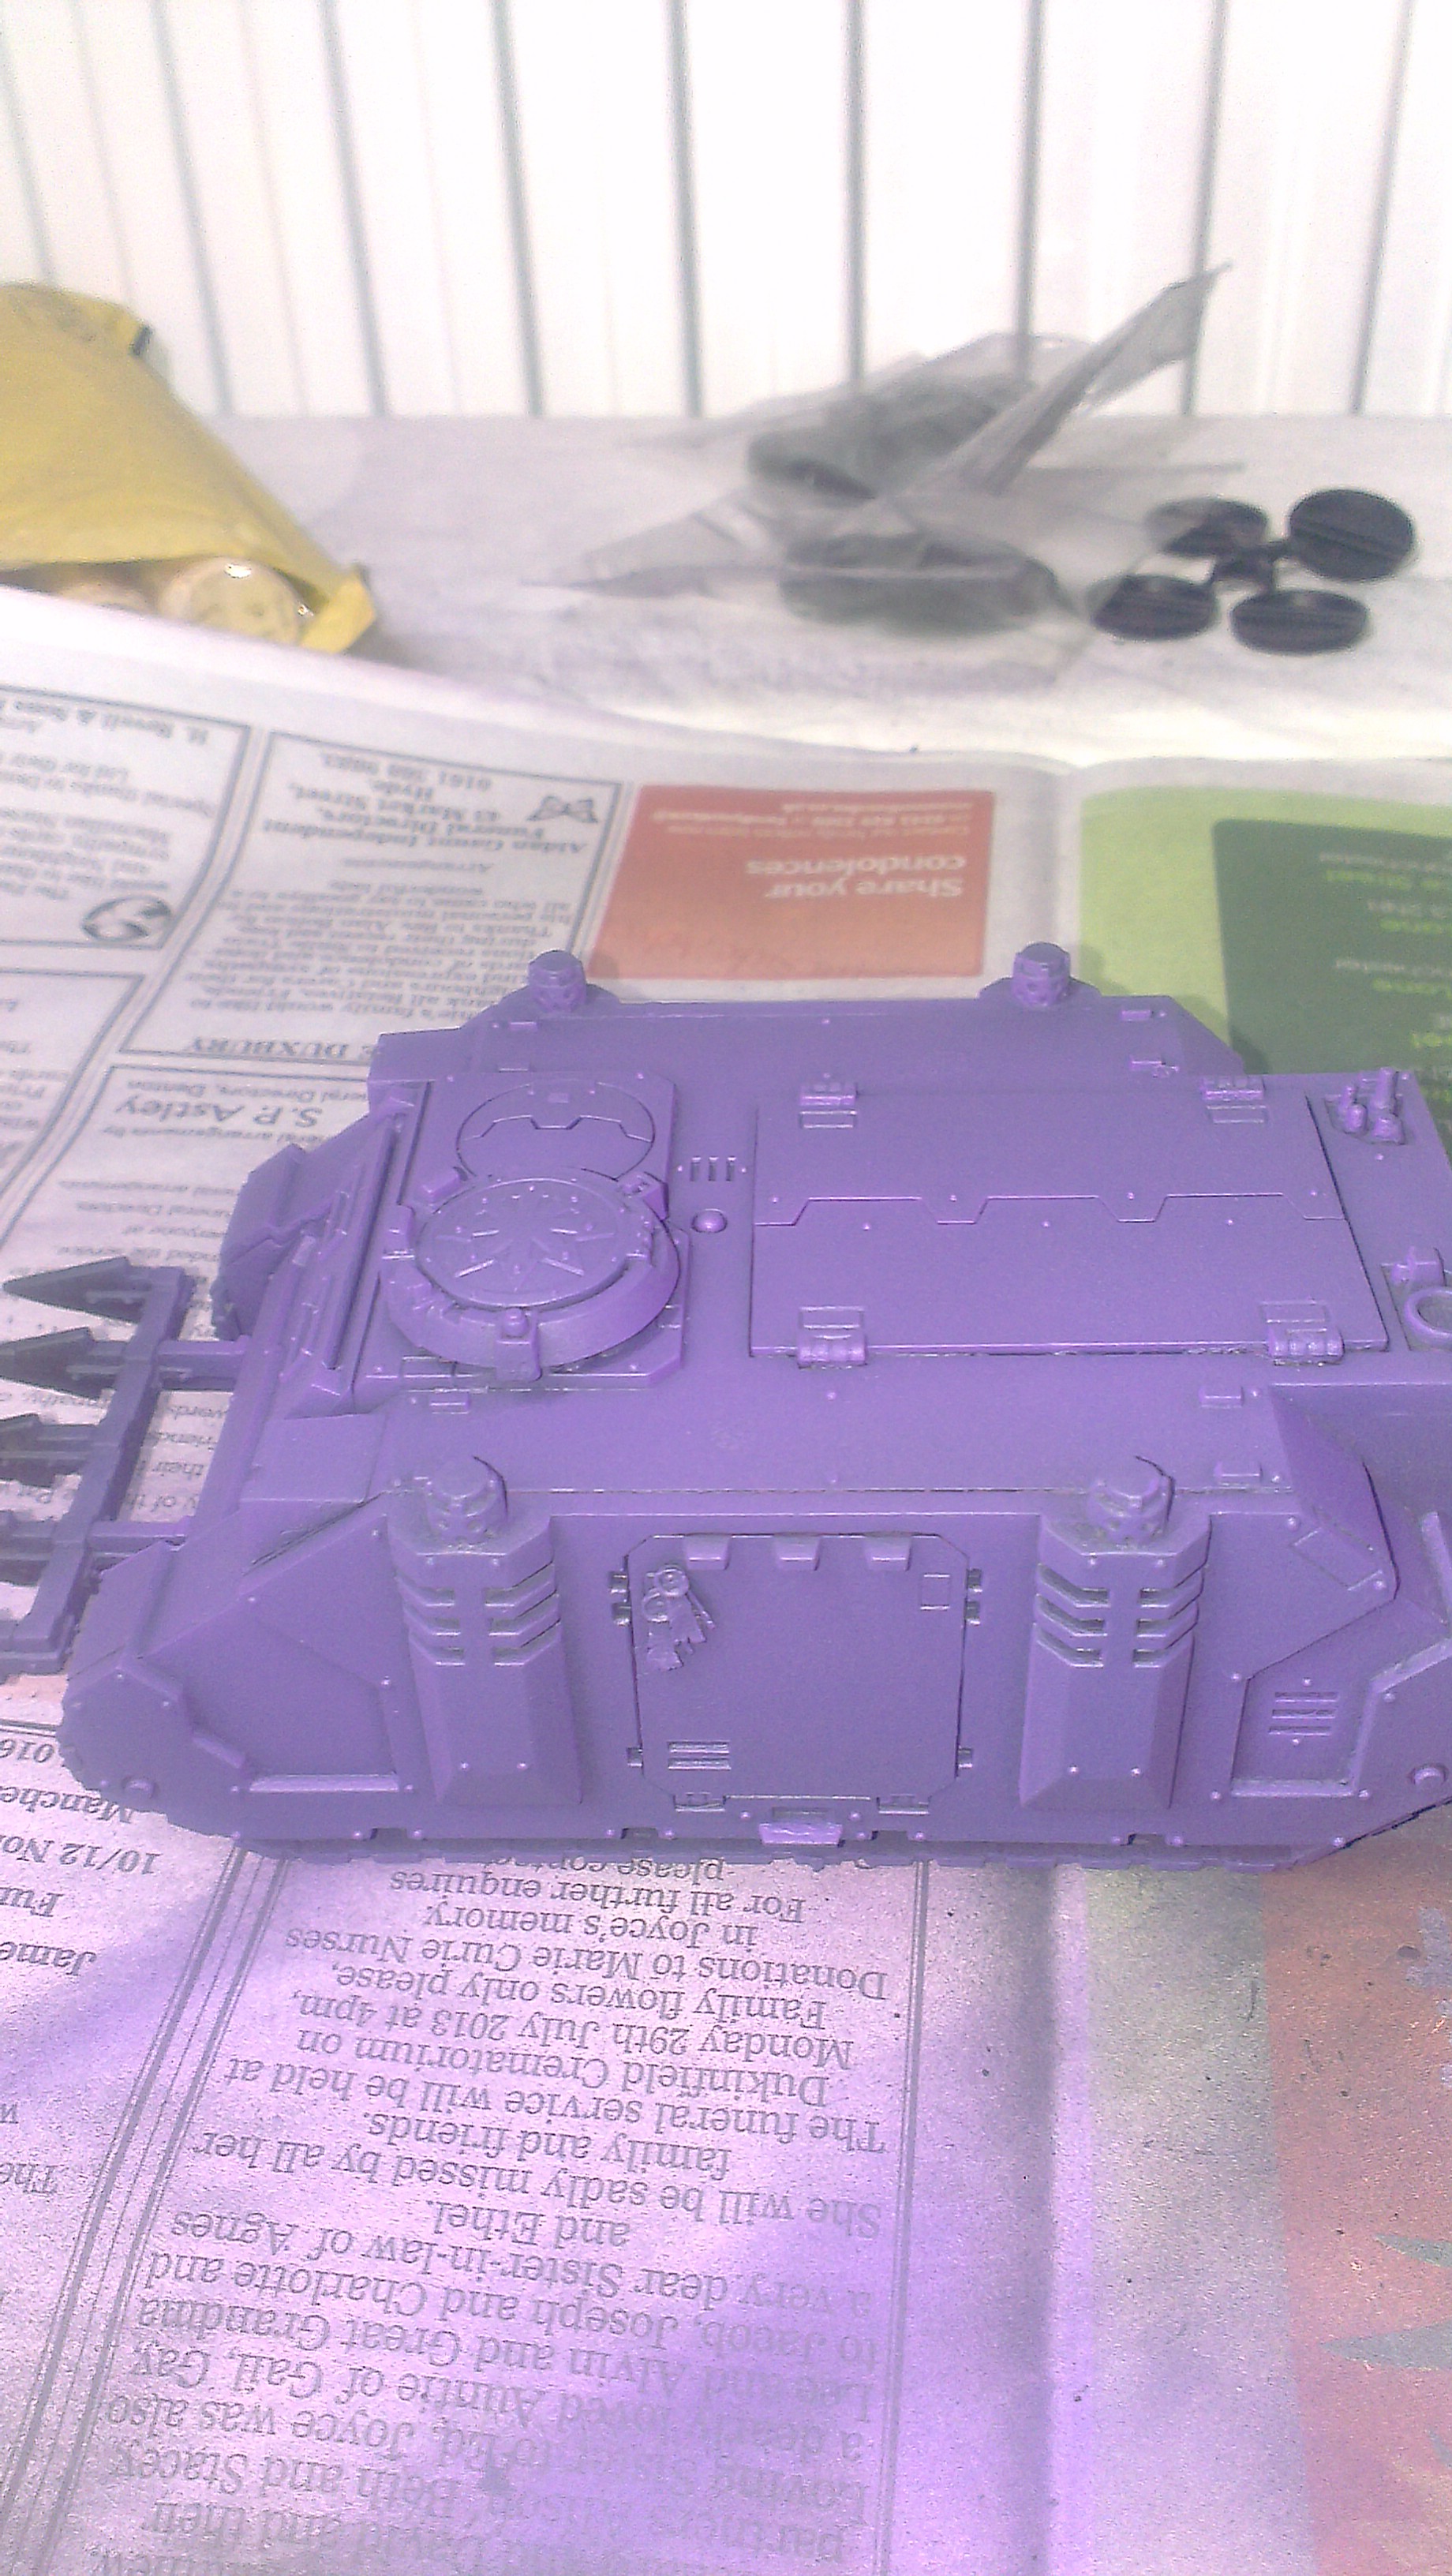
This is what you’ll end up with after that final application before you begin work on your tracks.
I masked off the front hatches with tape and hit them with Vallejo grey primer, then white for a good strong non Tipex look, and the same with the rear vent sections, and you’re done for this stage, the hull is now ready.
Don’t get ahead of yourself there though, as you need to do the tracks next, and there’s a lot of track. Base this in gun metal, whatever your choice is, Vallejo, Citadel, AP, whatever, it’s Boltgun Metal at the end of the day. Again, a few thin coats, using a brush here as you don’t want overspray on the purple you just finished. Next, wash it with Nuln Oil to pick out the recesses, and let it dry. The next step would usually be to drybrush, but don’t. Get some fine sponge and dab on boltgun metal all over the tracks, then do the same with the next shade, Chainmail (Steel/Plate Metal, whatever brand you use), then do a fine drybrush of Mithril Silver on the really raised areas. This gives you a much more uneven look to the metal, it looks worn and pitted now as you’d expect from tracks carrying such a large vehicle.
Once this stage is dry, add a wash of Agrax/Nuln mix, you can use Strong Tone/Dark Tone or whatever, and apply it all over in random patterns, concentrating on the middle of the track to about 2/3 to either side of the mid point. You can repeat this for an extra layer if you like, then again a light drybrush of silver on the finest raised areas, where you’d think the most wear would occur. The wheels should still be VMC810 at this stage.
Thats it, the hull is painted up, you can leave it here if you like, and want a newer feel to your tank, its a solid scheme and will look great on the tabletop, just use the same colour techniques on the sponsons and the turret, using your own method for gold metallics where you like.
Or you can keep going, and try a few simple weathering techniques to add some more realism to your tank and add a bit of depth which I’ll cover in part two.
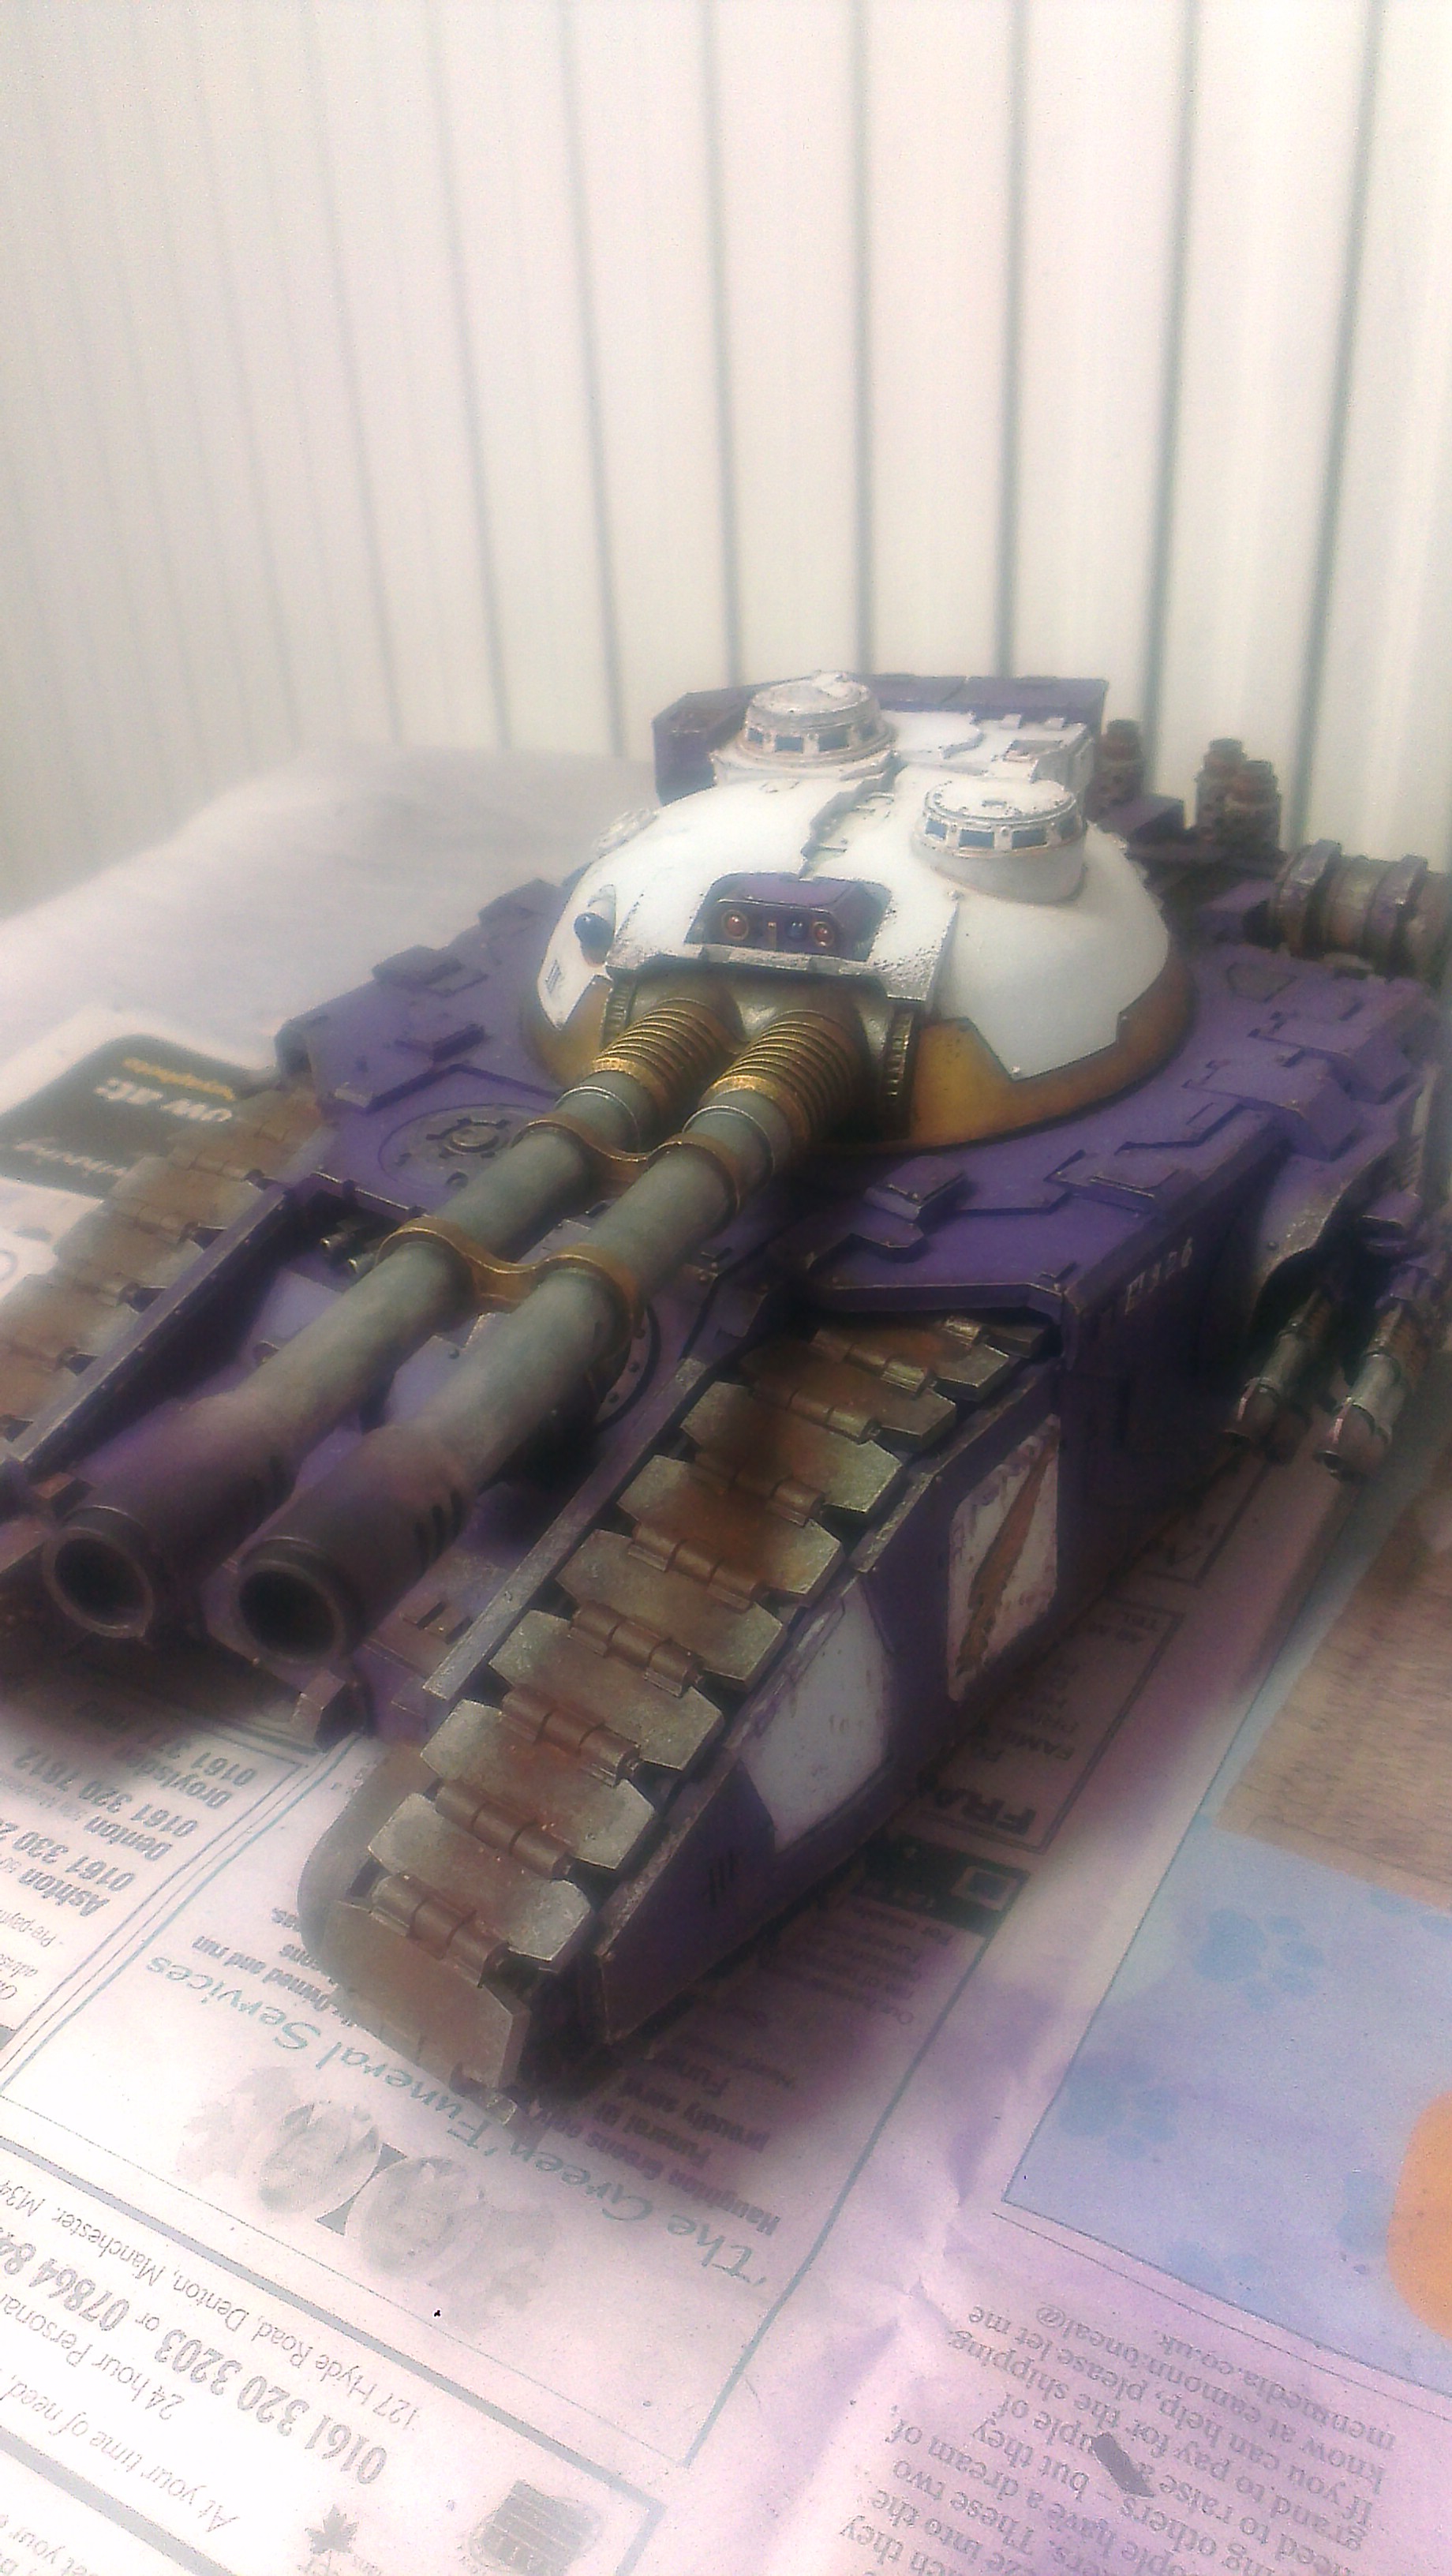
This is my finished effort weathered up which is the next stage.
Tank is looking beautiful. When you get to the next stage, please take some more photos :).
Thank you! I’ll be doing a weathering article now my camera is fixed and just get some extra images up in a better light fella.
Looking forward to it. Your giant Predator Annihilator looks the bomb but I want to count the rivets, dammit! :p