
Fantasy players will know the importance of magnetising your trays, but this guide is for the uninitiated. So sorry to any experienced players, this may be teaching you to suck eggs. 40k or players of other game systems may be familiar with magnetising arms on a dreadnaught or a turret on a tank, but this is a little bit different (and in some ways simpler).
Your first question might be “why even do this?” Well, unlike most games, Fantasy obviously has regiments, all ranked up on their movement trays, that’s fine on a flat table. But when you introduce some hills or other scenery to your board the trays move on top of, you can bet your arse that standard bearer will fall over, taking a rank or two with him.
Also, depending on how your carry case is managed (and if your case is deep enough), you can just store all of your dudes ranked up, on their tray, ready to rock. I do this with my ogres, allowing ample time to eat a curry while I watch my opponent rank up hordes of Skaven Slaves and Clan Rats.
The final reason, it’s a common fact that 75% of wargammers have an agility score of 1, so you will no doubt get some douche fumbling into your table and knocking it. Cue ranks of men flying everywhere, picking men up is not fun and is a waste of game time and if you are as time poor as me, I just want to play the bloody game before the last train leaves Waterloo to the hallowed grounds of Staine-Upon-Thames.
So, I’ve convinced you to invest some of your time and money into this venture. So I better tell you what you are going to need to fulfill your movement tray fantasies.
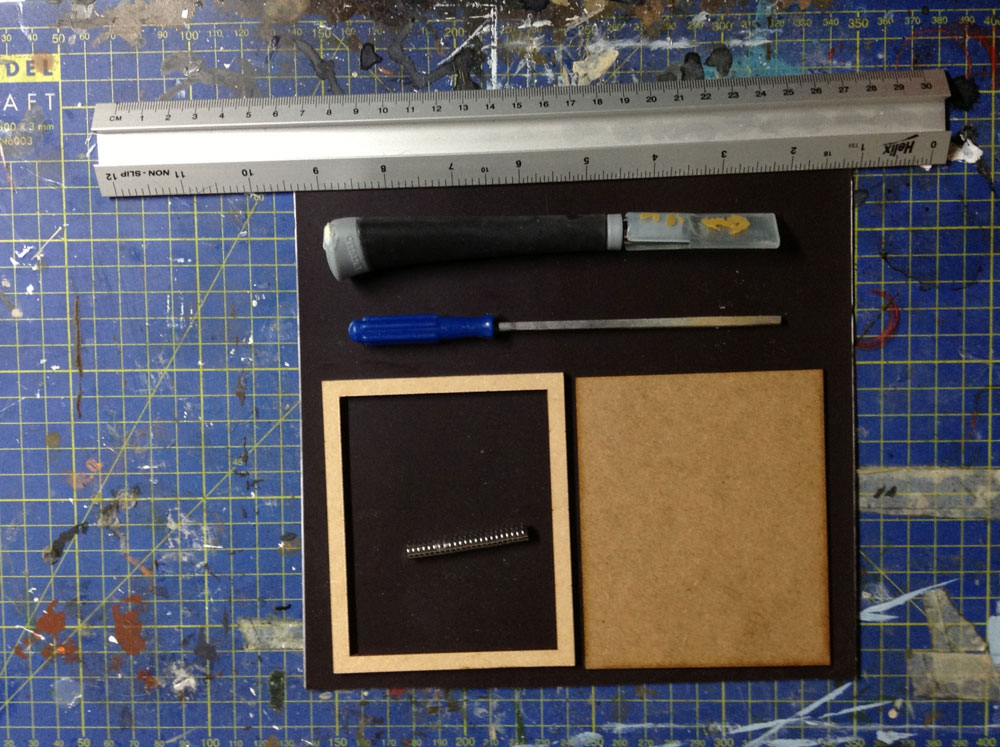
- Cutting matt or similar surface
- Steel rule
- Modelling knife / Stanley knife / a shank
- File or sand paper
- Superglue
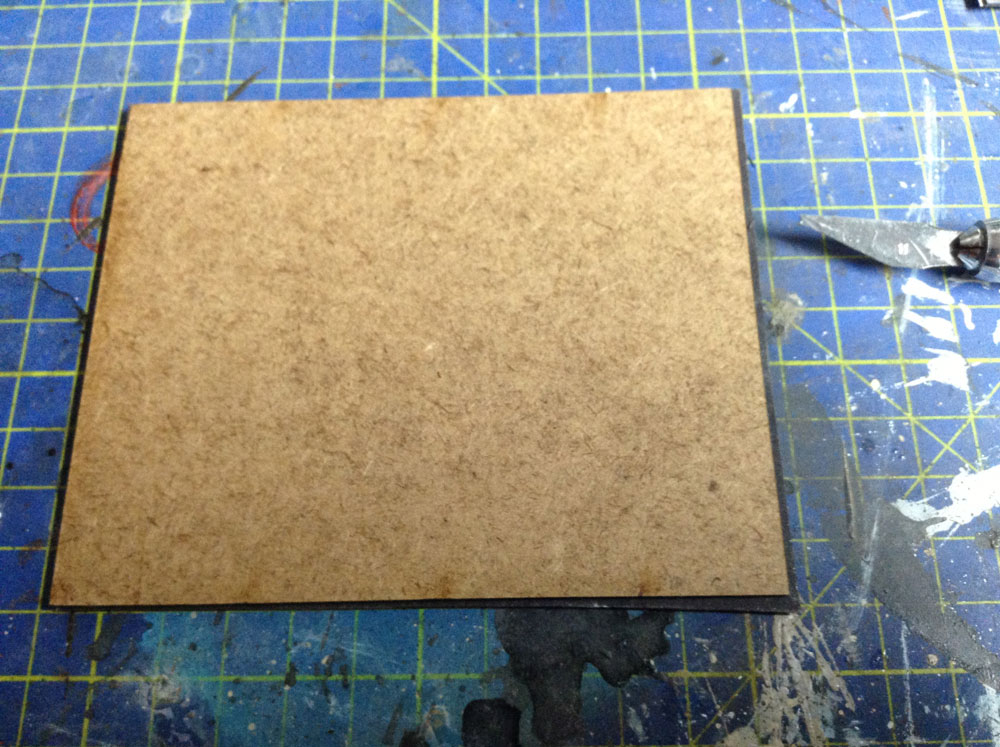
- Movement tray (you could go with GW ones, but to be honest I prefer MDF laser cut trays as they are nice to base, I get mine from Arcane Scenery and Models on eBay, cheap, fast service and if you buy a few items you can get cheaper postage)
- Rare earth magnets (I go with 6mm x 2mm from Element Games, a supporter of UK WHFB tourney scene with a great service with a quick turn around, definitely backed by all of the Corehammer Collective)
- Self-Adhesive Magnetic Sheet (again I get mine from Element Games)
- Green stuff (or plasticard)

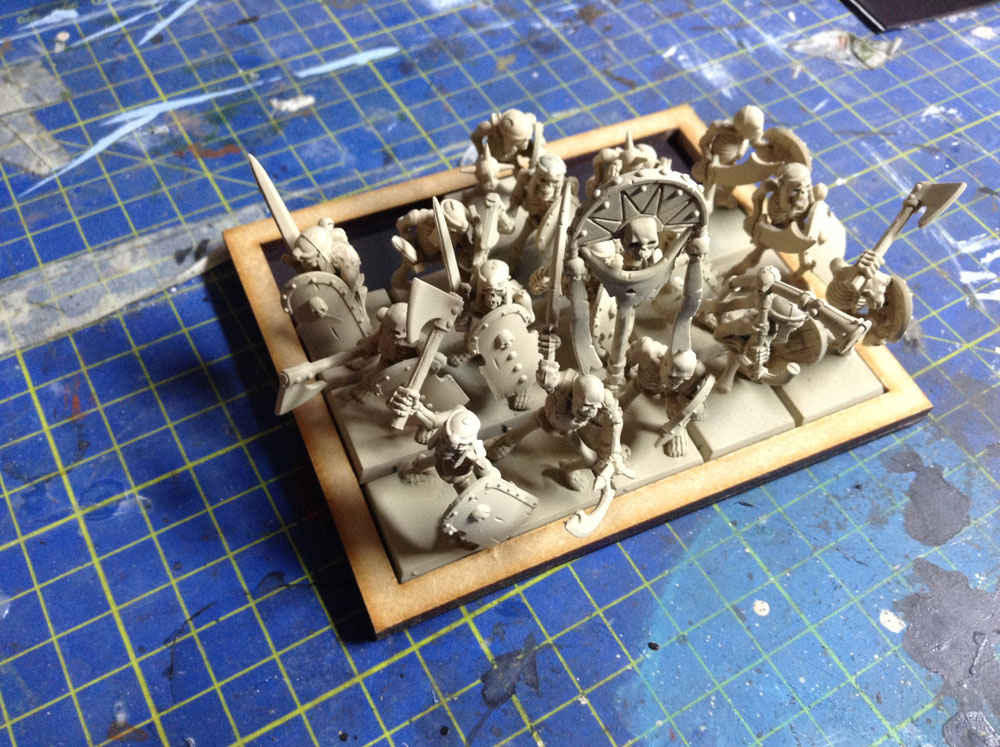
The first thing you want to do is make sure your models fit in the frame. If (like me) you have sprayed the models, then may need to file around the inside of frame. Best to do it now, as it’s a ball ache to do it later.
Look at those dude, chilling all happy and content that they fit in the frame.
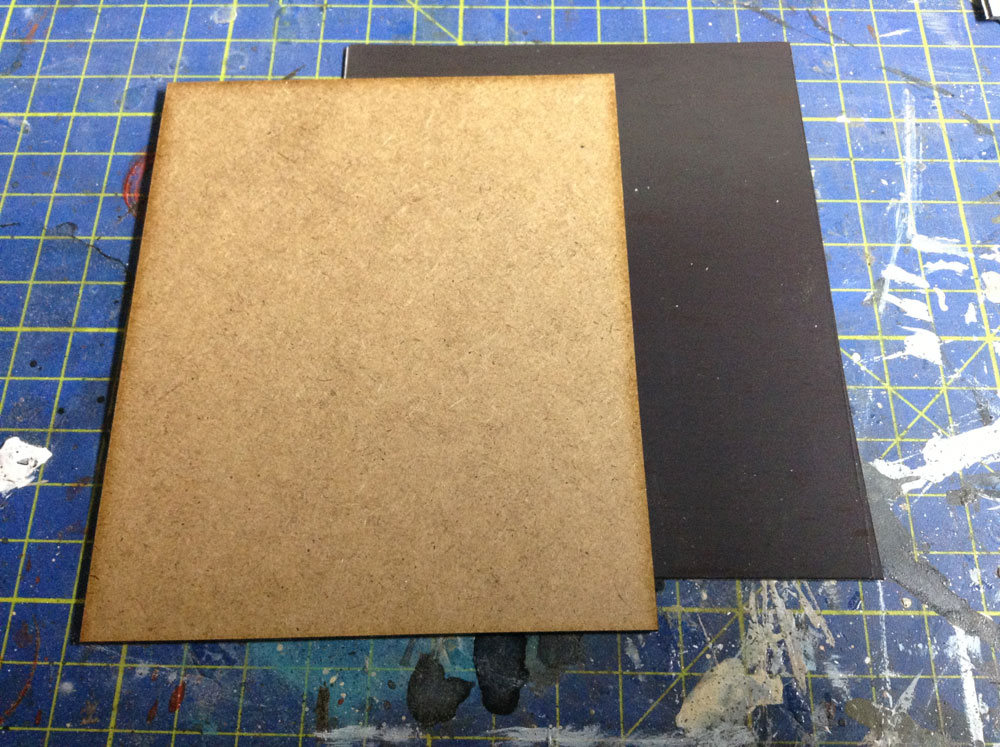
Next cut your magnetic sheet to size (make it a little bit bigger than the base board, this will give you some room for error when sticking it down.
Apply the magnetic sheet to the board (trying to create a flat finish, it’s pretty rigid so it’s not difficult) and then tidy the edges with your chosen blade (pictured above is my sword of swift striking).
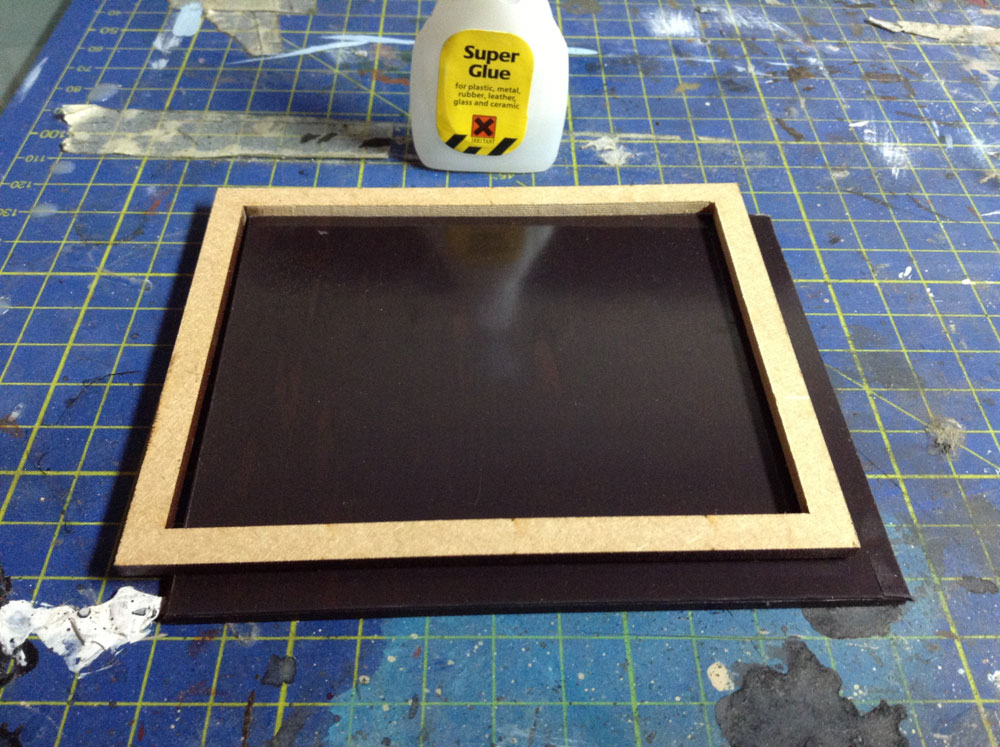 Glue your frame to the magnetic surface. I used some cheap nasty Pound Shop glue, it worked fine. This will create a wood – mag – wood sandwich.
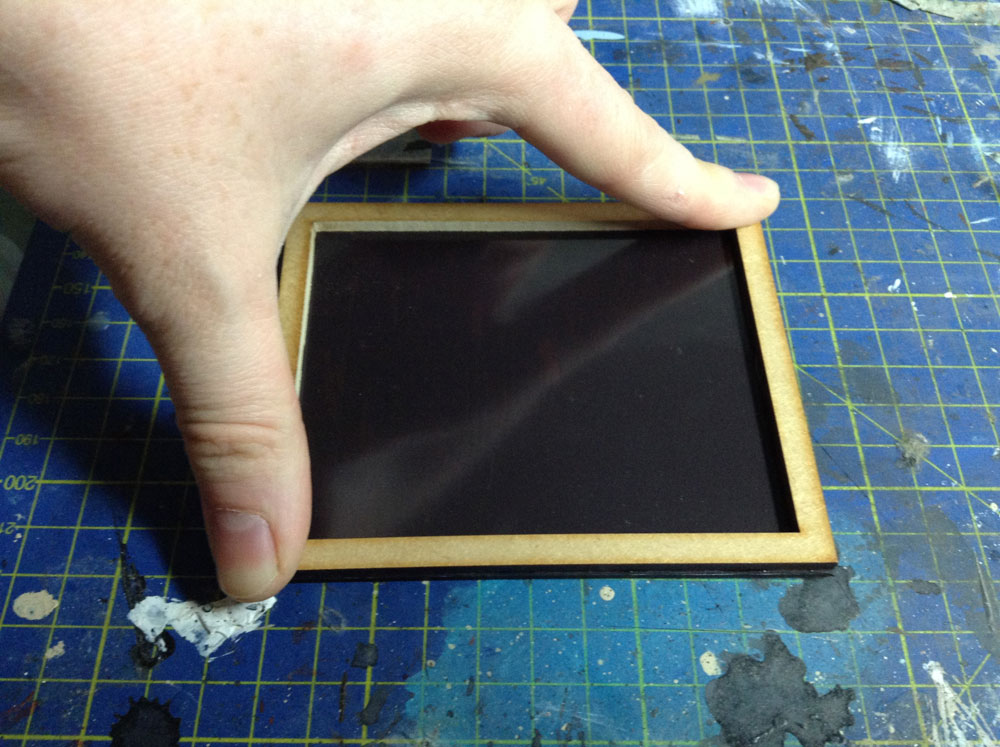
Apply some pressure, make sure this gets stuck down well.
 It should looks something like this.
Right, half way there. Now just to magnetise the little bastards.
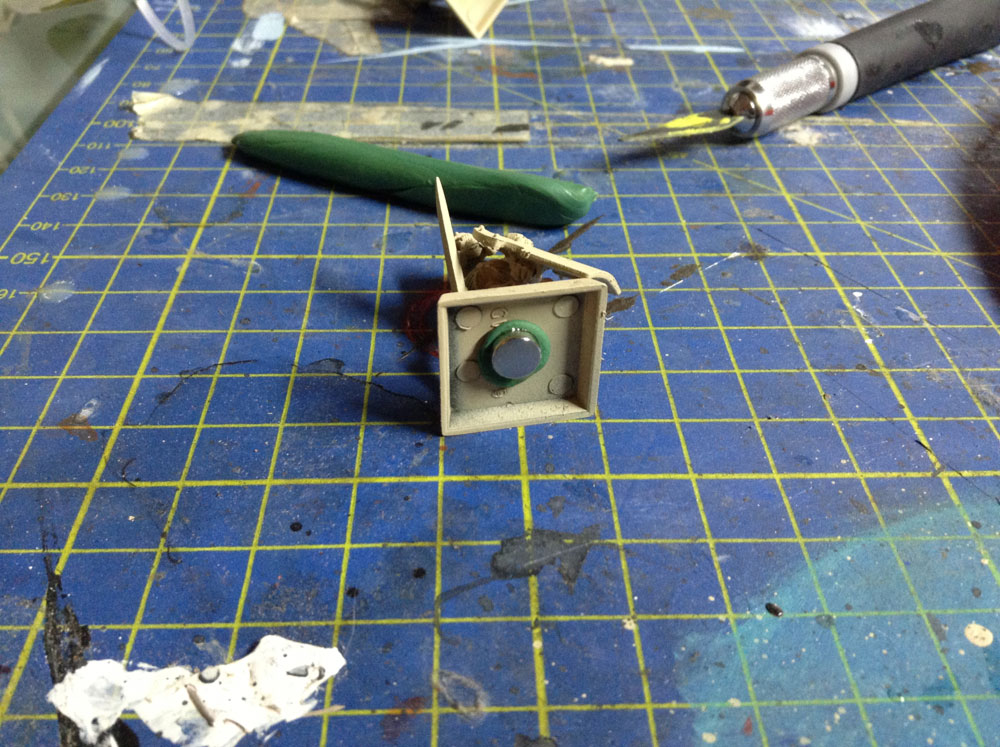 Right, what I have done here is make a small amount of green stuff and applied to the underside of the base. The green stuff give the magnet some extra height so that it can make contact with the magnetic sheet on your tray. You don’t have to use green stuff, it’s just the way I feel works for me, other people use a thin sheet of plasticard as their buffer.
Before you fully commit, make sure you know which way up the magnet is, place it on the tray to wok out which side sticks to the sheet, once you have done this, make sure that side is facing down when you hit a magnet with some glue and pushed this into the green stuff.
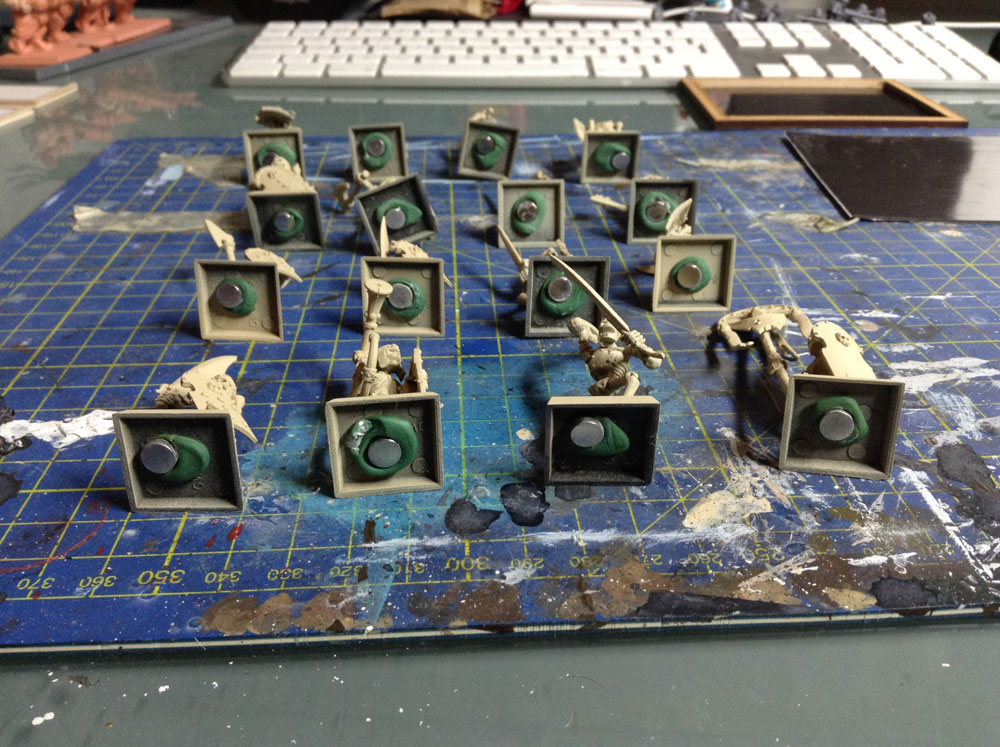 Rinse and repeat this step with your whole unit. If you are working with bigger bases (Ogres for example), you may want to use several magnets. On 40mm and 50mm bases, I use 4 magnets in, one each corner. This is pretty overkill as far as magnets are concerned, but if you add just 2, you will get a “wobbly table” effect on the miniature and that will piss you off.
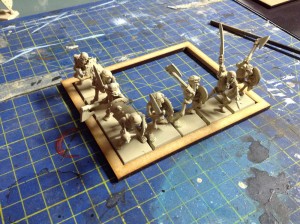
So here is a complete unit, sitting in their new home.
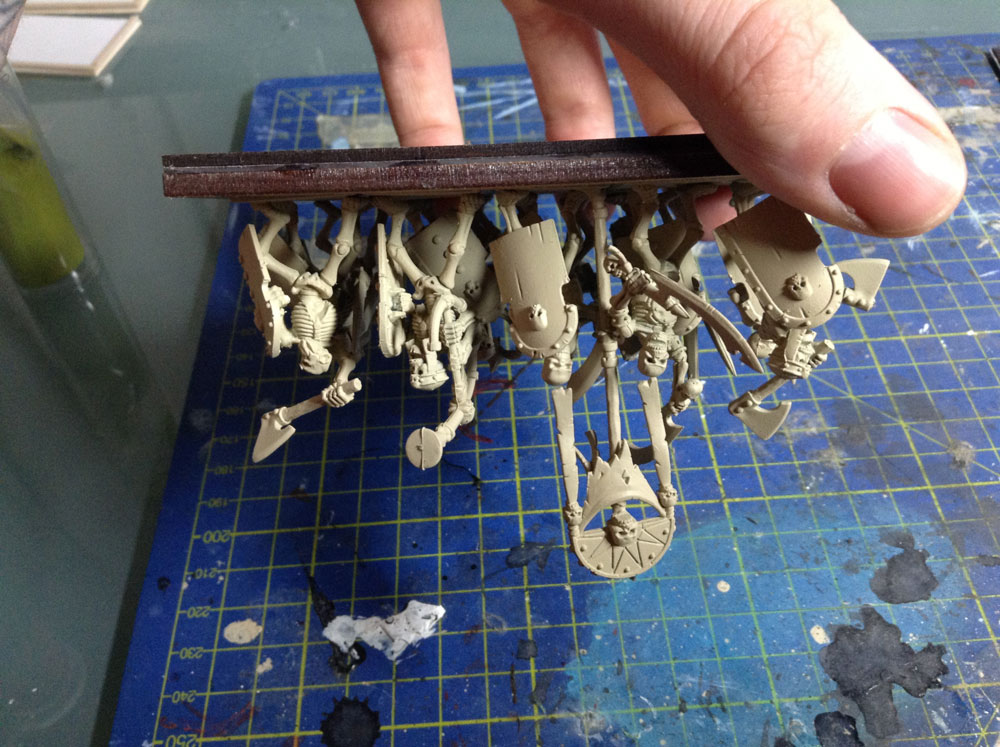 And like magic, you can impress girls, co-workers and scene kids in abundance with your gravity defying unit.
This was all achieved while listening to the soothing sounds of Leeway. Please try not to mosh to Rise and Fall while wielding a modelling knife.
Pingback: Battle Mats #1 – Deep Cut Studios | COREHAMMER